Tuesday, January 4, 2011

Mod Podged Tiered Table

Apparently, I took a two week hiatus from this blog for the holidays. And I had a lovely time :) A wonderful mix of time off work and time with loved ones. Never fear, while I didn't make time to write posts, I took lots of pictures of the projects I worked on. You may end up reading about Christmas-y things long after Christmas but I hope you will bear with me.

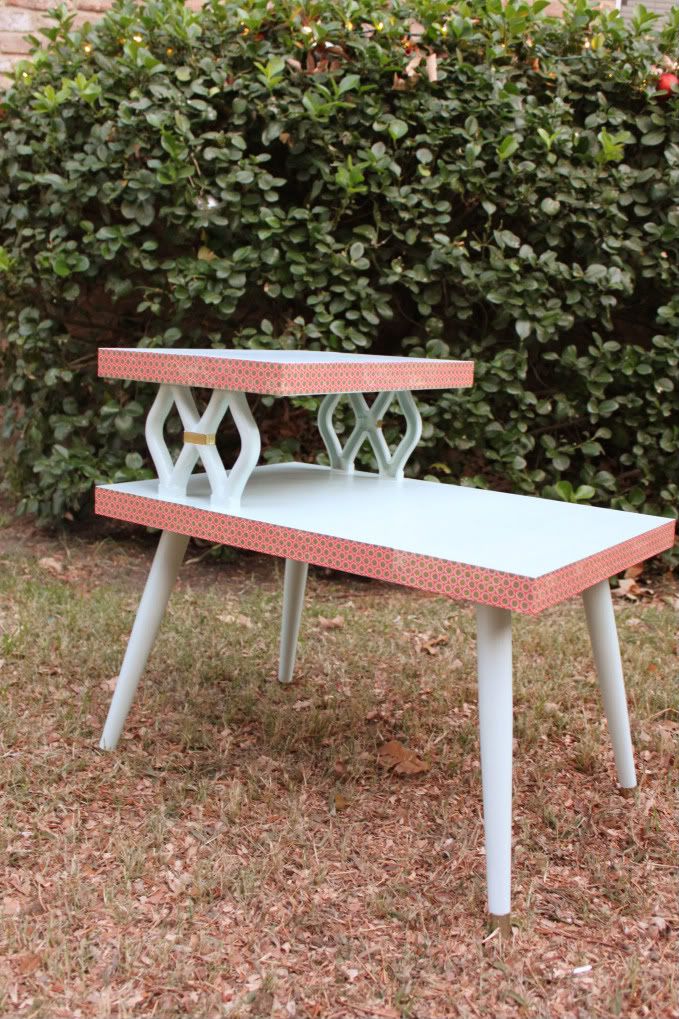
Today, I have for you a project I hinted at months ago and finished weeks ago. It is the table I bought on craigslist and hope to sell not keep. It is a very light little table made out of particle board and a blah blond veneer. I was going to show you the picture from the ad but now I can't find it. It looked something like this but with detail between the tiers:
 Sorry. But I think you can imagine what it looked like. Not bad but boring. I didn't want boring. I wanted something fun. Something more fun than what I typically do. I wanted to do what I wanted without worrying where it would go and how it would coordinate. I wanted to Mod Podge on furniture.

Because it was a glossy veneer surface, I used an oil-based primer before painting that gave me a smooth painted surface that would stay. This is the brand I used but I think any oil-based primer would work especially if like this one, it says something like "Sticks to all surfaces without sanding. Use any topcoat."
I put down 2 layers of primer and probably 4 coats of paint with extremely minimal (ok, may be no) sanding in between. The paint was turned out a lighter shade than what I really wanted and that is why I put so many coats on.

Once the paint was dry, I cut sheets of paper to the right dimensions and Mod Podged them on the sides of the tiers.A couple of coats of wipe on poly and she is ready to go. Ta da!
  And here is the back view:
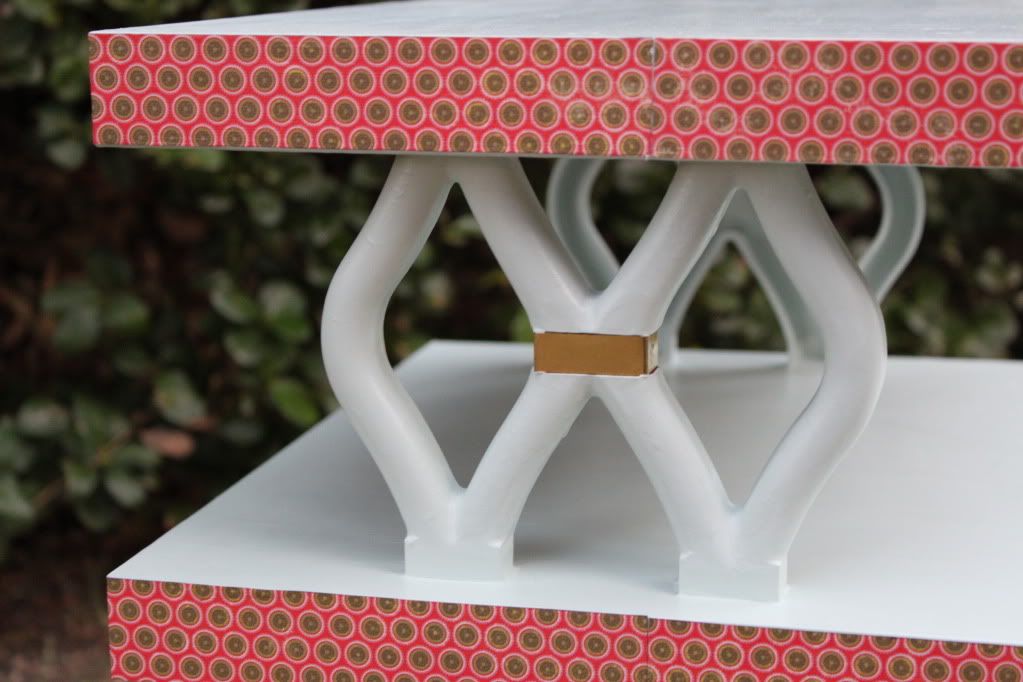
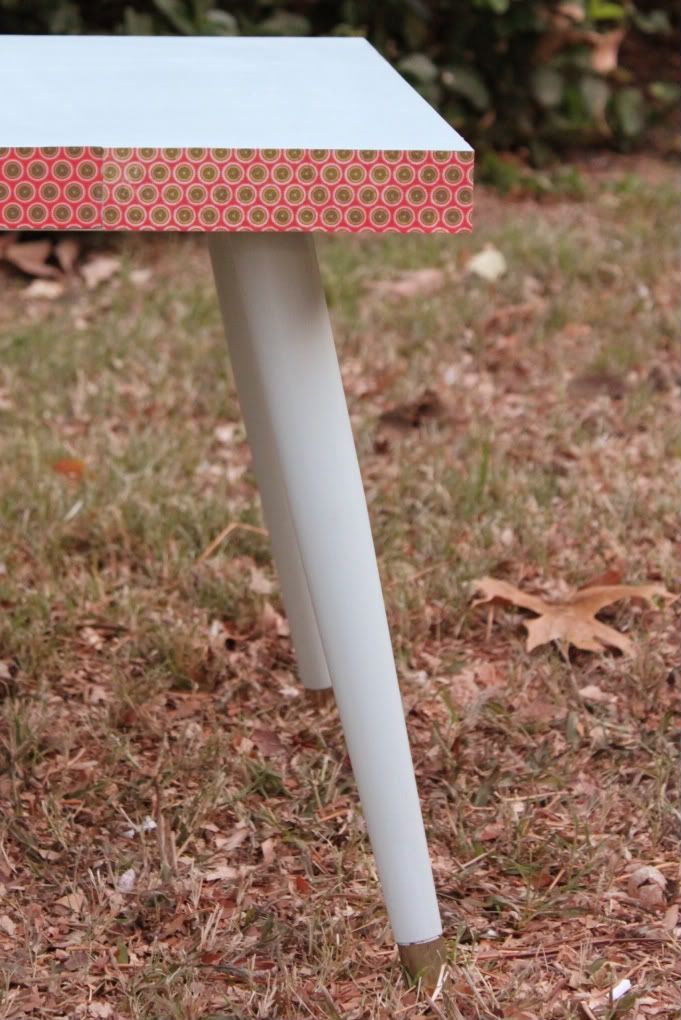
 I covered the brass bits on the end of each leg and in the middle of the shelf supports with Frog Tape. My first time to use it and I really like how it worked. See how nice and clean they turned out?


 I paid $15 for the table and I am not sure how much my supplies cost me. Especially since I have been wanting some it (like the primer, wipe on poly, and frog tape) to just have in my supplies. I am thinking of asking a $50 re-homing fee. What do you think? Too much or too little? The only place I know to sell re-home her is on Craigslist which I feel limits me some.

This post has been entered in the following parties:


Domestically Speaking


Monday, December 20, 2010

Christmas Time is Here! Spreading the Good Cheer!

Ho Ho Ho! and Merry Christmas!
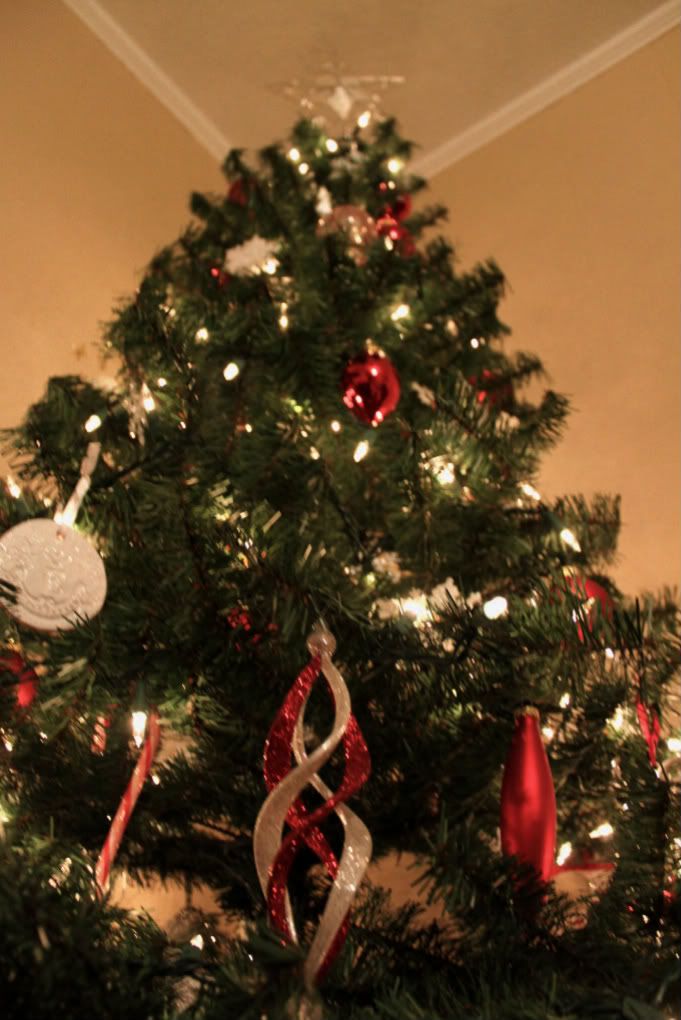
Tonight is Christmas in this Escobar household. Since this is only our second Christmas as a family  (and our first with the pup!), we are still working on making our own traditions that are separate from our big extended family traditions that occur on the 24th and 25th. This year that looks like us setting aside a night to have a nice dinner, read the Christmas story, and open the big gifts we bought each other and the pup. I think this will continue to look a little different each year until we get in a real routine. That being said, I thought I would show you a picture of the tree we will be sitting under tonight.

May your Christmases be merry and bright no matter when you celebrate it. Take time to love on those close to you and don't forget the One who has blessed you the most.
"For unto us a child is born, unto us a son is given:
and the government shall be upon his shoulder: 
 and his name shall be called Wonderful, Counselor, 
The mighty God, The everlasting Father, The Prince of Peace."
Isaiah 9:6

Thursday, December 16, 2010

A Sparkly Silvery Wreath

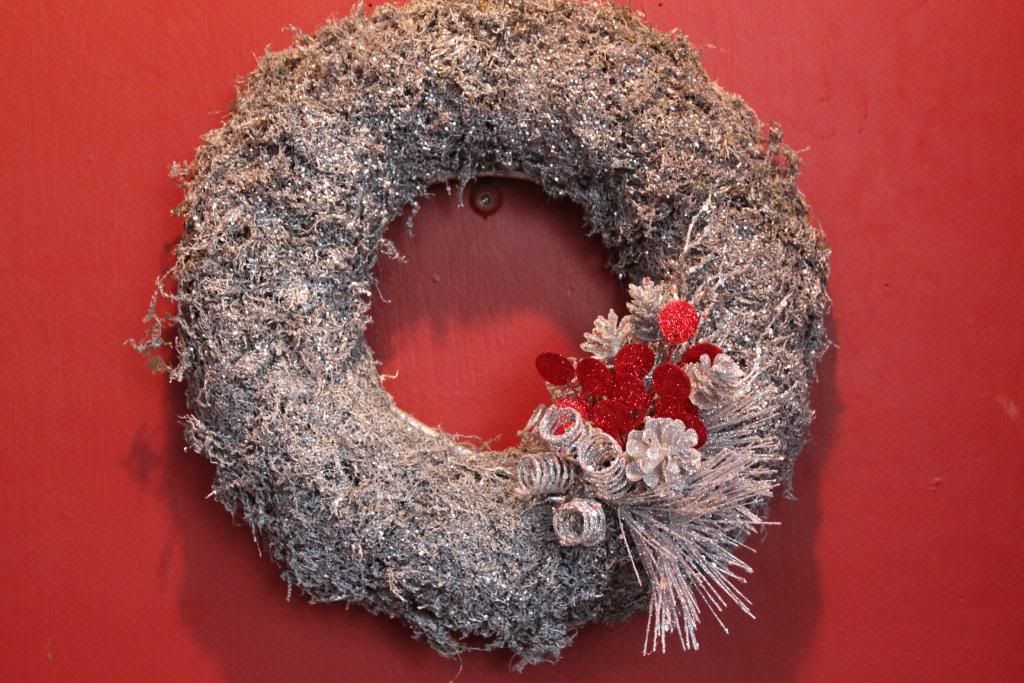
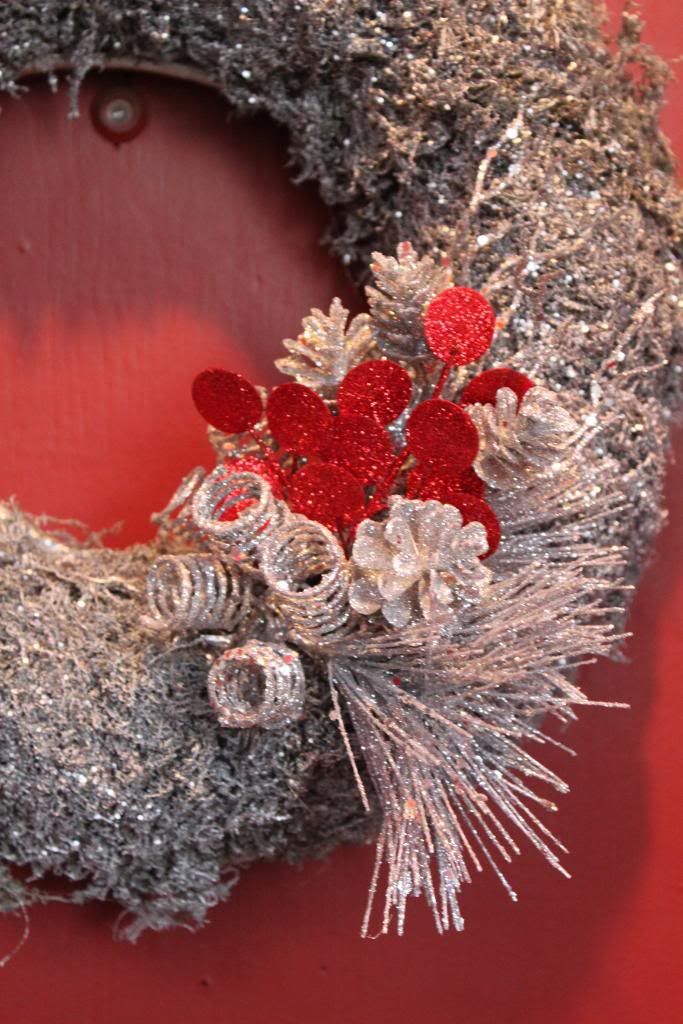
You may remember (okay probably not) that I got a wreath form from a thrift store for $2.75 a while back. Well, that wreath form is now wrapped in sparkly silvery snowy goodness. See?
 I needed something fairly simple to go with our red door, and red siding and red trim, and red... I really like red and I love how the parts of the house I can see out the windows coordinates with the decor inside so I am not complaining but it does require any adornments kept simple.

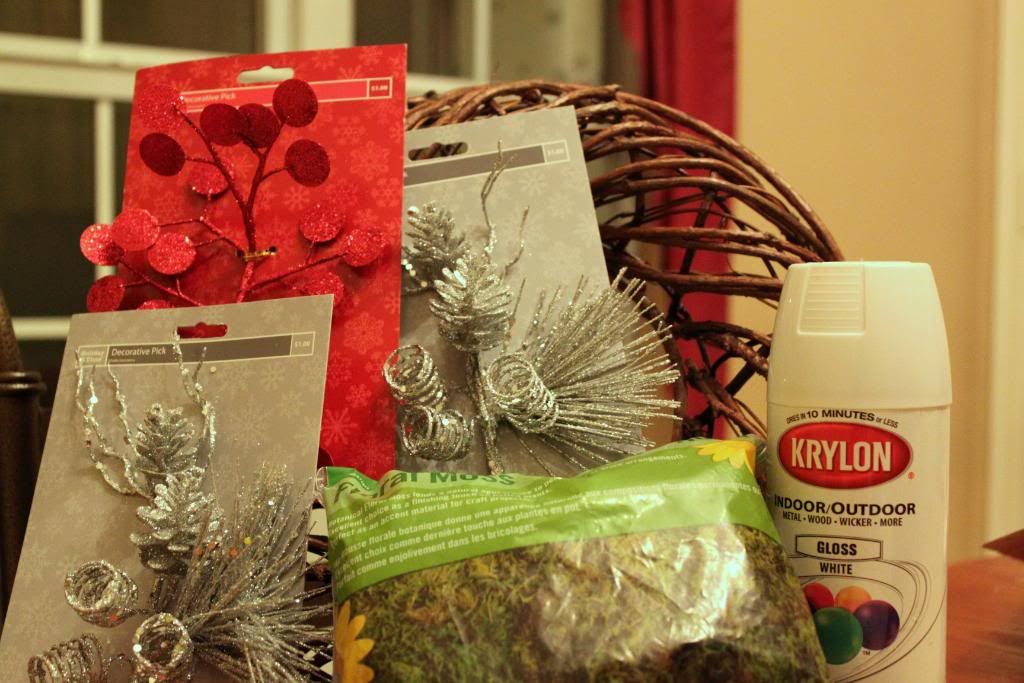
To make this wreath I used the following which cost me about $9:
  • Grapevine Wreath Form - $2.75
  • White Spray Paint - leftovers
  • Silver Spray Paint (it is holding up the wreath form in the picture) - shared with other projects so lets say $2
  • Floral Moss - $2 bag
  • 3 Sparkly Accents - $.75 each
  • Glitter
  • Hot Glue Gun
  • Wire Cutters  
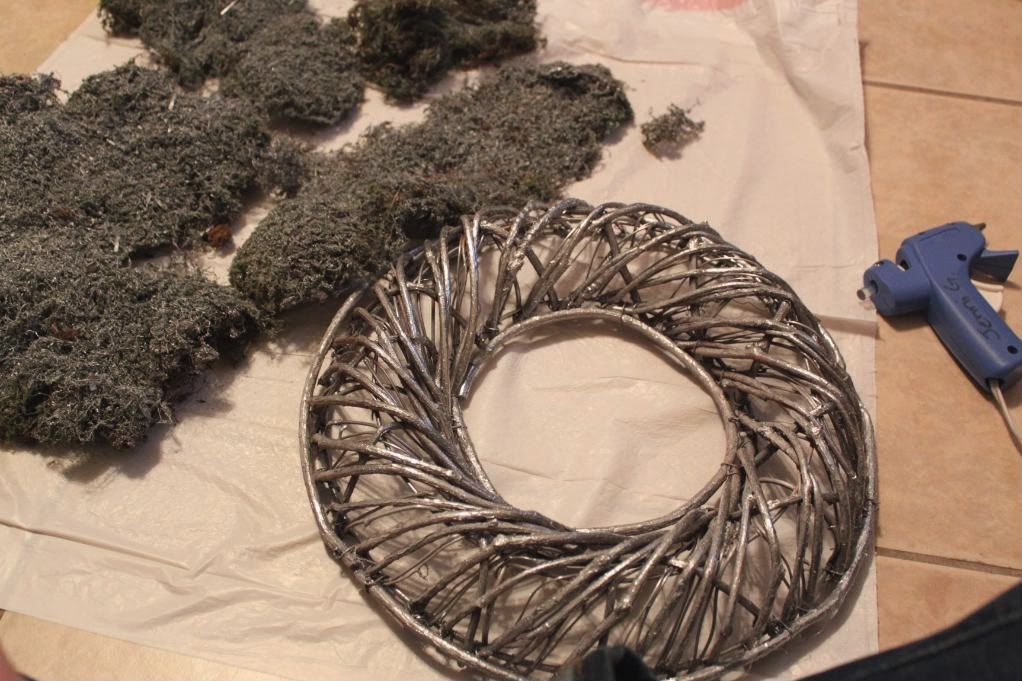
First, I spray painted the wreath form and the moss. I painted about a bag and a half of moss but only used about 1 bag on the actual wreath. (Moss leftovers are very nice to have around)

I used the white first as a base. I was hoping that as I played with the moss and put it on the wreath form that the white and moss colors would show through in some areas giving it a snowy, natural appearance. I ended up putting so much silver on it later that I lost my snowy look but I think the idea is still good.
 
Once everything is dry, I plugged in my glue gun, and got to covering. I recommend working on top of a trash bag or something easy to pick up. The moss can be pretty messy.  I just put off a small section of moss, slathered hot glue on the back, and stuck it to the form until I got this:
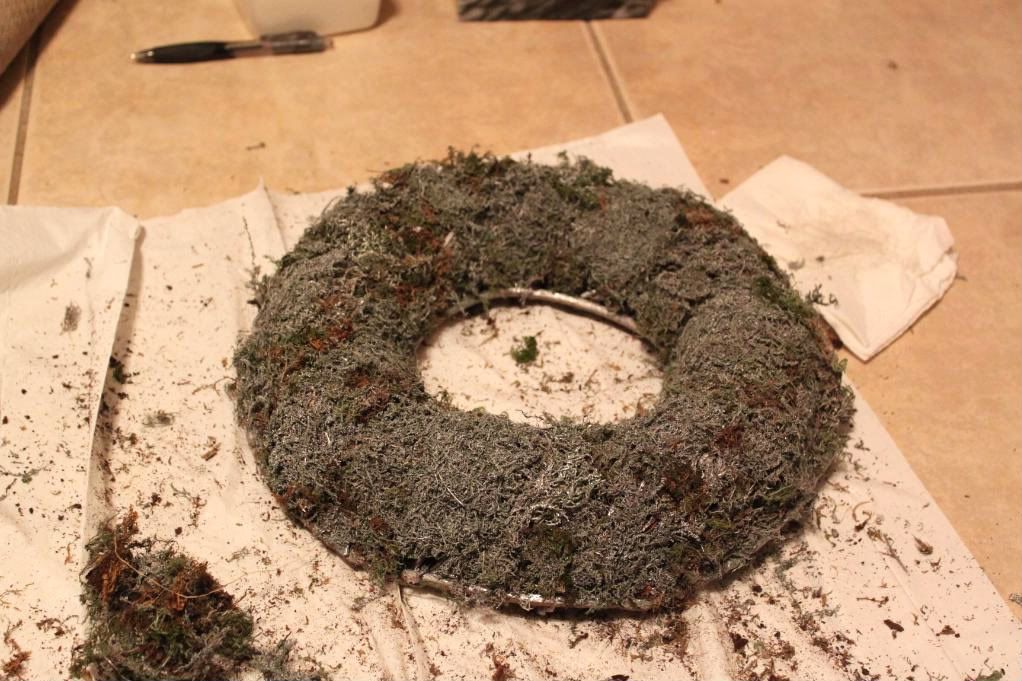
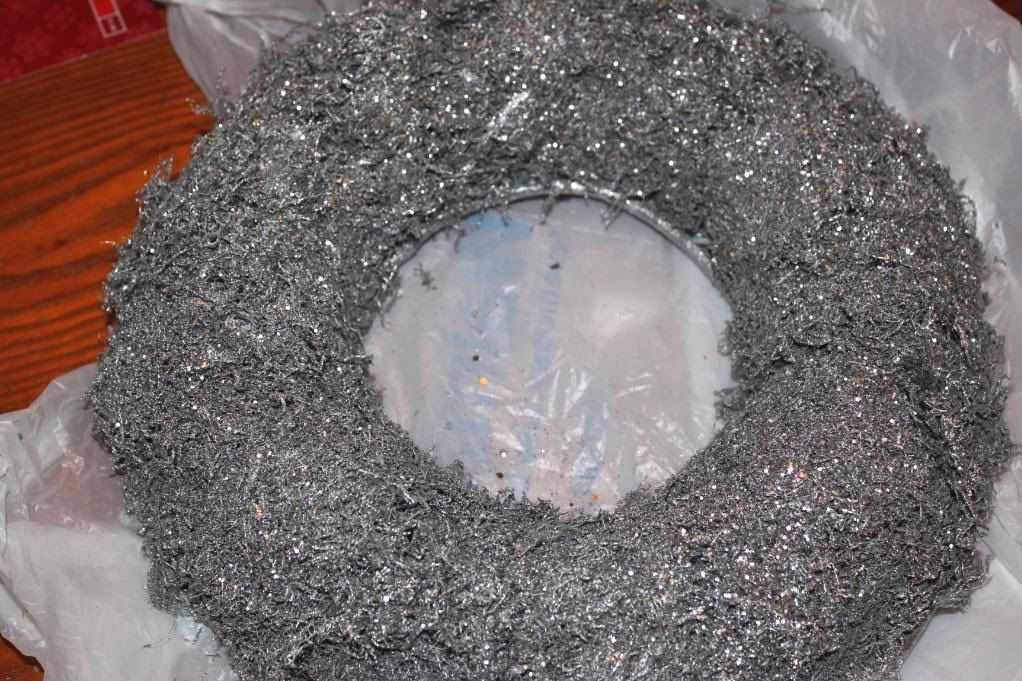
At this point, I decided it looked more dirty than silvery and snowy, so I took it back outside to add one more light coat of silver spray paint. I also decided it needed glitter, so while the paint was wet I sprinkled a very special mixture white and clear glitter on it all. (This look can only be achieve by storing your glitter together in a Ziploc bag and having it spill. A lot.)  It was working until I sprayed a clear coat on top of everything. I was trying to hold the glitter on better but it ended up changing the color of the silver. It became a much more industrial metal gray instead of pretty sparkles. It also made the glitter look odd and chunky. No worries, I just put another coat of silver on it and gave up on any snowy ambitions.
 Next, I took two of my decorative accents and nestled them within each other. Aren't they cute all nestled?  Then I just poked a hole in my moss and pushed them through bending them stems as needed to make it all lay down nicely.
I used wire cutters to cut the red bits off of their main stem so that they are easier to poke into the arrangement and then hot glued it all in place.
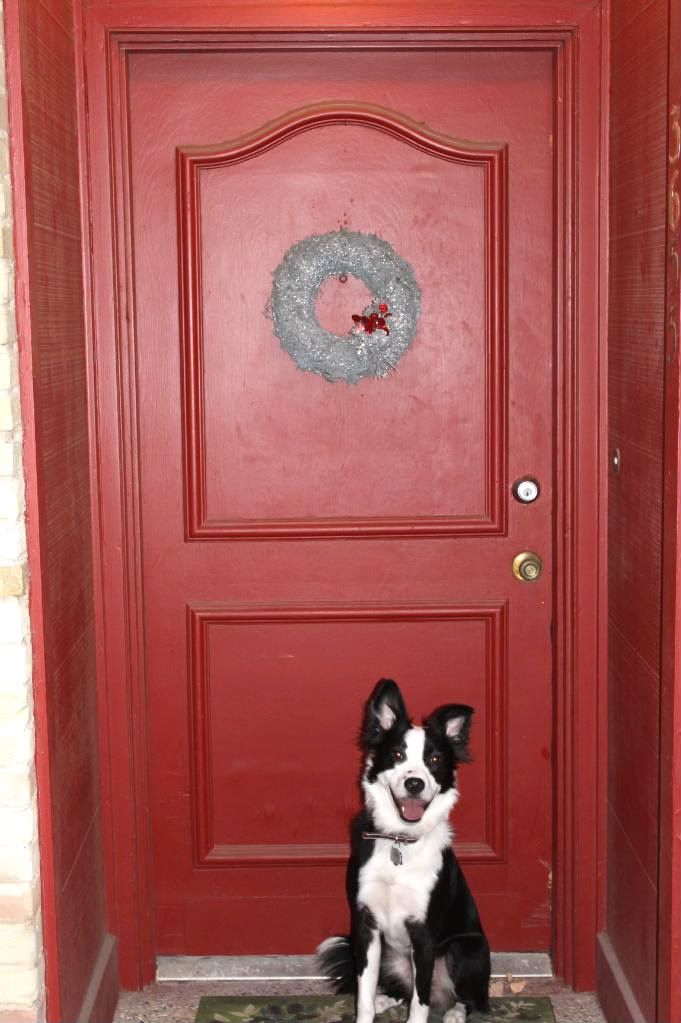
 I twisted on a wire off one of the silver accent's packaging and hung it on the nail in our front door (thanks previous tenants!) TaaDaa!
And because you haven't had to look at nearly enough pictures of Desmond yet:
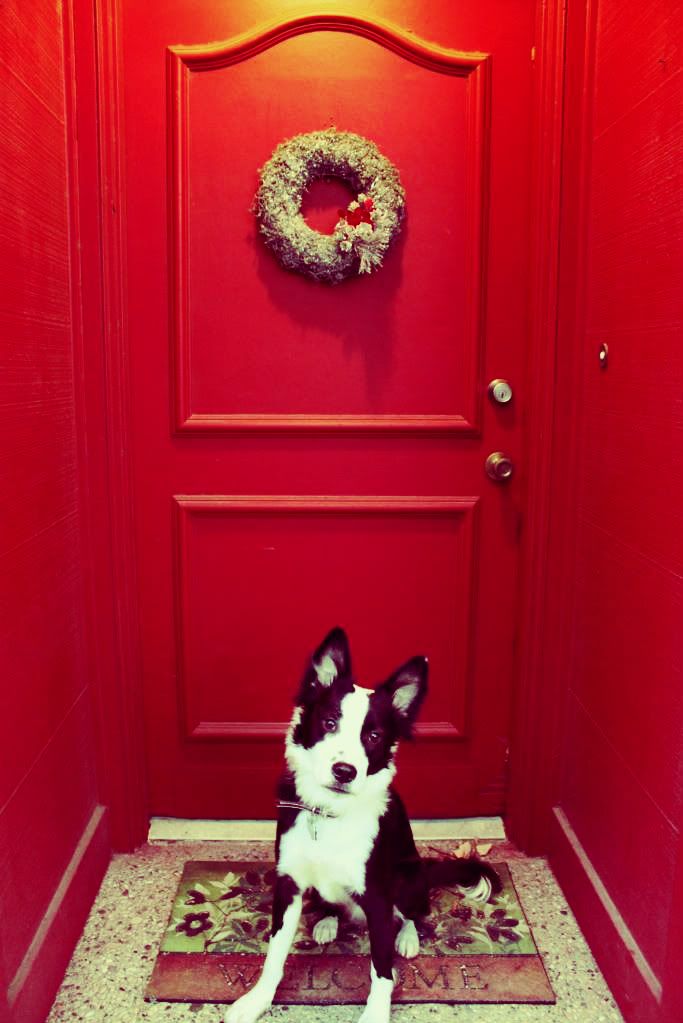
Don't they look good together? I got a little artsy on the coloring of this next one:
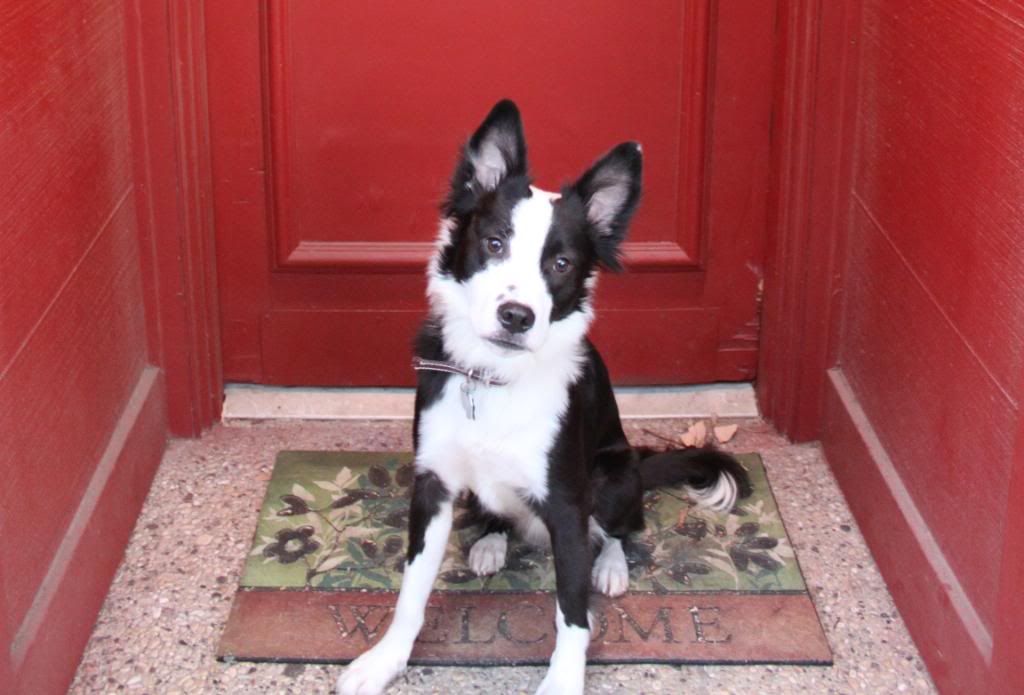
Doesn't that face just say "Mommmm! Can I have my treat yet?" Here it is close up in case you cant hear/see it from that far away. That is the same sad puppy dog look that got him a home in the first place.
 I will be linking this post to the DIY Clubs monthly contest.
DIY Club

Monday, December 13, 2010

Antique Postcard Gift Tags

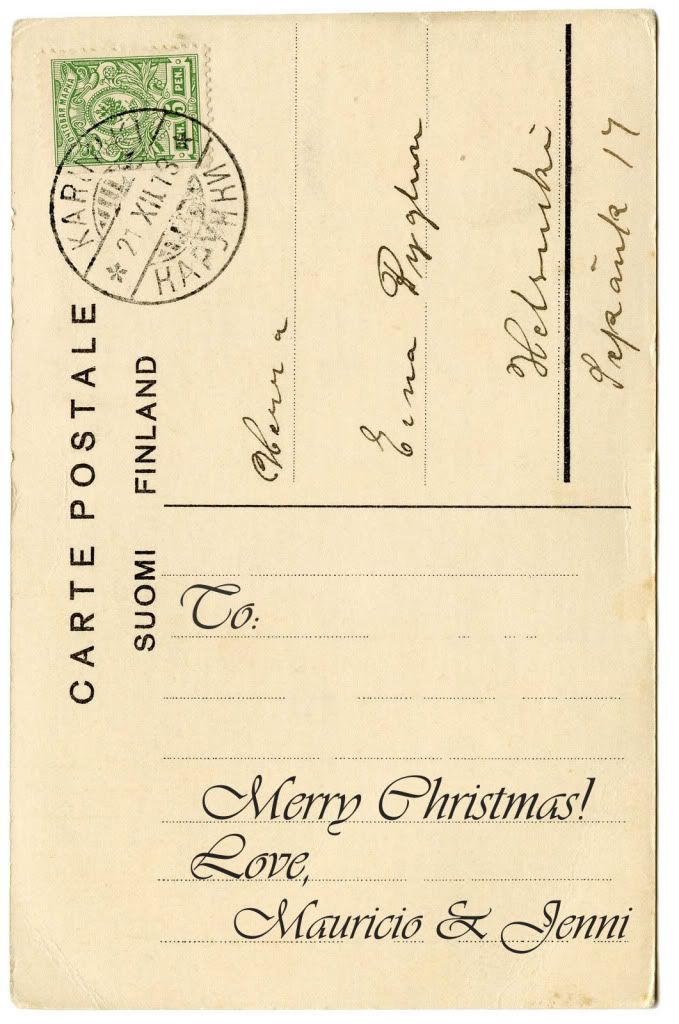
I used images off of the Graphic's Fairy's blog to make gift tags for all of our presents this year. I even took one of the images that is the back of the postcard and customized it to be the To/From section.


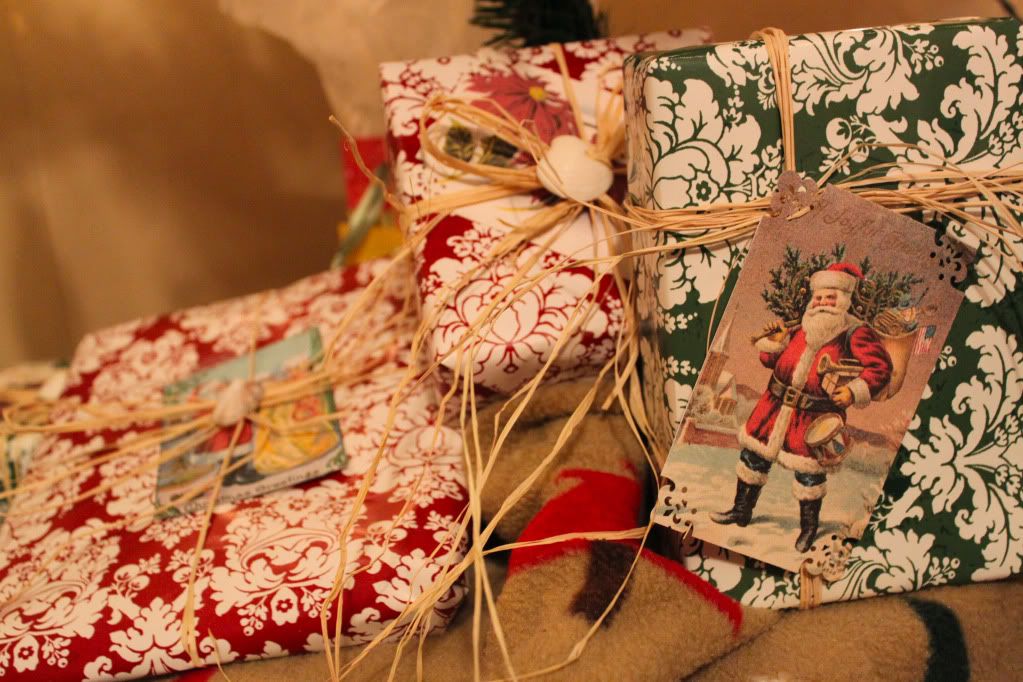
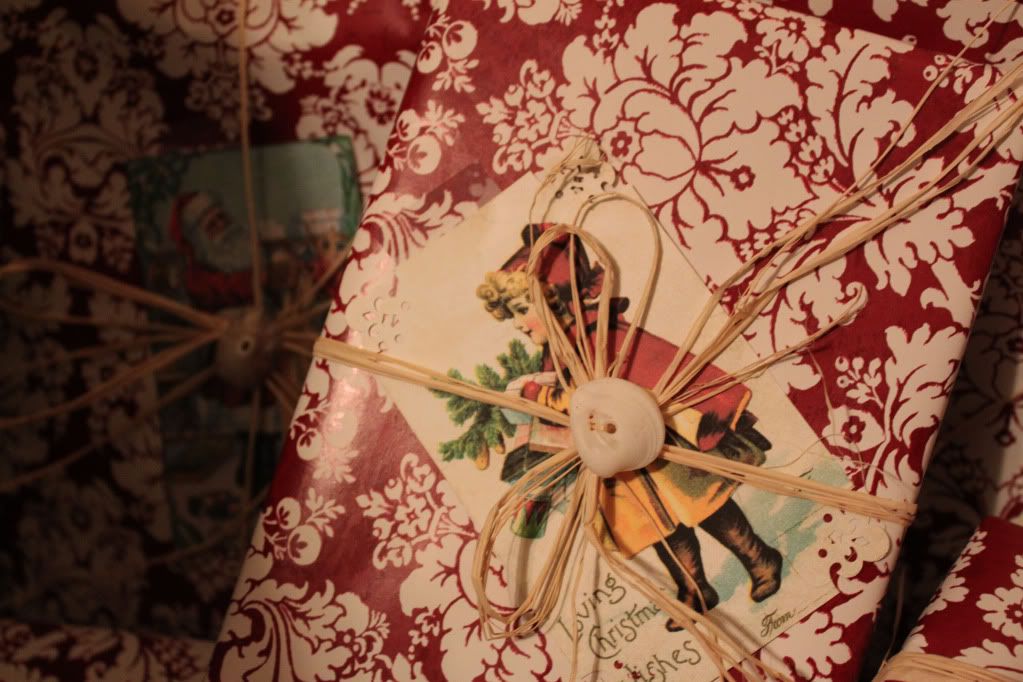
Here is a few pictures of the tags on the gifts under our tree. Which happens to be a dark shadowy corner so the pictures were a little difficult. It took me 7 or 8 test sheets to finally get it right but I am glad I stuck with it.


 Most of our gift were bought in Mexico so I collected shells with holes in them to include in the wrappings. I really like the coordinating but not idential look created. So now you know my secret, wrapping Christmas presents is a craft project for me. I try to never use bags unless absolutely neccessary. To create your own gift tags, I recommend starting in the Graphics Fairy's Christmas collection here.
I am linking to:
The Graphics Fairyhandmade projects

Noel NoooeeeELLL! Born is the King of Israaaellll!

Are you glad you just have to read that title and not actually hear me sing it?
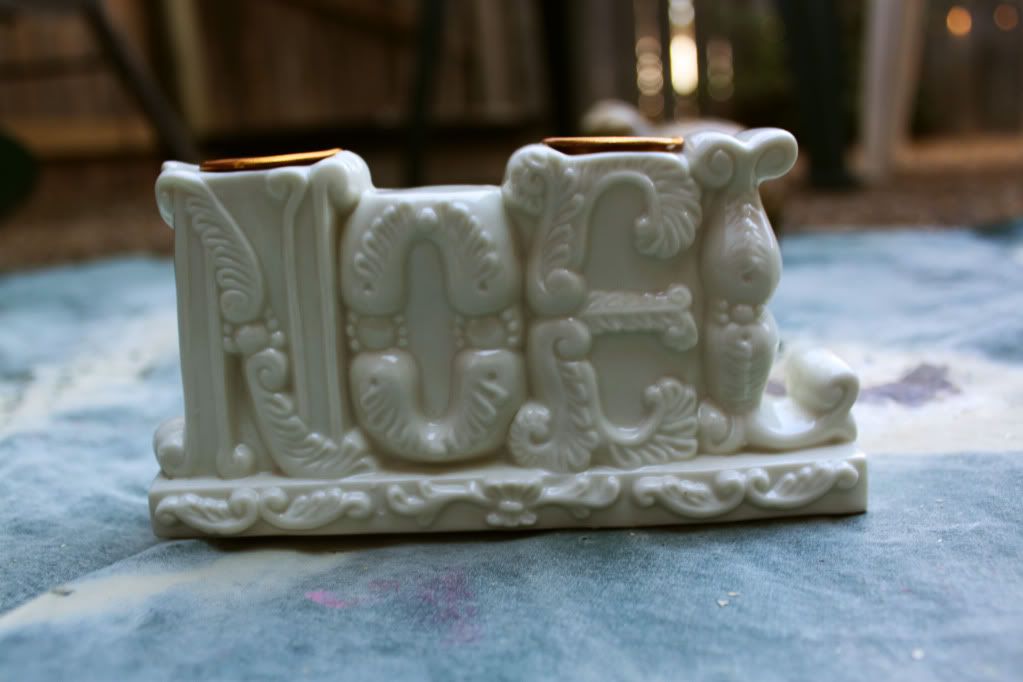
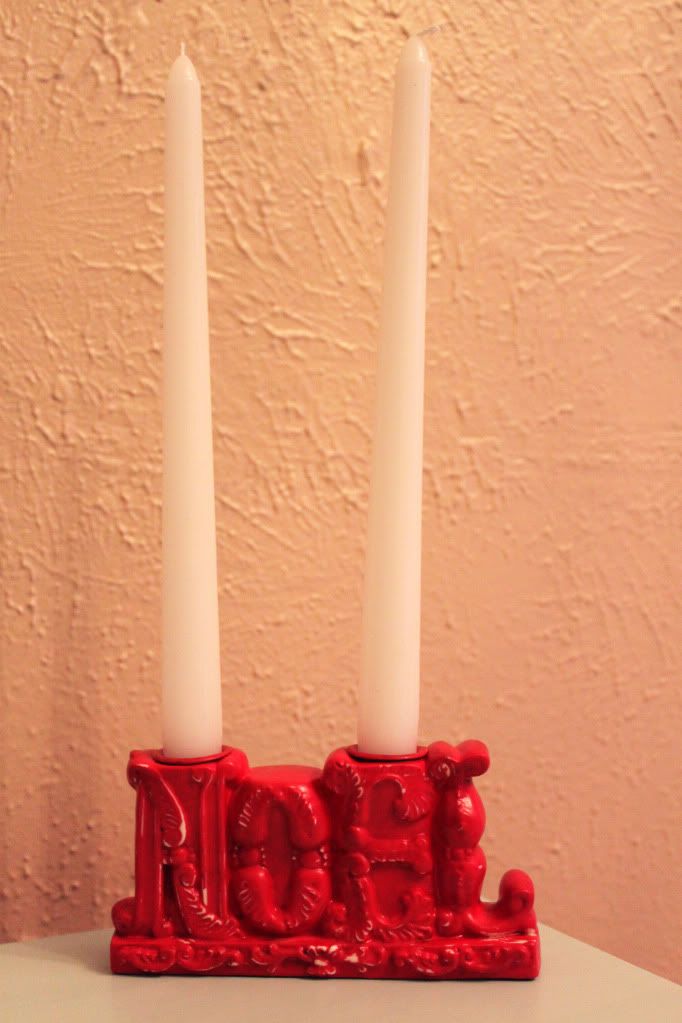
I have a quick little Christmas project for you today. I got this cute little candle holder for $2 not long ago. It isn't terrible as is but I wanted more from it.


I love red and had to buy a can of red spray paint for another project so it got a coat too. I didn't prime it or anything, just started spraying. Here it is after the first red coat.
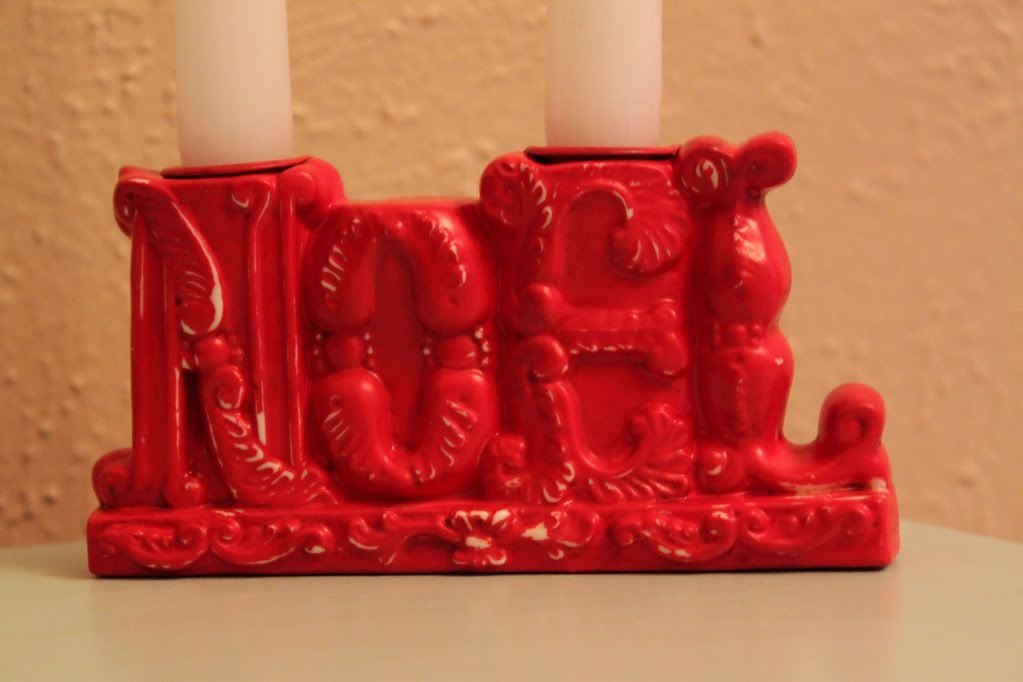
Looking good. Looking good but not done yet. I wanted to darken the red and bring out the details so I wiped on a dark brown miss-tinted stain from Sherwin Williams ($2.50 for the quart!) and then rubbed it back off. I was impatient so I only let the paint dry to the touch but not really cure when I started applying the stain. Combine that with the fact that I didn't prime the surface and you get the paint coming off of the areas you rub real hard. Not really surprising. I decided to go with it and I think it turned out nicely.

Not bad for a $2 candlestick and about $1 of supplies. I painted another set of candlesticks the same red but haven't rubbed them with the stain yet. They aren't white underneath and a different style and material so I am hoping the paint doesn't come off those but we will have to see.

Saturday, December 11, 2010

Christmas Cookie Time

I wasn't able to make Christmas cookies with my mom this year. We just ran out of time. She was kind enough to send her sugar cookie dough with me so that I could make some when I got the chance. Thursday night my sweet friend, Laura, came over and decorated the cookies with me. (hint: if you need to revive pre-made dough, adding an egg and a little bit of oil to the dough in a mixer do it nicely) Here is Laura as we get started:
Isn't she gorgeous?
We had a blast drinking wine together, chit-chatting, watching White Christmas, and decorating. And I would go as far as to say we made some great looking cookies. This is one of the sheets before they baked.
Laura got to see my spazzy messy cooking style. And I think she still likes me, which just shows you how great she is.  Her hand washing consistency and thoroughness put me to shame, but she said that came from being a nurse.  Annnnd back to the cookies, here they are all golden and baked.
 And here is my wonderful husband decorating one with us:
He is super into comic books so his was a themed cookie (his blog is here in case you doubt my comic book claim) Here is his Green Lantern inspired treat:
The night was so fun. I really enjoyed the low key girly time and I hope I have started a new tradition. Well as long as next year I get to make some with my mom too.

Wednesday, December 8, 2010

Knitting...

I have been a long time subscriber to Dave Kellet's daily emails filled with comic strip goodness. He writes and draws the comic "Sheldon" about a boy genius, and his gramps, and his talking duck. It is like a little gift in my inbox every morning. A while ago he posted this comic:
Awesome, right? Well today he announce the availability of the shirt based on this strip that I now want for Christmas. Santa, do you read my blog?
If  this makes you LOL as well then you can get it here for $18.25+shipping. There were several days of knitting jokes so be sure to check them out at www.sheldoncomics.com the knitting specific ones start here.