I needed something fairly simple to go with our red door, and red siding and red trim, and red... I really like red and I love how the parts of the house I can see out the windows coordinates with the decor inside so I am not complaining but it does require any adornments kept simple.
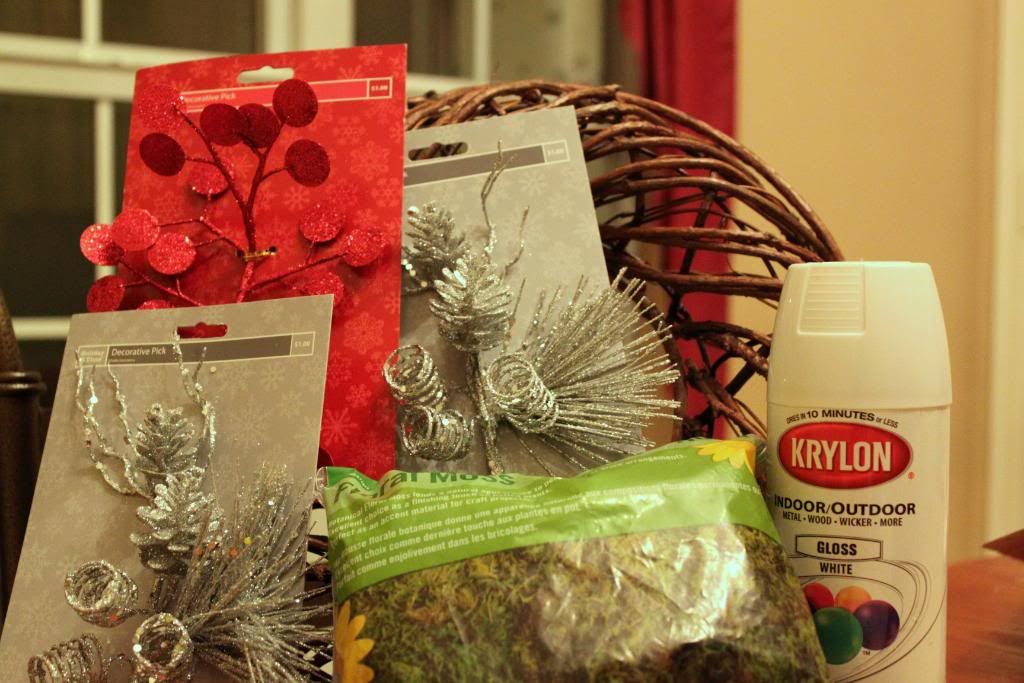
To make this wreath I used the following which cost me about $9:
- Grapevine Wreath Form - $2.75
- White Spray Paint - leftovers
- Silver Spray Paint (it is holding up the wreath form in the picture) - shared with other projects so lets say $2
- Floral Moss - $2 bag
- 3 Sparkly Accents - $.75 each
- Glitter
- Hot Glue Gun
- Wire Cutters
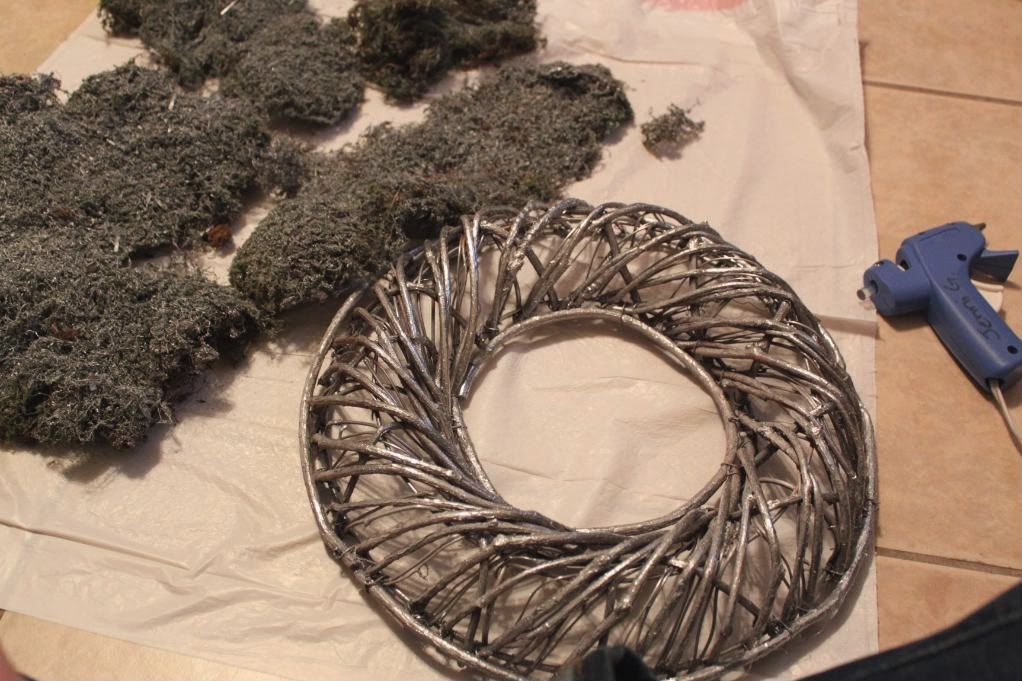
I used the white first as a base. I was hoping that as I played with the moss and put it on the wreath form that the white and moss colors would show through in some areas giving it a snowy, natural appearance. I ended up putting so much silver on it later that I lost my snowy look but I think the idea is still good.
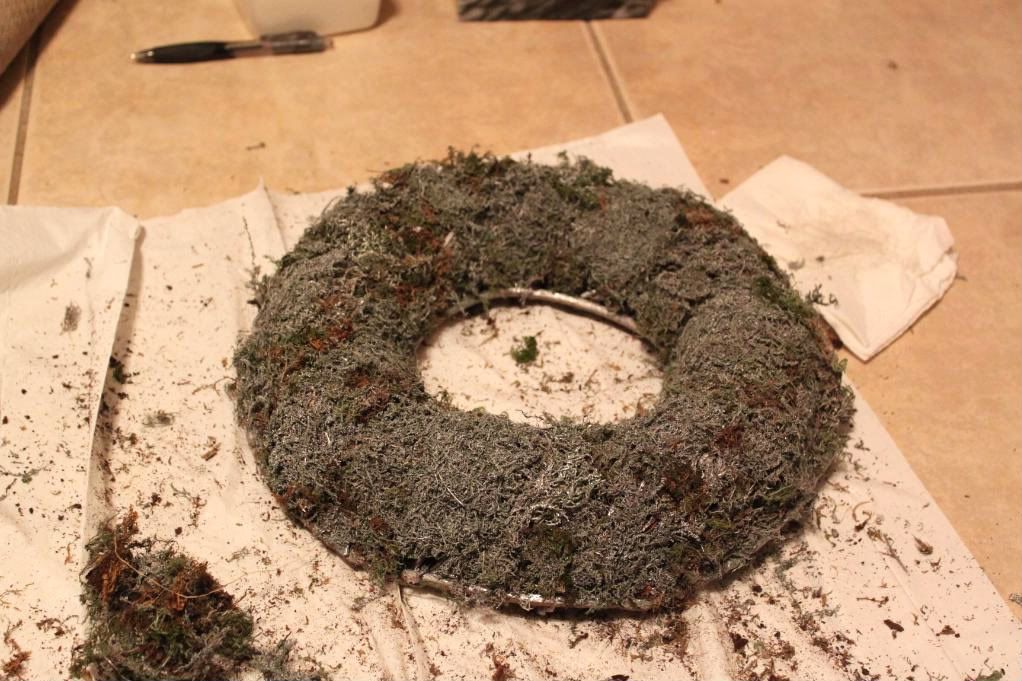
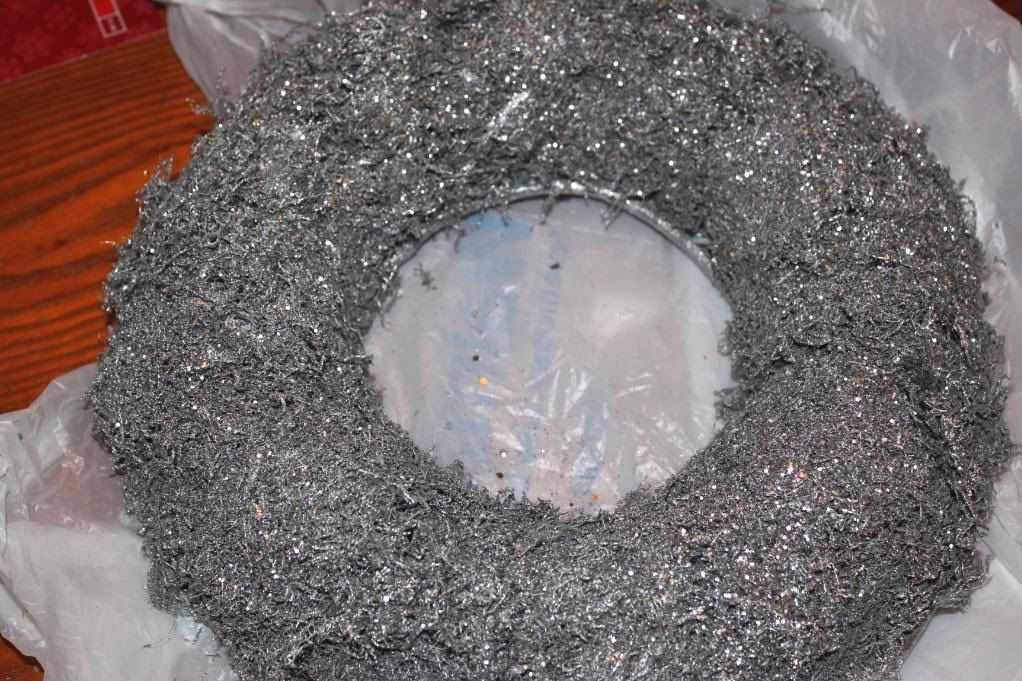
Once everything is dry, I plugged in my glue gun, and got to covering. I recommend working on top of a trash bag or something easy to pick up. The moss can be pretty messy. I just put off a small section of moss, slathered hot glue on the back, and stuck it to the form until I got this:
At this point, I decided it looked more dirty than silvery and snowy, so I took it back outside to add one more light coat of silver spray paint. I also decided it needed glitter, so while the paint was wet I sprinkled a very special mixture white and clear glitter on it all. (This look can only be achieve by storing your glitter together in a Ziploc bag and having it spill. A lot.) It was working until I sprayed a clear coat on top of everything. I was trying to hold the glitter on better but it ended up changing the color of the silver. It became a much more industrial metal gray instead of pretty sparkles. It also made the glitter look odd and chunky. No worries, I just put another coat of silver on it and gave up on any snowy ambitions.
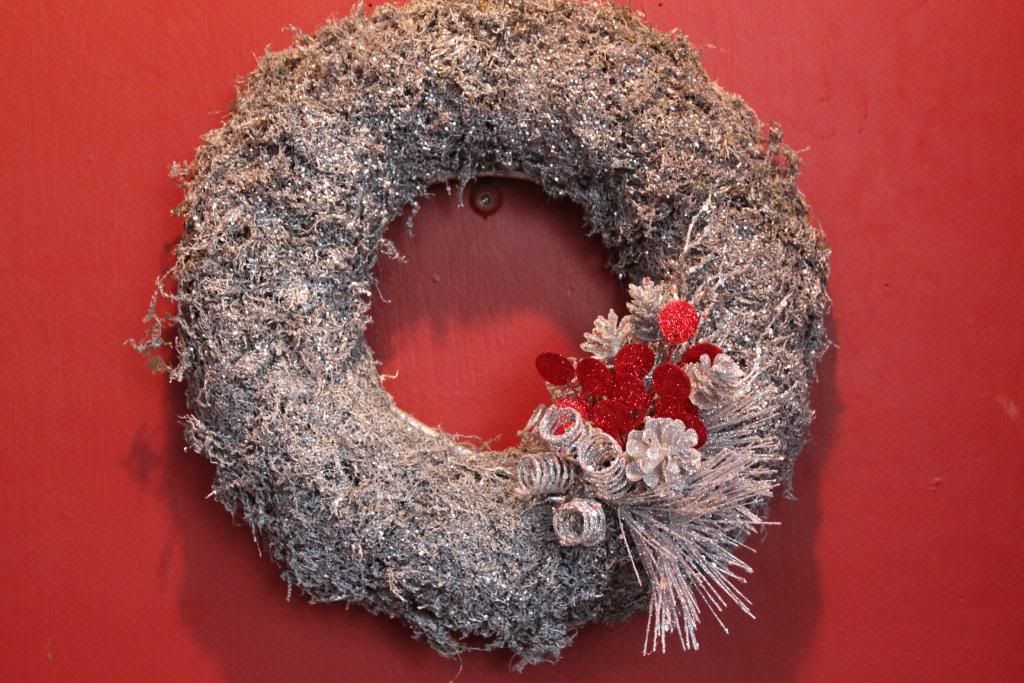
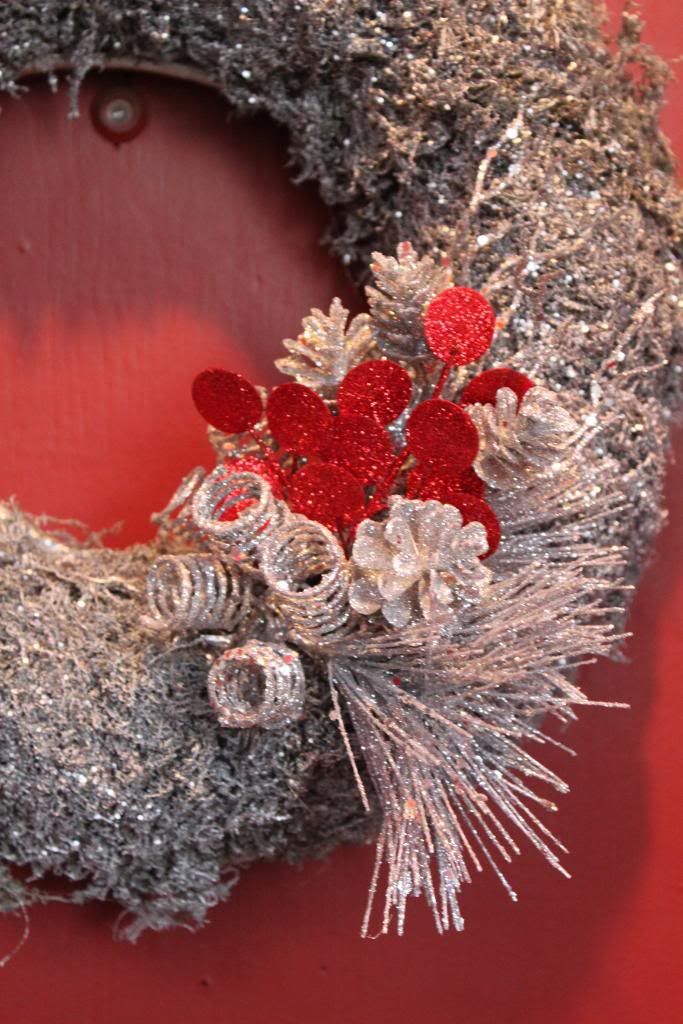
Next, I took two of my decorative accents and nestled them within each other. Aren't they cute all nestled? Then I just poked a hole in my moss and pushed them through bending them stems as needed to make it all lay down nicely.
I used wire cutters to cut the red bits off of their main stem so that they are easier to poke into the arrangement and then hot glued it all in place.
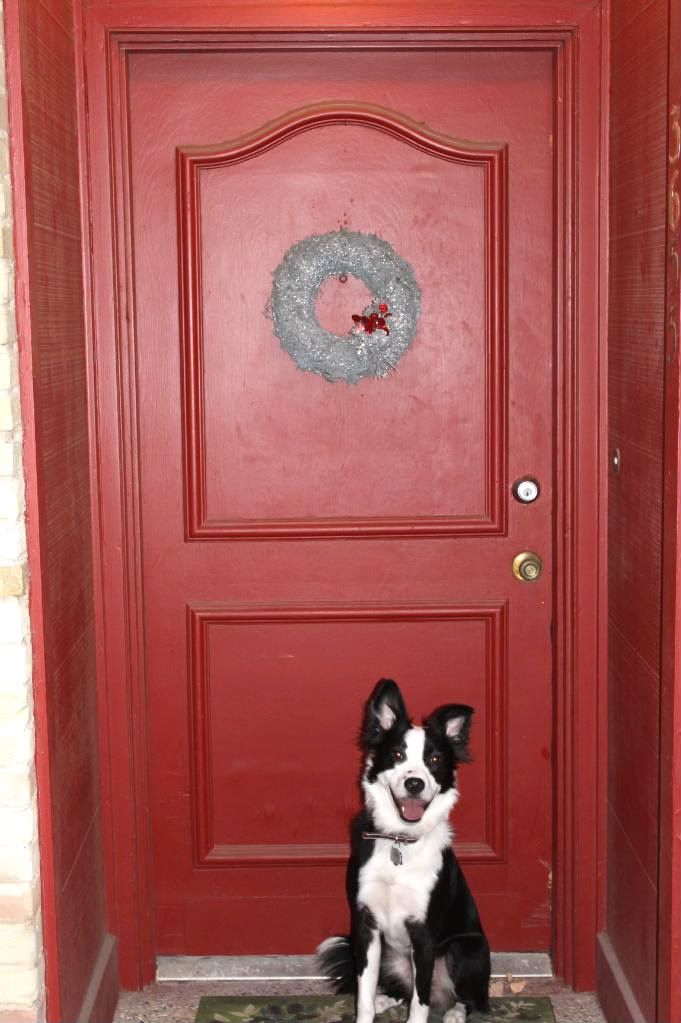
I twisted on a wire off one of the silver accent's packaging and hung it on the nail in our front door (thanks previous tenants!) TaaDaa!
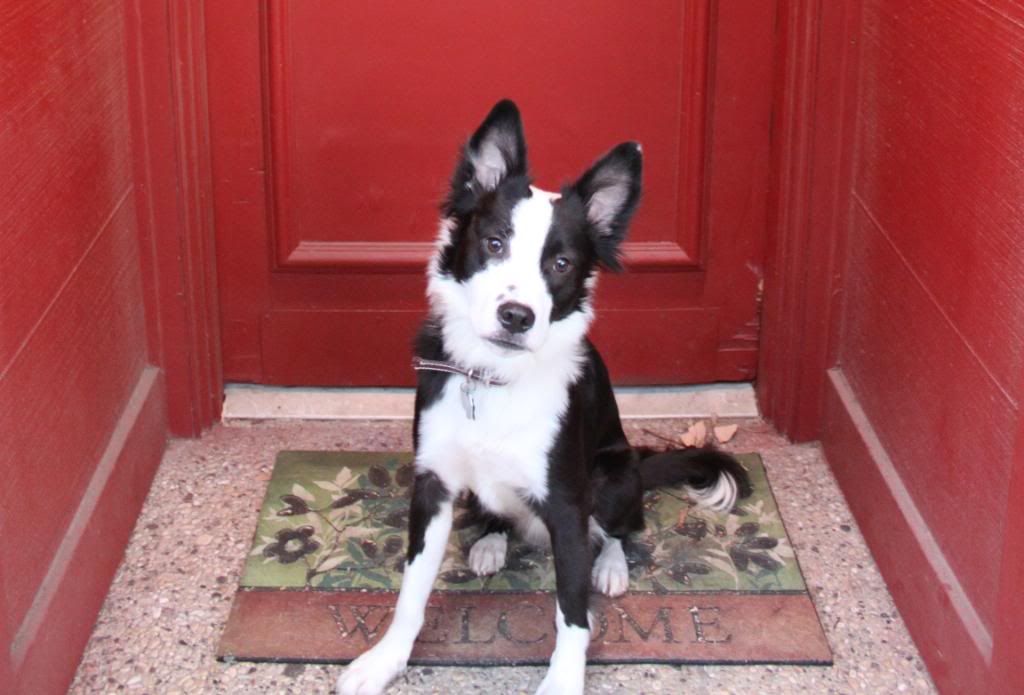
And because you haven't had to look at nearly enough pictures of Desmond yet:
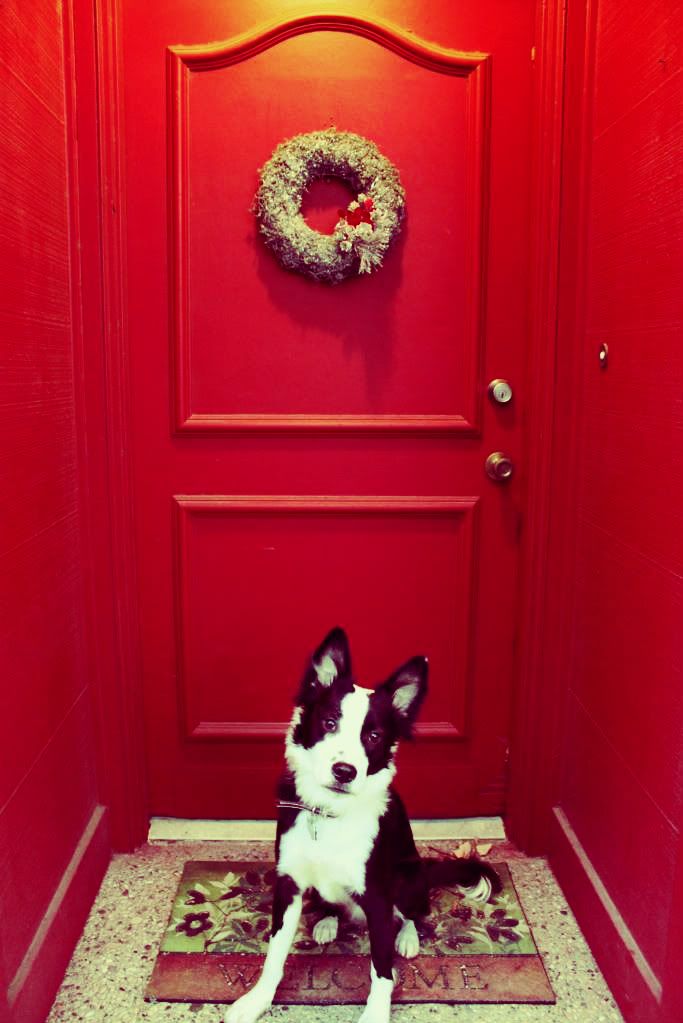
Don't they look good together? I got a little artsy on the coloring of this next one:
Doesn't that face just say "Mommmm! Can I have my treat yet?" Here it is close up in case you cant hear/see it from that far away. That is the same sad puppy dog look that got him a home in the first place.
I will be linking this post to the DIY Clubs monthly contest.





So pretty, wintry and festive! Thanks for linking up to the DIY Club! I love the doggie too! I am a new follower!
ReplyDeleteHolly
504 Main
DIY Club