Showing posts with label thrift finds. Show all posts

Friday, September 9, 2011

Marble Top

For some reason when I say that, I hear that old fifties lollipop song. Marble top. Marble top! Ooooh marble marble top! Now that this is stuck in your head._MG_5897-1

I bought this cute little table for $4 at my favorite little thrift store. It wasn’t priced so I ask and waited to hear “$20”, hoped to hear “$10”, and couldn’t buy it fast enough when I heard “$4”.
The table came with a bad brown paint job but was real wood and marble so it was definitely full of potential.
IMG_3820

In January, I strip the paint off just the top using Citristrip.I have never stripped the paint of something but I was pleased with how the Citristrip worked. The only problem is you have to wait 9 months before you can stain. (Not really. I was just looking for an excuse. Did you buy it?)
IMG_3824

I stained the top using an opps stain from Sherwin Williams. I like the warm red tones to it. The bottom is painted using Glidden’s “Candlelight” that I got when they were do a mass free paint giveaway. Computer monitors are a tricky thing when looking at paint colors but it turned out to be a soft creamy white. Thanks Glidden!
_MG_5898-1

The hardware was covered in goopy brown paint so I used a combination of sand paper and Brasso to shine them back up. The sand paper left slight scratches but I found that if I increase my grit as high as possible the scratches became more of an aged polished look._MG_5901-1

Cost Breakdown: 
Table: $4
Citristrip: $12
Stain: $2? I’m not sure but it was cheap since it was an opps and I used hardly any.
Paint: Free! Thanks Glidden!
Brasso: $3.50
Total: $21.50 but most of that is the large quantity of Citristrip that I used about a third of so you could say $13.50. Let’s say $13.50! Whoop!

I’ve had this table up on Craigslist for a while and I haven't been able to rehome it yet. I thought I was going to get to put it in a booth at a monthly market but now that has fallen through. So for now, it continues to sit in my house, in the way, like it has for almost a year now… I wish I had a better place to sell these things.

Update: It finally SOLD!

Partying here!

Photobucket


Domestically Speaking
Photobucket Furniture Feature Fridays

Wednesday, March 9, 2011

Breakfast Anyone?

Who doesn't love breakfast in bed? So what if it is usually brunch time before I get out of bed on the weekends.

_MG_4901-1

To get my breakfast brunch in bed, I started with one of these breakfast trays that I picked up at a thrift store and told you about here. As a refresher, this is what it looked like.

IMG_4174
IMG_4186

I  primed the top with the oil based primer I use on any project involving a laminate surface. It looks like this:

The rest of the tray received a basic white paint coat as primer.
IMG_4395-1

Then I used the same paint I used on my Mod Podge tiered table. It is such a pretty soft blue.

IMG_4411-1

I used my silhouette to make a stencil. That was my first time to use it to cut vinyl and it was amazingly easy. “like butter” I believe is the phrase.
We’ve been doing some camera switcheroo-ing and if I took any pictures after this point, I’ve lost them so lets move quickly. I sanded to give it that worn look. I stained it. I rubbed as much of the stain off as I could. (I didn’t like it much especially on the white of the top.) Then I finished it off with Minwax Finishing Wax. which looks like this:

I really like the finish this gives but I have been having trouble with lint getting caught in it. I was using an old t-shirt to apply and got black link all over the tray. Paper towel works great if you have an extremely smooth surface but another project I tried that on ended up with white bits on my dark grey paint. argh… Any suggestions?

um…where was I? oh yeah, Ta DAA! I took my breakfast brunch on a photo shoot Sunday morning.

_MG_4898-1

The Desert Rose dishes were given to me by my grandma. They don’t really go with the rest of my kitchen (which is red and brown) but I love them so much. I showed you her wedding silver a while back. If you missed it you can see it here.

_MG_4901-1

I really like how painting the white coat before painting the blue allows for layers to show through when lightly sanded.

_MG_4909-1

I picked up this unusual fork and spoon set at a thrift store for $2. The set included two small glass dished with silver trim. I am not sure what the intended purpose of the set was but the glass and silver dishes work well as coasters.

_MG_4910-1
_MG_4914-1

This what the top of the tray looks like when empty. I really love this pattern even though I applied the stencil a little wonky.

_MG_4917-1

And this is what happens when you go downstairs to eat your photo shoot. I feel like my toes are in danger of being licked if I don’t share my toast.
_MG_4933-1     
Bring it on pup!


If you like the pattern I used, I made it available for you to download. I made the stencil in two parts to fit my tray. You can easily modify it to fit your need. The bottom stencil can be download here. And the top can be downloaded here.

This post is having brunch with:
Funky Junk's Sat Nite Special
Domestically Speaking

Photobucket


Friday, January 28, 2011

My Mercury Glass Look

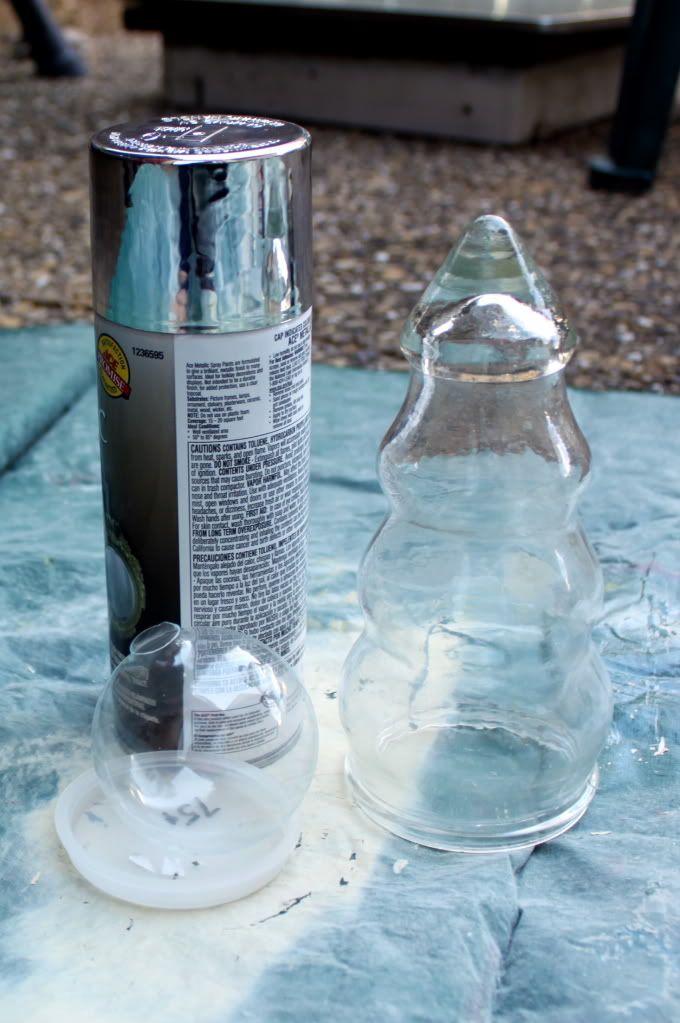
I am loving the fresh white winter look with splashes of sparkle from silver, crystal, and mercury glass. I have seen several techniques for that imperfectly perfect look of mercury glass and choose to use one for myself. If you want to try it, all you need is silver spray paint, spray bottle with water, and your glass pieces.
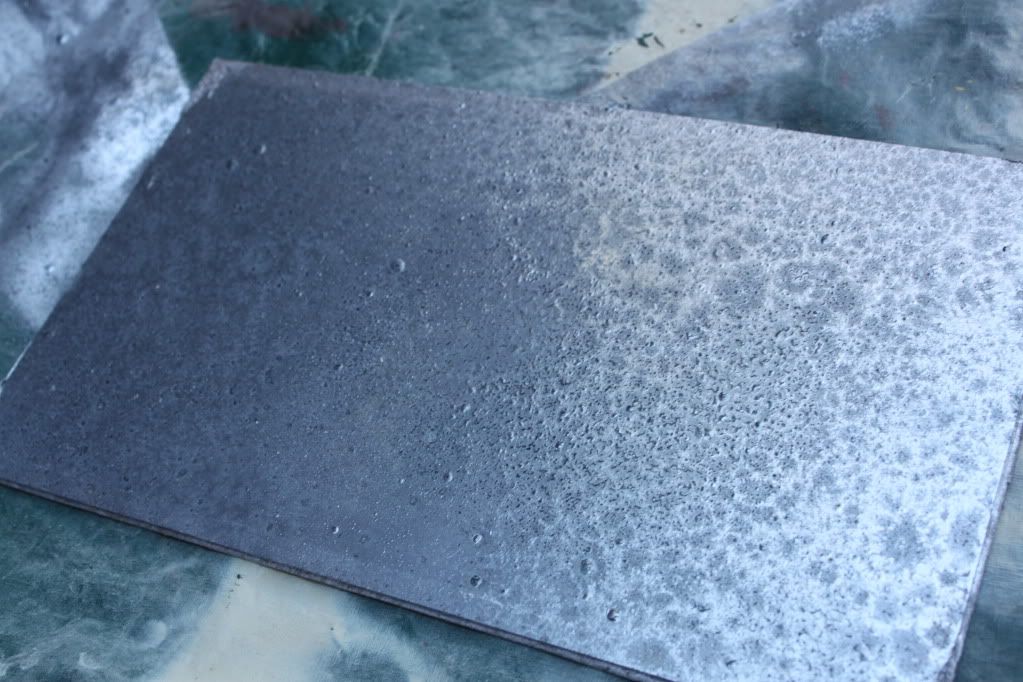
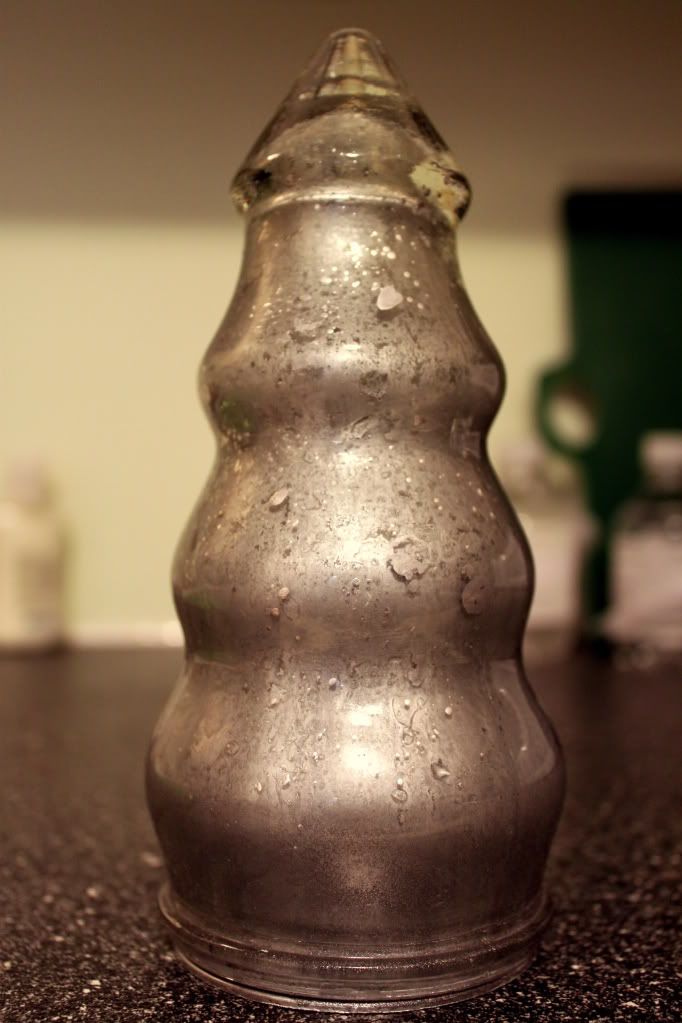
I had picked up this glass Christmas tree from a thrift store for $.75 and had a clear glass ornament leftover from previous projects. I also had a clear glass window pane I took out of a patio door to make it into my headboard. That is a project I keep meaning to take pictures of to show you. One of these days… Anyways, here is the window pane freshly sprayed. All you do is sprits the glass with water and then spray on the silver spray paint. It makes the paint stick differently depending on the concentration of water giving you nice textures.
I was really just using the window pane to test out the technique but now I like to use it to put other display pieces on top off. Basically what I found was that flat open piece like this works easier than anything else. Trying to spray into anything makes a mess on your hands. (Gloves aren’t a bad idea).
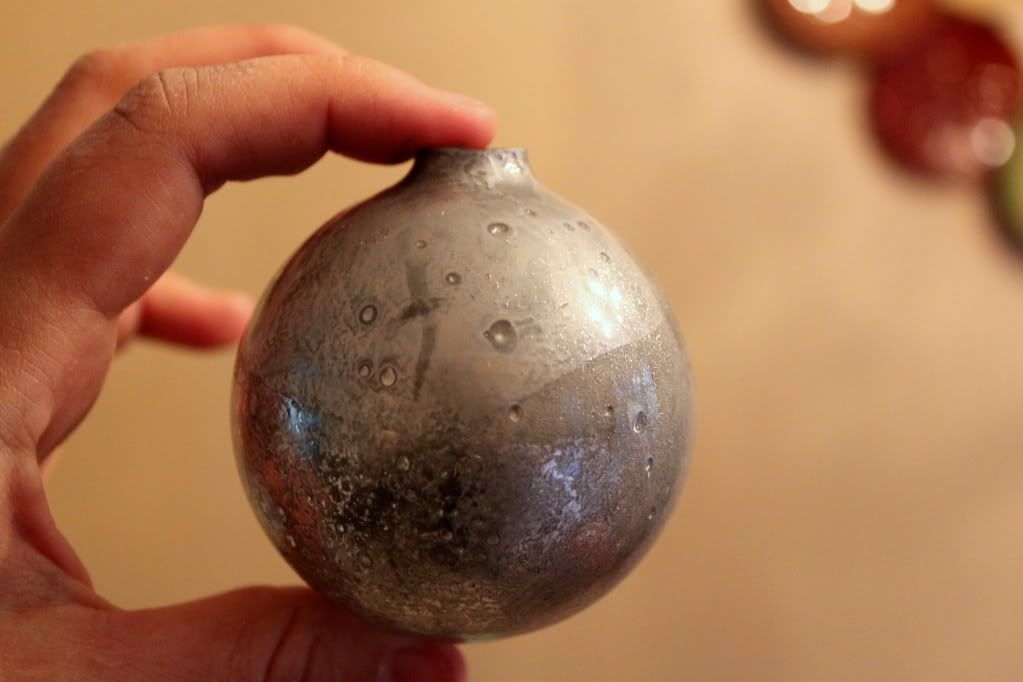
I also found that I like the look on the side you actually spray on rather than the other side. Looking through the glass to the spray paint really flattens the color and texture which was a problem on the tree and ornament. I tried to spray some of the paint in a bowl and then use a small paint brush to flick some paint onto the outside but that didn’t really work so don’t bother to try that.

So what am I going to do different next time?
  • I am not going to bother to try to spray into the ornament but just do the outside. But I do like seeing the thickness of the glass on the tree so I think I would do a light layer inside and out.
  • Use acetone or something else that will take some of the paint off just after it is dry to give a better texture and splotchy look. This is supposed to give you a more antiqued look.
  • Krylon’s mirror finish spray paint is supposed to work well for this so I want to try that.
But really, I like the pieces I made and enjoyed using them through out Christmas. The window pane is still out and probably will be for a while. I might even make a few more of those. You will notice it still has the putty from the windows stuck on it. I think it adds to the texture quite nicely. Or at least that is what I am going with for now.

This post is linked to:

Sumo Sweet Stuff

Friday, January 7, 2011

Oh the Magic of Glue!
This idea is no where near revolutionary but I wanted to share it anyways.  Those who have seen this before and don't need a tutorial should just scroll down to the end and see what I paired together.
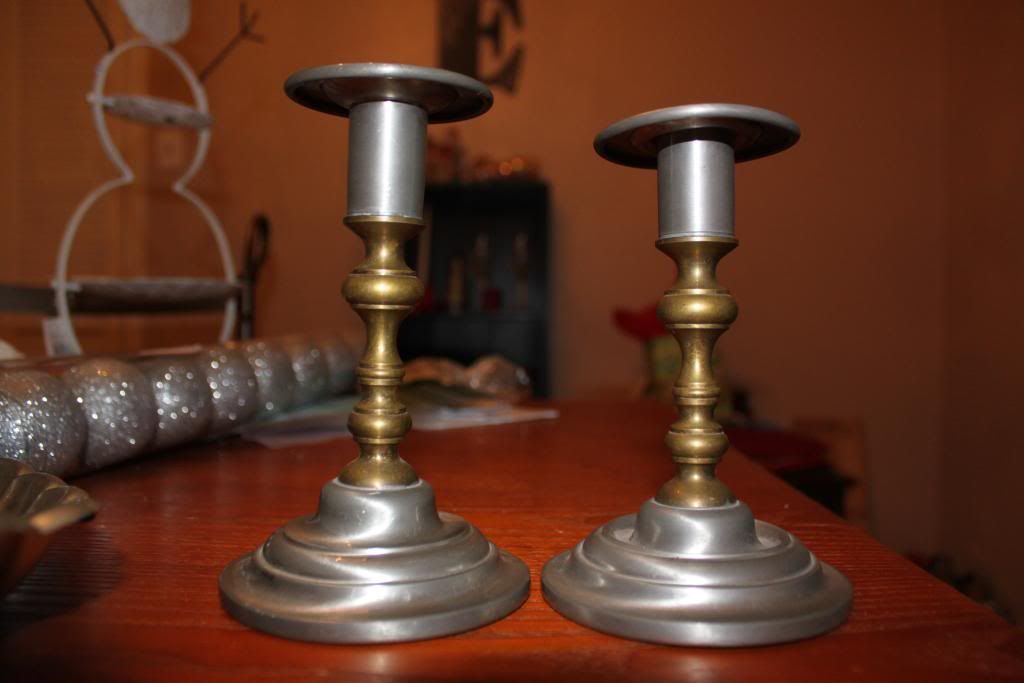
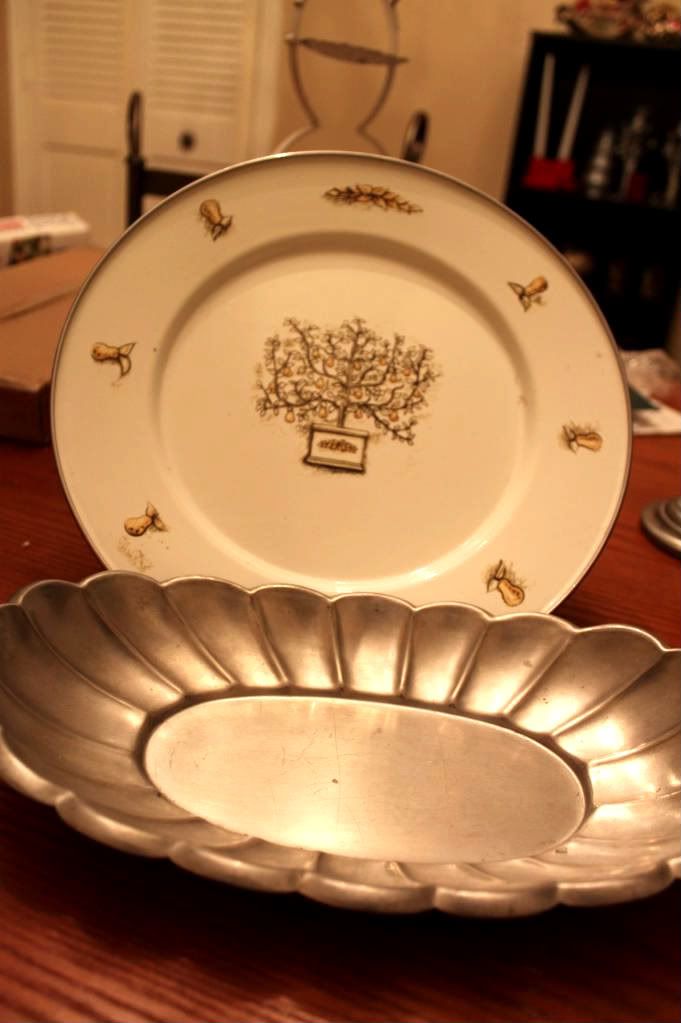
Calling this a tutorial is being generous. It is basically "Glue things together according to the instructions on the package." First gather your thrift store finds. I have started looking at candle sticks and plates every time I am thrifting.
I got these for a $1 a piece. They are a little wonky but I was able to bend them back to fairly level.
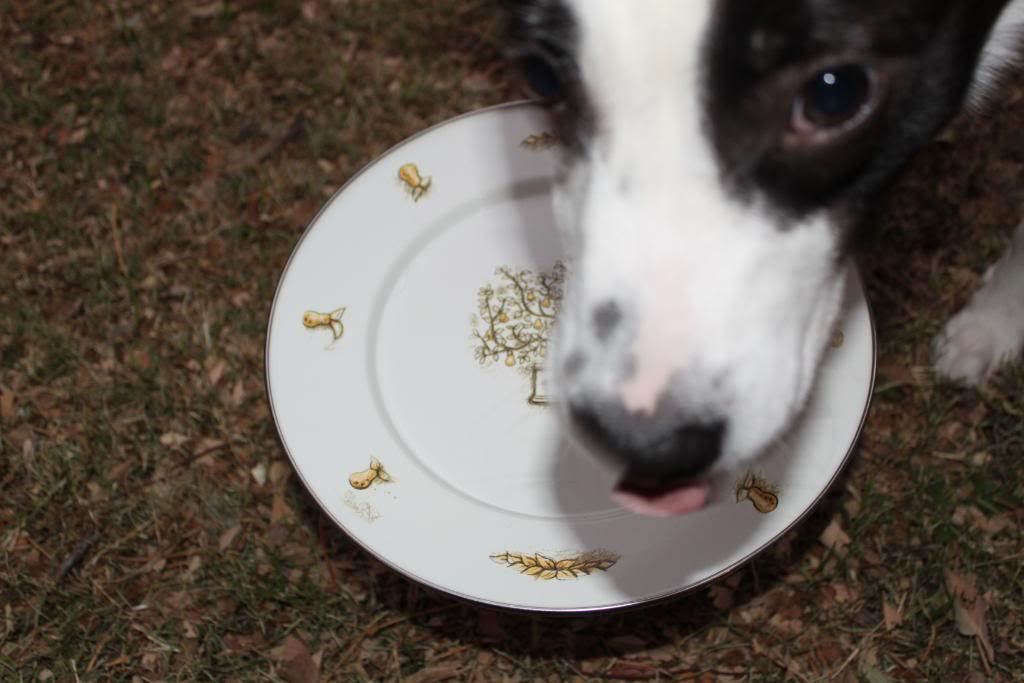
I think the plate was $1 and the pewter bowl $2.

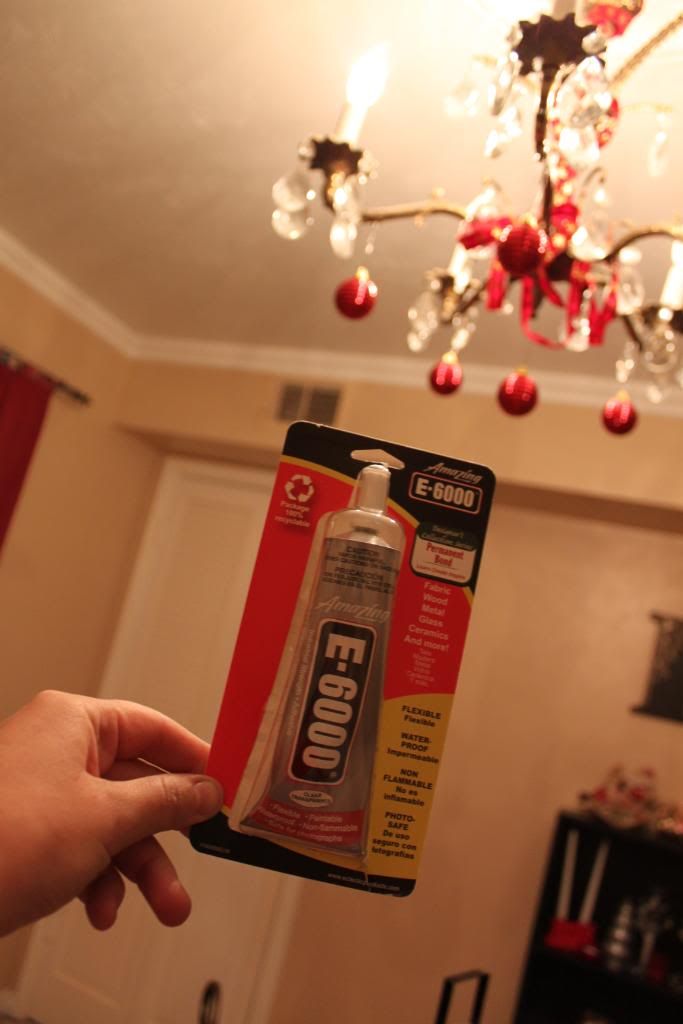
And pull out your E600 glue. Ohhh! Ahhhh!
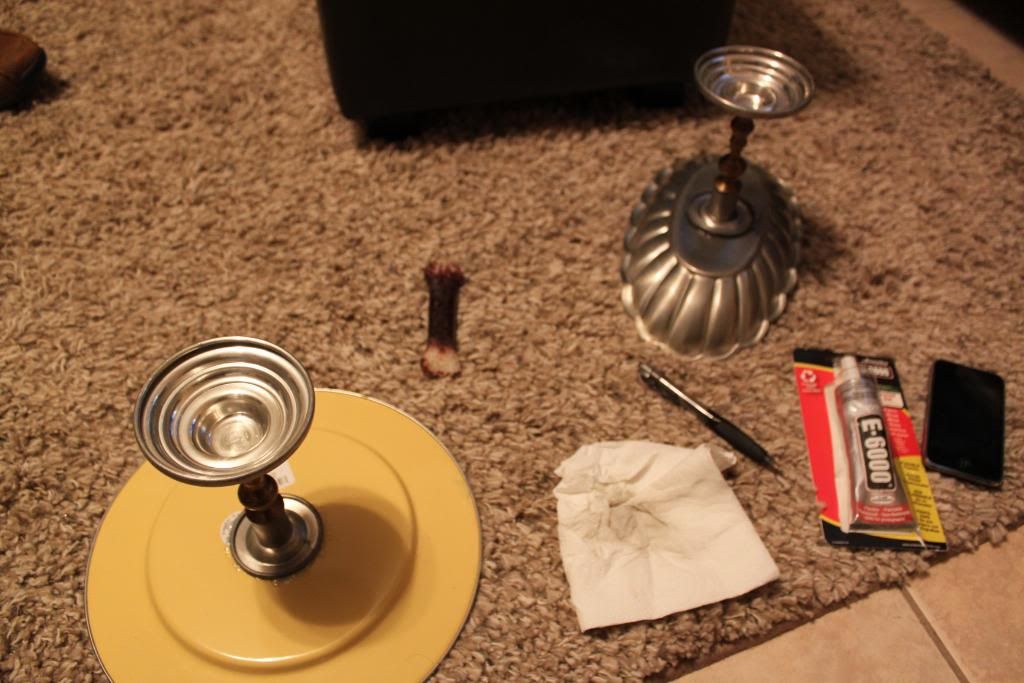
Settle in on your living room floor with the above supplies plus a wet paper towel, pen, and a dog bone.
Clean any area that you will be applying glue to. Center your candlestick on the bottom of your plate/bowl/thingy-ma-bobber and trace around it. This helps you know where to put the glue. Lick-y pooches that think they have to be in your lap + super duper glue is not a good combo. So as needed, use your dog bone to poke away any curious pooches that really just want to do this all the freaking time. 
This was later but you get the idea.
Spread a thin layer of the E600 on both the top of candle stick and plate/bowl/thingy-ma-bobber. Do not put any glue outside of your traced circle. This helps you have a neater piece when you are done.

Do not put your pieces together yet. Let them sit for 5 to 10 minutes, then firmly press together and cure for 24 hrs. I usually leave them upside down like in the picture for a little while and then turn them over and sit a heavy book on top to make sure there is good contact between the pieces.

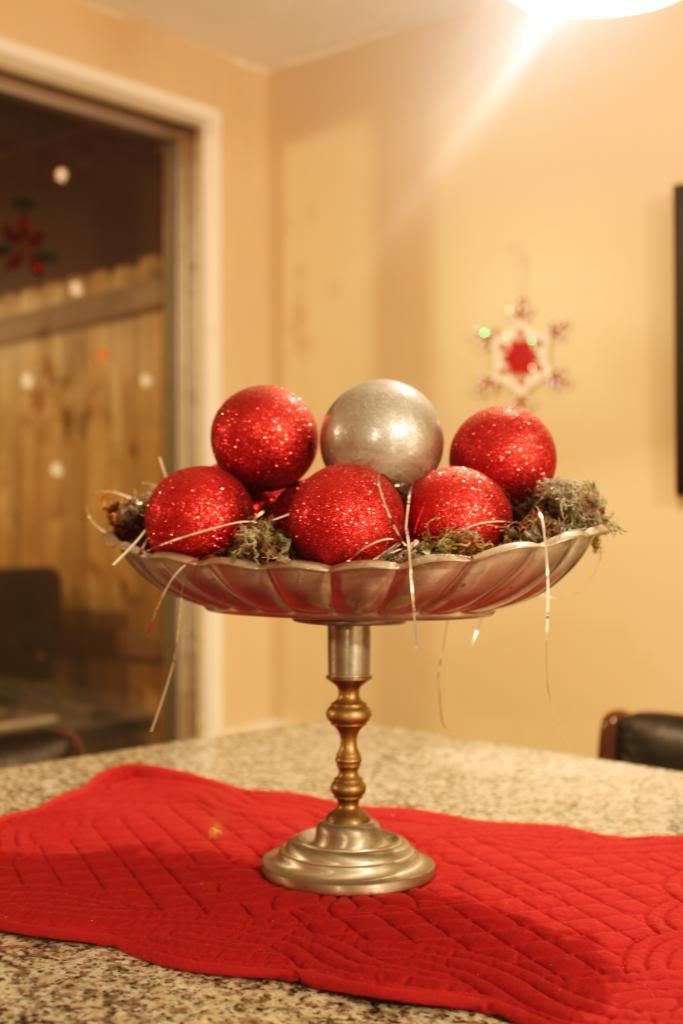
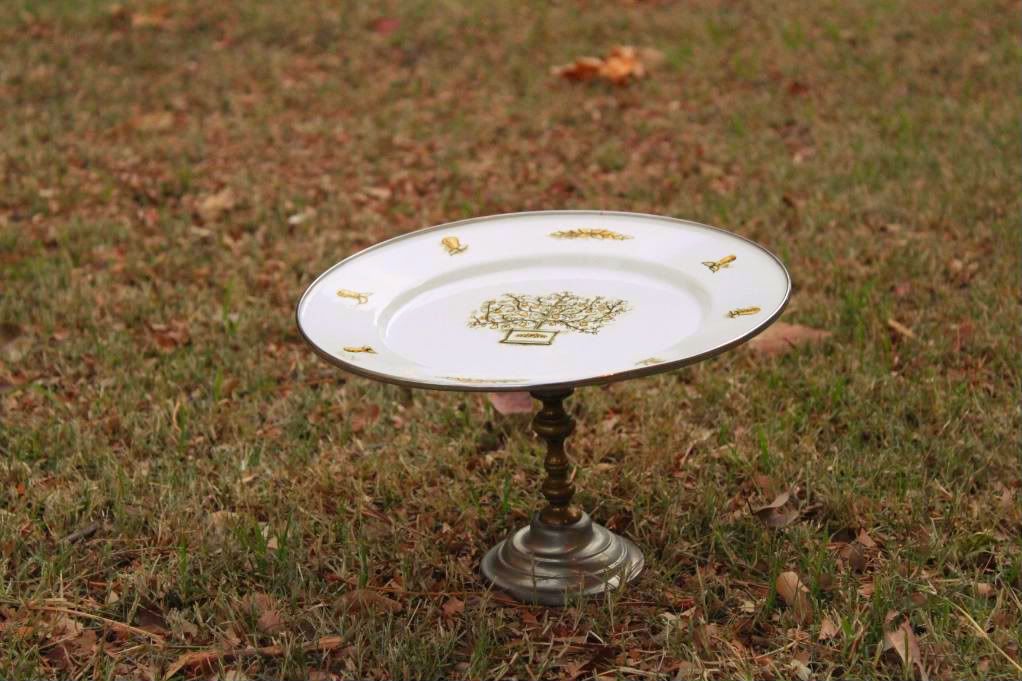
Once your 24hrs are up, you are ready to play! I added a bit of leftover moss from my wreath project, a dozen or so ornaments and a few strands of tinsel. I love all of the textures playing together.

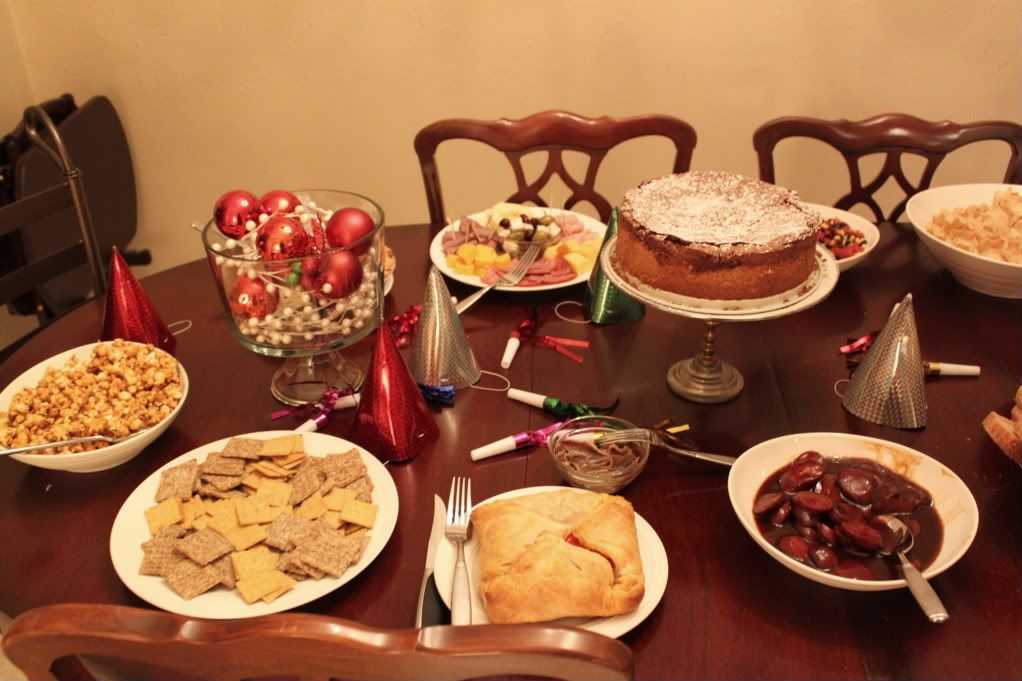
This cake stand is turned out great. The plate is so fun and is actually metal. Here it is holding a Chocolate Truffle cake that turned out sooooo very yummy.
Like my new dining set?
I made this one for my secret santa at work. I had trouble giving it away but I am glad I did because it was a hit.

These kind of projects are so much about the technique as they are about interesting pairings and inexpensive pieces. Do you have any fun projects done this way?

This post was entered in the following link parties:

Tuesday, November 16, 2010

Thrifting is the Beginning of Christmas Shopping

There is a HUGE thrift store near us that I have to restrain my self from stopping in every time I drive past. Seriously, it is HUGE. It is the size of a freestanding department store. Everything is clearly priced and they have a different category on sale everyday. Yesterday was my first time to go in and I think this place is going to become a frequent stop.

I got a few finds I thought I would share with you. The only thing I didn't take a picture of was the 9 foot Christmas garland that I got for $4. Not a bad deal and my first Christmas decor purchase of the season.
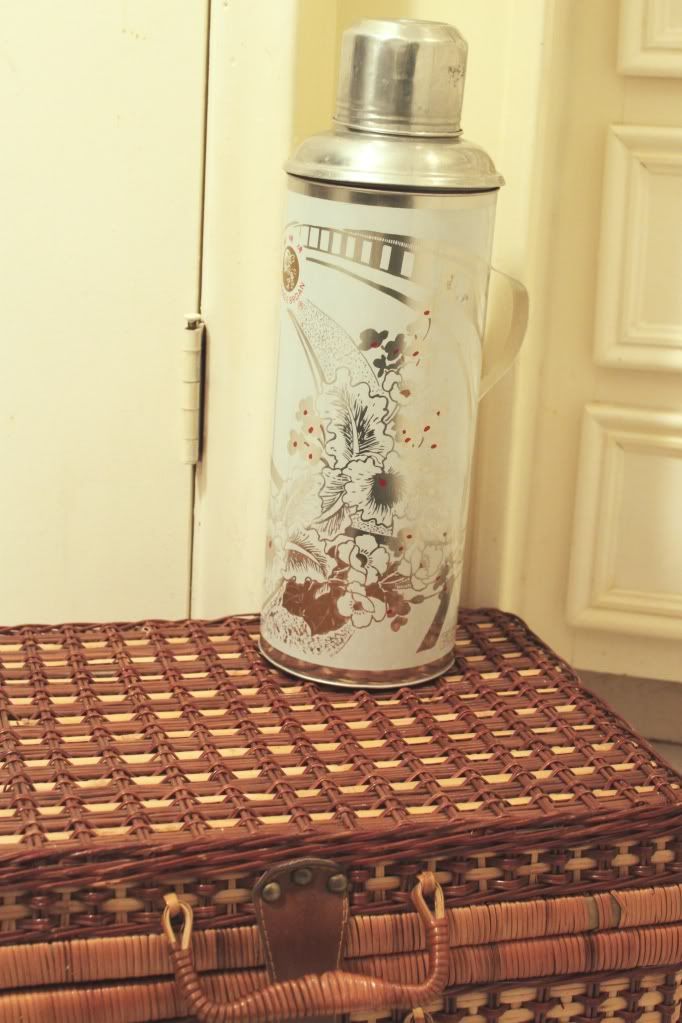
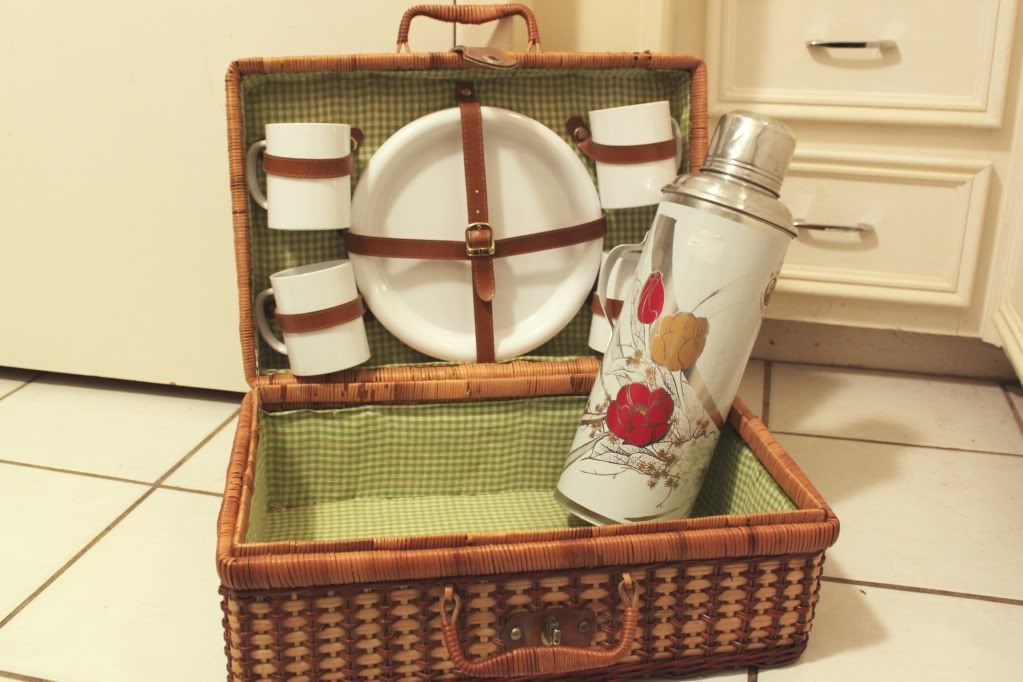
My splurge was this thermos at $6.

Doesn't it look great with my vintage picnic basket? I just loved the colors on it.


I got this wine rack for $2. You can kind of see that it is missing the bolts at the top. I might replace the bolts or I thought I might just tie it together using hemp or ribbon. That led to the idea of completely covering it like Mandi from Vintage Revivals did on her chandelier.  We will just have to wait and see what I end up doing.


 I got this great sconce for $2. We have similar iron work candle holders in our bedroom so I am sure it will end up there.


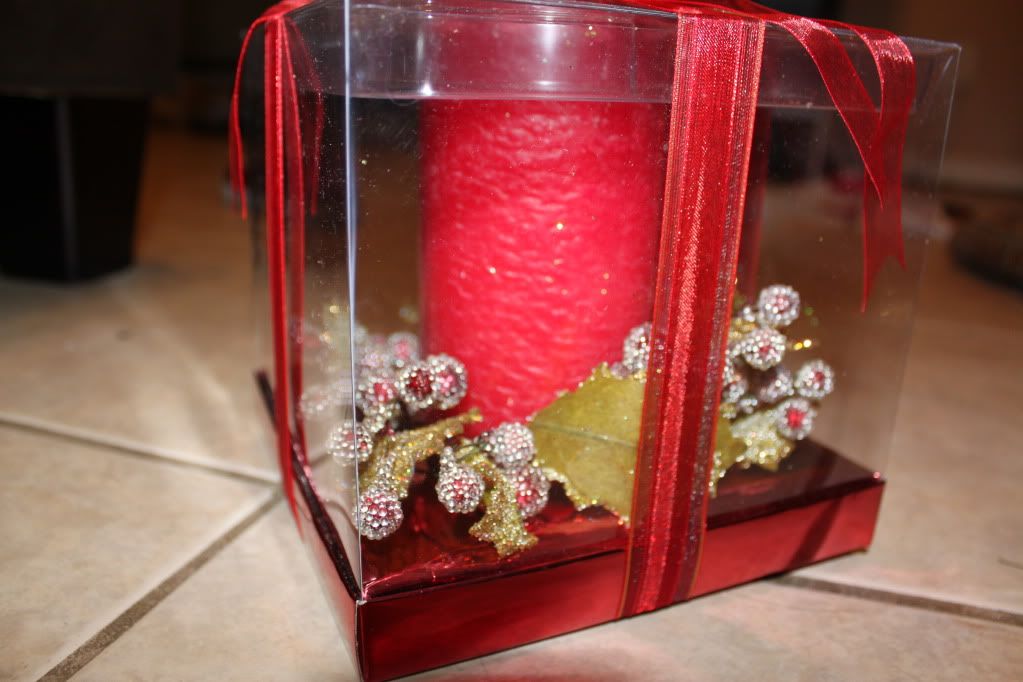
It was hard to take a picture through the box, but I got a tall candle with a sparkle holly adornment for $.21. My "Secret Santa" recipient at work loves deep reds like I do so I think she will like it. I am going to probably clean it up so it doesn't look like a gift someone didn't want. The giving is spread out over 5 days and is to add up to $20 so this will make it so I can spend more on another day.


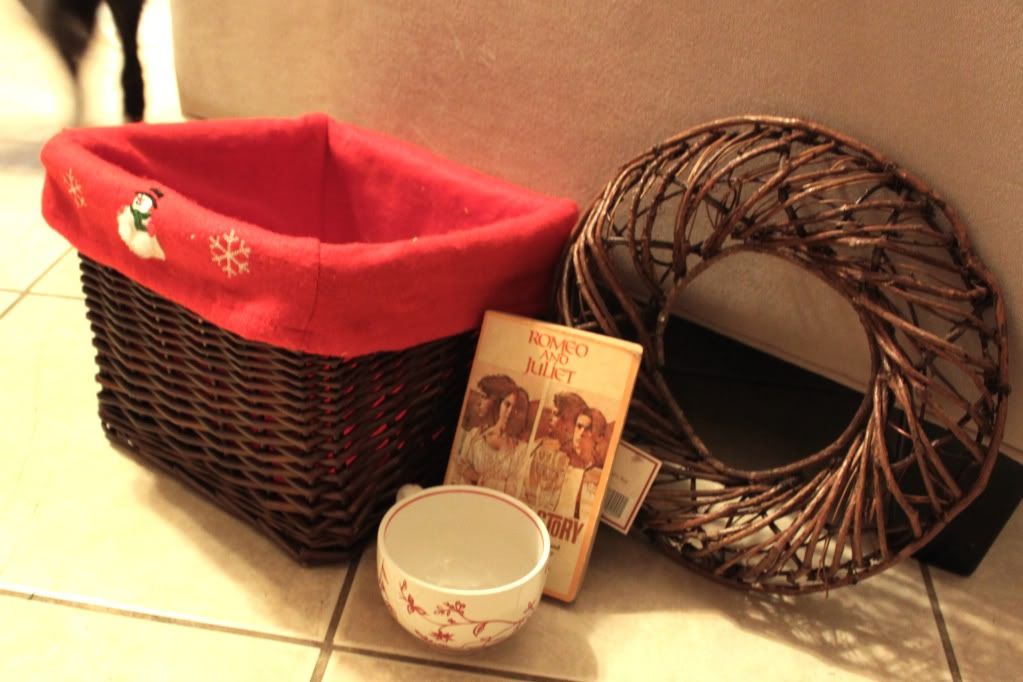
I got tired of taking individual pictures so this next one encompasses my last few finds. I got the basket and the wreath for $2.75 each. I am going to take the Christmas liner out of the basket and use it to organize supplies at my sewing desk. I don't have specific plans on the wreath at the moment.
But I've got BIG plans for the book which was $.75. Just you wait. It is going to be super cool and look great in our library. The mug was $1.40. It might end up being part of my Secret Santa gifts but I think more likely I will keep it. It has a lovely crackling to the glaze and I've always had a thing for red and white mugs. I always ohh and ahhh at them at Starbucks but those are never $1.40. I also got a stocking stuffer for $.41 for my husband but since he is my first and only follower I can't tell you about it.