Wednesday, March 9, 2011

Breakfast Anyone?

Who doesn't love breakfast in bed? So what if it is usually brunch time before I get out of bed on the weekends.

_MG_4901-1

To get my breakfast brunch in bed, I started with one of these breakfast trays that I picked up at a thrift store and told you about here. As a refresher, this is what it looked like.

IMG_4174
IMG_4186

I  primed the top with the oil based primer I use on any project involving a laminate surface. It looks like this:

The rest of the tray received a basic white paint coat as primer.
IMG_4395-1

Then I used the same paint I used on my Mod Podge tiered table. It is such a pretty soft blue.

IMG_4411-1

I used my silhouette to make a stencil. That was my first time to use it to cut vinyl and it was amazingly easy. “like butter” I believe is the phrase.
We’ve been doing some camera switcheroo-ing and if I took any pictures after this point, I’ve lost them so lets move quickly. I sanded to give it that worn look. I stained it. I rubbed as much of the stain off as I could. (I didn’t like it much especially on the white of the top.) Then I finished it off with Minwax Finishing Wax. which looks like this:

I really like the finish this gives but I have been having trouble with lint getting caught in it. I was using an old t-shirt to apply and got black link all over the tray. Paper towel works great if you have an extremely smooth surface but another project I tried that on ended up with white bits on my dark grey paint. argh… Any suggestions?

um…where was I? oh yeah, Ta DAA! I took my breakfast brunch on a photo shoot Sunday morning.

_MG_4898-1

The Desert Rose dishes were given to me by my grandma. They don’t really go with the rest of my kitchen (which is red and brown) but I love them so much. I showed you her wedding silver a while back. If you missed it you can see it here.

_MG_4901-1

I really like how painting the white coat before painting the blue allows for layers to show through when lightly sanded.

_MG_4909-1

I picked up this unusual fork and spoon set at a thrift store for $2. The set included two small glass dished with silver trim. I am not sure what the intended purpose of the set was but the glass and silver dishes work well as coasters.

_MG_4910-1
_MG_4914-1

This what the top of the tray looks like when empty. I really love this pattern even though I applied the stencil a little wonky.

_MG_4917-1

And this is what happens when you go downstairs to eat your photo shoot. I feel like my toes are in danger of being licked if I don’t share my toast.
_MG_4933-1     
Bring it on pup!


If you like the pattern I used, I made it available for you to download. I made the stencil in two parts to fit my tray. You can easily modify it to fit your need. The bottom stencil can be download here. And the top can be downloaded here.

This post is having brunch with:
Funky Junk's Sat Nite Special
Domestically Speaking

Photobucket


Monday, March 7, 2011

A Follow Along with Making the World Cuter

Hi friends!
Tiff from Making the World Cuter is hosting a follow along link party. It is a really great way to find new blogs and help others find you. It is a lot of fun so go check it out here. She also has a great link party to show off how you are "Making the World Cuter". so if you are wanting some inspirational cuteness go here.
If you are stopping by because of the follow along, Welcome! I hope you stay a while and read through some of my projects and comment to let me know you were here. If you follow me, I will be sure to follow back.

Thursday, March 3, 2011

I Finally Finished a Project!

That is right. I did it! I finally did it! It has been several weeks since I have finished anything to post. Not for lack of trying. It just seems every project takes way longer than it should and has terrible "oh no! It is ruined!" moments. And I am not just talking about the ugly stage. That is normal. My projects lately have hit a way more than normal quota of ugly. If you are one of those that enjoys it when a blogger shows you the mishaps along the way instead of just the perfect endings, you are going to LOVE me.
Lets get started on the project I finished. This is the front entrance to my home. Yep, in that yard. In between those two buildings. Needless to say, first time visitors struggle to find us.
IMG_4520 
There is a sign hanging from the eaves with our house number but it easily gets lost in the shadows so I thought I would make another one that would be easier to see.
I had this old shelf that I made for my college dorm.
IMG_4599-1
It has was never very sturdy and since we moved here, it has been sitting outside forlornly. So I scavenged a few boards off of it and sanded them to clean up the water stained areas and distress the paint a little bit. (the bottom one is sanded and the top to aren’t yet)
IMG_4601
I used Gorilla wood glue to glue them together. Worked like a charm!
IMG_4604
And then clamped them together. They tended to roll up when I had them clamped as tight as they needed to be so I put a weight on top. The drawer from the project that won’t end did the trick.
IMG_4605
Proper assistance is key during all steps of this project. Hiya pup!
IMG_4602
Next I broke out my beautiful Silhouette that I got for Christmas. This thing is a dream. You should see how excited I get just being able to quickly cut multiply PERFECT circles at exact dimensions. I may be a nerd for that, but circles are really hard to do by hand. A tip if you have a vinyl cutter too, you can use contact paper instead of transfer paper to take the vinyl off the backing and smoothly put it on your project. It is sooooo much cheaper.
SDC14632
I am showing you what it looks like because I had difficulty finding contact paper the first time but eventually found it in the drawer liner section at Wal-Mart. I first looked at craft stores and no one even knew what I was talking about.
http://myrepurposedlife.blogspot.com/2011/03/silhouette-sd-how-to-cut-and-apply.html isn’t the only one who makes a decal and sees a stencil. I put the outline of the leaf I used on wax paper to save for another time. She also has great tutorials and videos on how to apply your Silhouette-d vinyl.
SDC14646
Okay, here is where things started to go wrong and I stopped taking pictures because I thought I would have to scrap the whole thing anyways. I decided it would be a great idea to use my dark walnut stain to further distress my sign. For whatever reason, the white paint turned purple. A dark violet purple. It was awful. I freaked out and threw it in the kitchen sink and through some bleaching and sanding and white washing, got it un-purpled enough to move on.
I tried to clean it up well and wait patiently for it to be thoroughly dry before I applied my vinyl but apparently, I wasn’t patient enough. As soon as I got the vinyl near it, it lost its stickiness. I freaked out again and ran upstairs and grabbed some spray adhesive and clear spray paint. And then I stood there with them in my hands and stared at the sign willing it to be thoroughly dry and pouting.
When my pout the drying was done and with the front of the vinyl decal attached to the contact paper and the back-should-be-sticky-side out, I sprayed it thoroughly with the spray adhesive. I pressed it down on my boards and rubbed it firmly with a used gift card and then peeled back the contact paper. The contact paper removes more easily if you pull it back on itself as close to horizontal as possible (if you are working in a horizontal position). I rubbed it down some more with the gift card and smeared some Mod Podge under any parts that still were not sticking. After that, I gave it several good coats of the clear spray paint in hopes that it would create a bond around the edges. It seems to have worked!
I had trouble deciding where to hang it. I wanted it on the gate but there is a monster spring there. I thought maybe under the mailbox.
IMG_4535
But that didn’t seem to really “pop” to me. So I tried it on the right side.
IMG_4536
No. That’s not it either… I guess spring or no spring, I want it on the gate.
IMG_4541-1
House Numbers
It isn’t as reflective as these pictures seem. I was running out of perfect daylight.
To hang my new house numbers, I simply screwed two screws into the top and tied hemp twine between them. See?
House Number Close Up
It may not make my home perfectly easy to find but I definitely think it will help people at least know if they are in the right yard. And it only cost me about $2 for the vinyl and a few tears.
If you like the leaf I used, you could swap me for your own on whoopDwhoop.
This post will be participating in the following parties.


Photobucket


Photobucket

Funky Junk's Sat Nite Special

Wednesday, February 23, 2011

Whoop!

I might finally finish a project tonight to share with you. I sure hope so. I am starting to get really frustrated with not finishing anything.
In the meantime, I wanted to tell you about a cool new site I just learned about. It is called Whoopdwhoop and it is a "currency free creative market place".
You list your creations and when someone "buys" it you earn "whoop"s which you can then use to purchase others creations. You can also earn whoops other ways like adding a creation to the community, leaving feedback on a successful swap, and getting friends to join. I think it is a really great way to get to create for more than yourself without the pressure of an Etsy shop or other retail place.

There are all sorts of creations listed too. There is jewelry, hair bows, baby clothes, photography prints (even some really great ones that are really large), lots of crocheted goodies, and lots more.

I totally recommend you going and exploring the site. And if you decide to join, use my link so I get credit for sending you there. Thanks!
P.S. And you know the Aggie in me is lovin all the "Whoop"ing going on at this site.(If you don't understand that, go here to learn about my beloved alma mater)

Friday, February 18, 2011

My New Office: Take 1

You may remember I got the opportunity to pick out new furniture for my office. I posted about my excitement here.
Well. it has arrived and I got to move in this week. I am still working to decorate. I am making custom office supplies and want to have pretty magazine files and coordinating bits on the book shelves. But for some reason I can not seem to finish projects right now so those are not ready yet.

Let's take a look. I apologize for the iphone pictures. I promise to bring in my camera and take good pictures when I am done decorating.
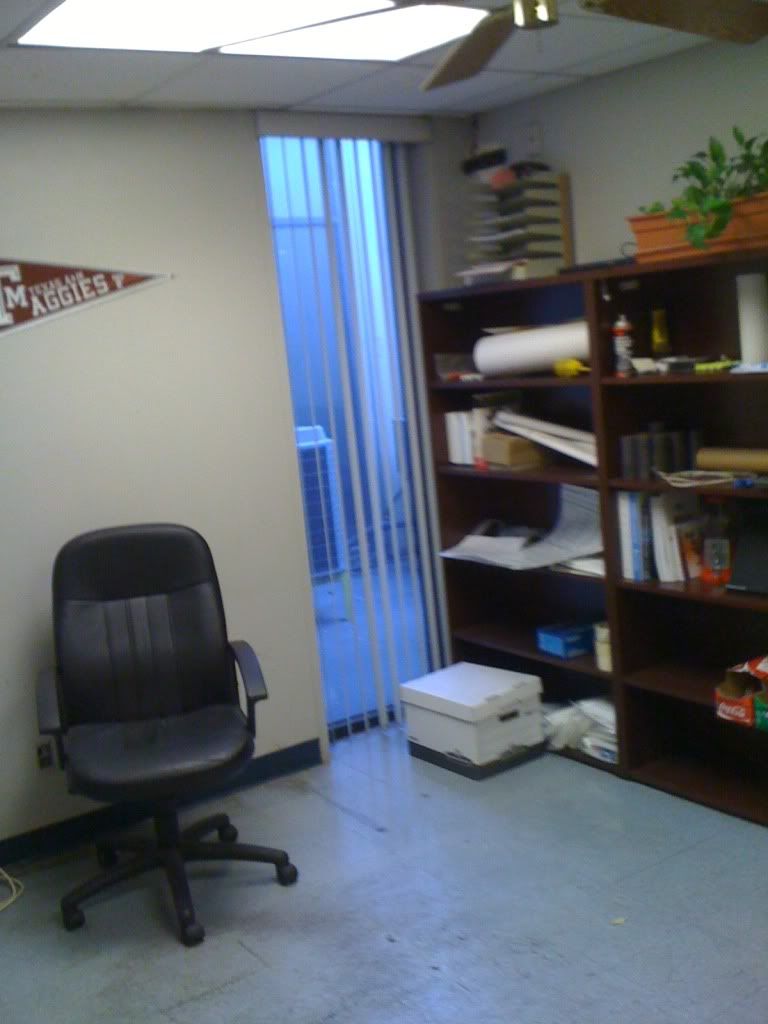
This is the before. It was full of someone else's junk (and a little bit of mine) The chair is covering most of it up but the wall were smudge from years of greasy boots  and hands bumping up against it. Ick.
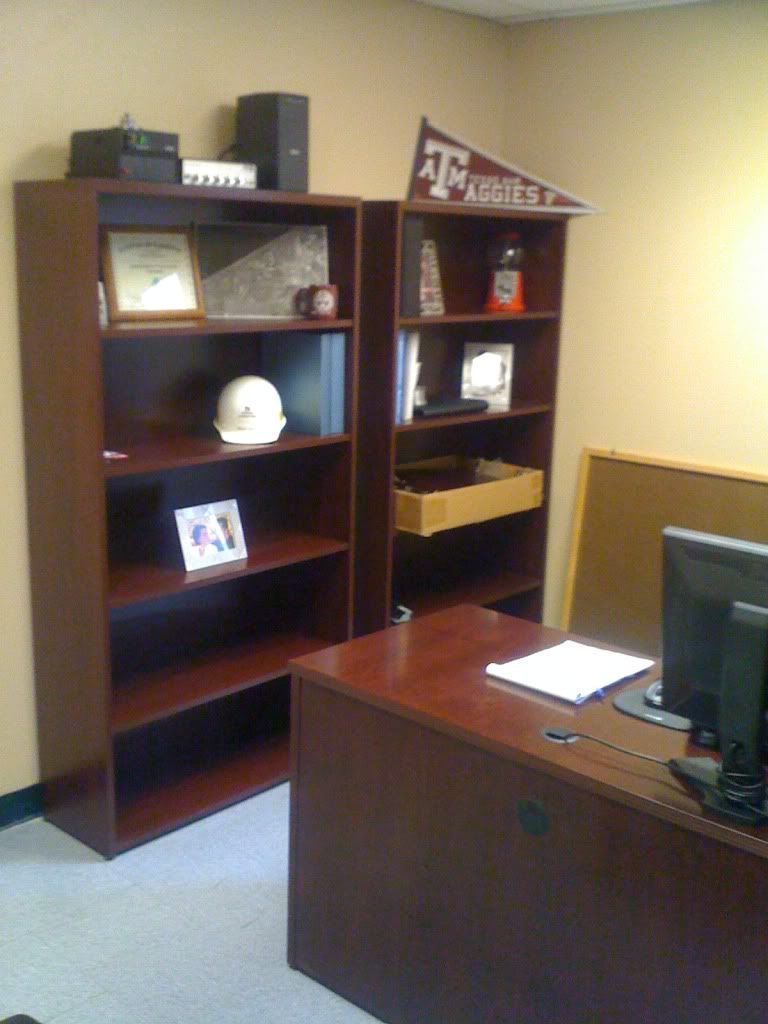
I painted the walls using paint we had leftover from painting our current place and the color looks better there than it does here. Something about the florescent lights brings out a pink and orange tone that isn't great. Oh, well. It only cost me a Saturday and it looks SO much better and brighter.

Huh? Whats that? You wouldn't know because I am rambling instead of showing pictures? oh sorry. Here you go.
They delivered the wrong chairs and I had to be persistent to get the right ones ordered in the first place but I really like my desk chair and the guest chairs. I need to move my desk forward so the chairs aren't so awkwardly in a large gap and to cover some outlets and wires but I am too embarrassed to go ask some guys who aren't busy making steel to move furniture around for me. oh well.. I am going to have to bite the bullet soon. It is driving me crazy.
Also, you might have noticed a cardboard box on one of the shelves. It is holding the solid wood doors that came off the hutch when they put the glass ones on. I asked the installers if I could keep them and they let me (I just had to put up with a few strange looks)

I am going to make some sort of art to put above the guest chairs. I want to mount different pieces of found industrial bits.
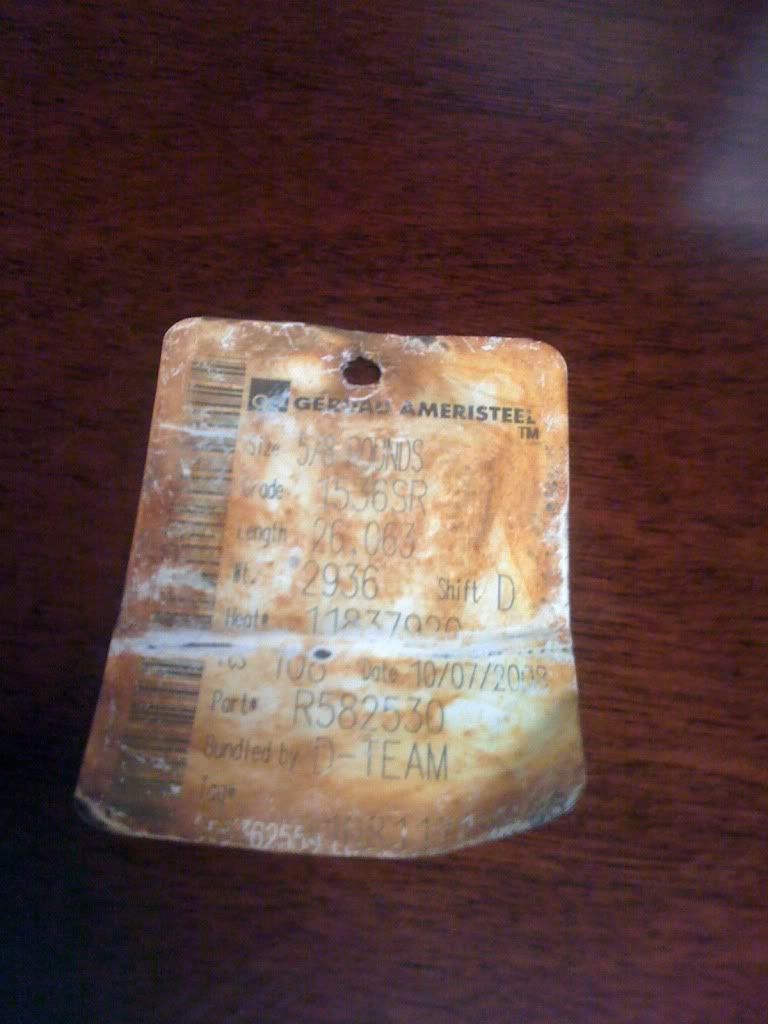
Like this tag off of a bundle of rebar. I keep it at my desk to remind me that there is beauty already even in steel mill.You just have to look for it.
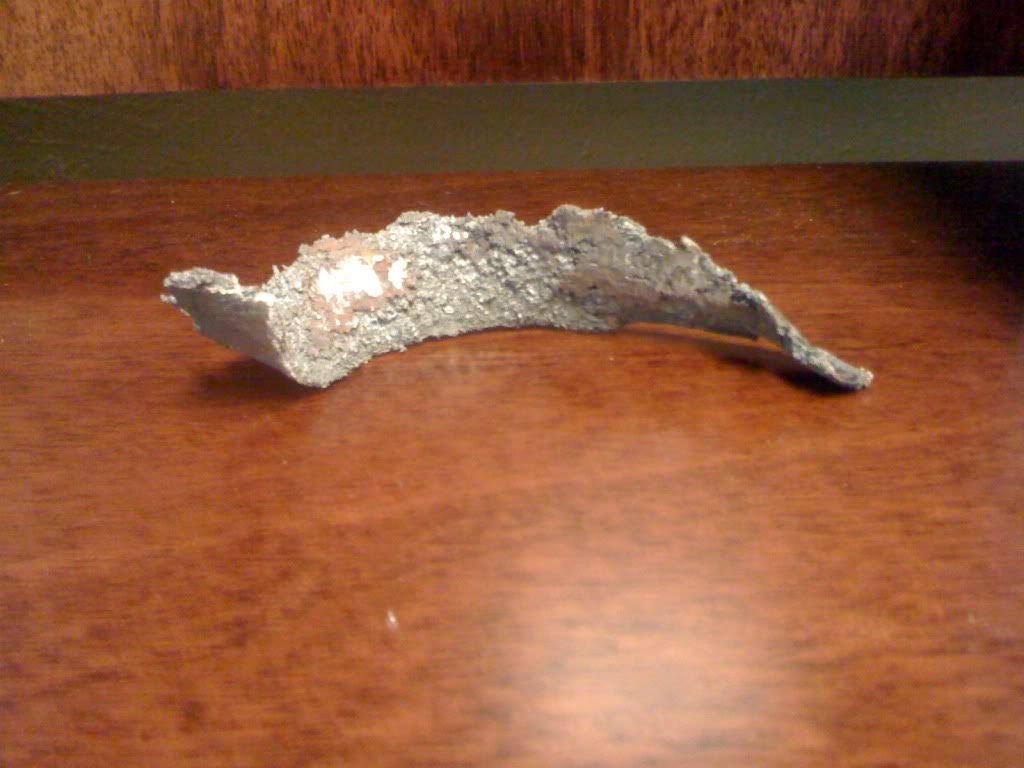
or this bit of dross that was the first bit removed by the first piece of equipment I designed.
I've got 4 doors so I need some more bits. The difficulty is that most bits of metal around here go back to the shredder and get re-melted so picking up metal off the ground is like picking up a dollar someone dropped. And I don't want to steal from the company to do my art.

Sunday, February 13, 2011

Glitter, Glam, and Stargazer Lilies

A very sweet friend of mine is getting married on May 15th and I get to play florist! I am so excited! Here is Krista and her finance Leslie. Aren't they cute? (I stole this pic off Facebook . hehe)
Her wedding style will be simple bold statements using her favorite flower, the stargazer lily.
The colors she is using are the dark pink in the center of the petal with black and ivory accents. It is going to be so pretty.
Last weekend, I had her over to discuss details and set up a few prototypes of reception table centerpieces to choose from. Here I am all set up and ready for my client.
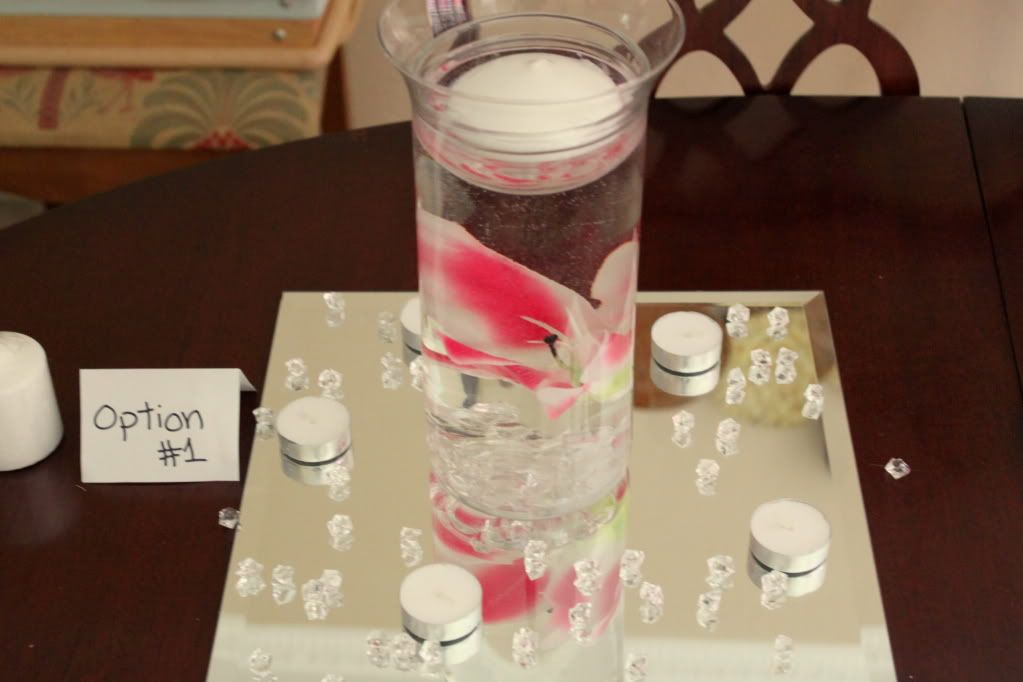
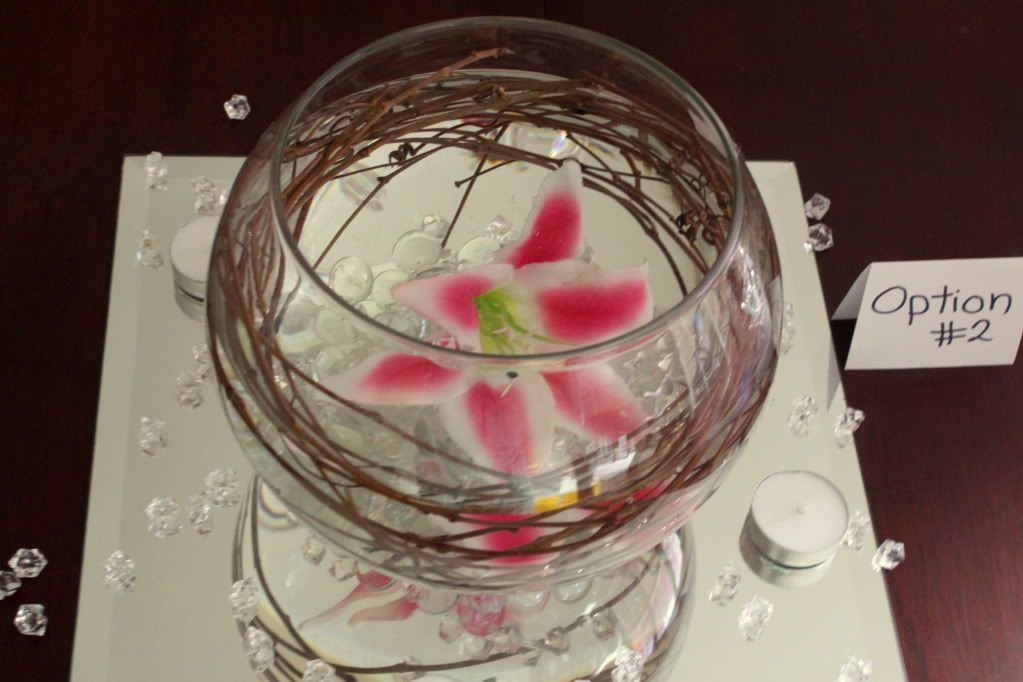
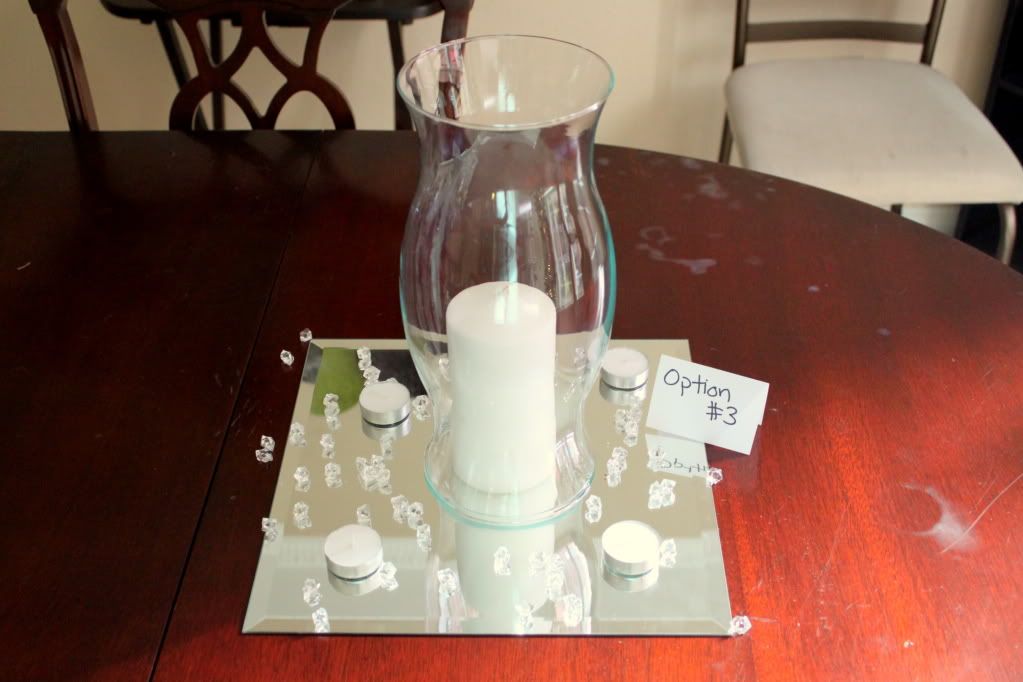
And here are options for the tables. They were created using silk flowers and small tea lights. They will be replaced with real flowers and glass votive holders and votive candles.

Option 1 uses a Dollar Tree vase, small bowl and candle with a single lily on top of a mirror with candles and sparkles. It will cost about $7 for each table.


Option 2 uses a bubble bowl vase, grapevine (that I am going to spray paint black), and a single lily on top of a mirror with candles and sparkles. It will cost between $5 and $9 depending on whether we can borrow the vases.


Option 3 uses one of my thrifted hurricanes with a pillar candle on top of a mirror with candles and sparkles. It will cost about $6 for each table.
This option has several options to it also. Vines swirled inside? Some sort of filler? Ribbon?

My bride decided she liked option 2 the best and then option 1. We are going to do a mix between the two with a higher concentration of option 2. The hurricanes are going to have ribbon swirled around the outside and be used other places such as the food serving table.

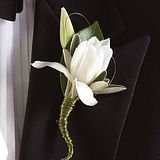
We made so many decisions that day from boutonnieres to pew adornments to bouquets to you name it.
 One thing I am excited about is a branch decoration I am going to make for guest to tie prayers, verses, and good wishes for the happy couple in the style of Japanese prayer trees.

It is going to be so fun working on all these projects and I am sure I will take you only the ride with me.

Friday, February 4, 2011

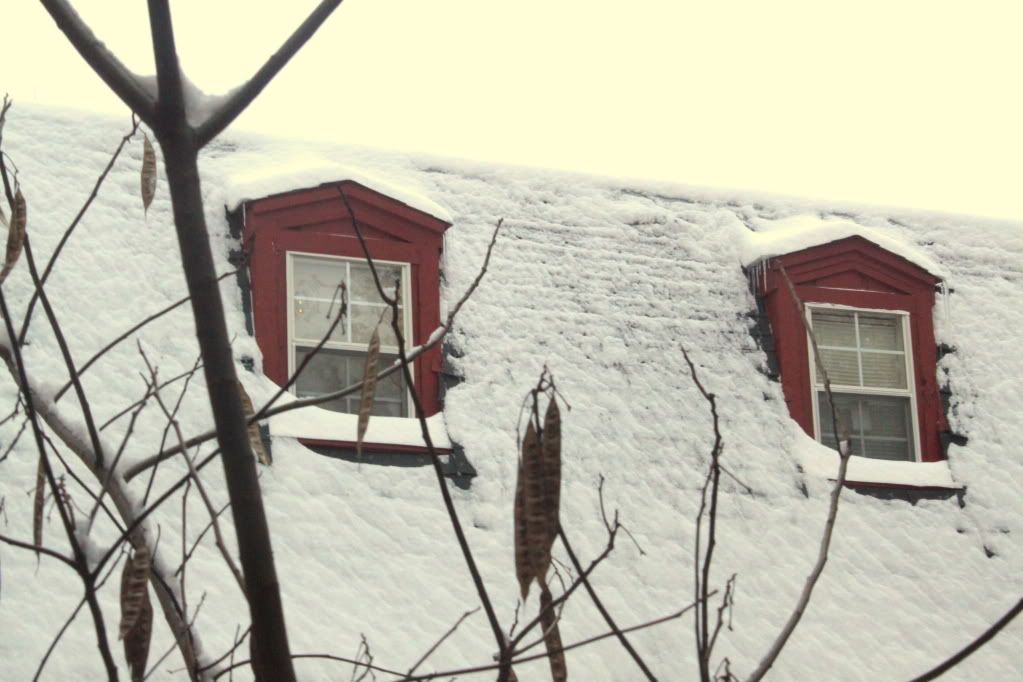
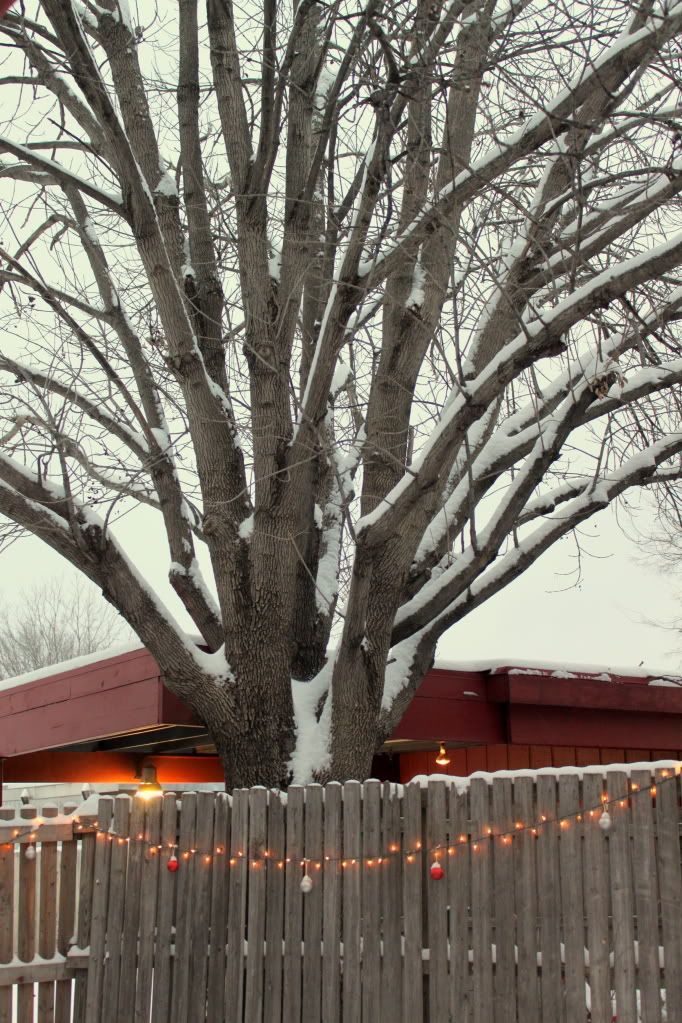
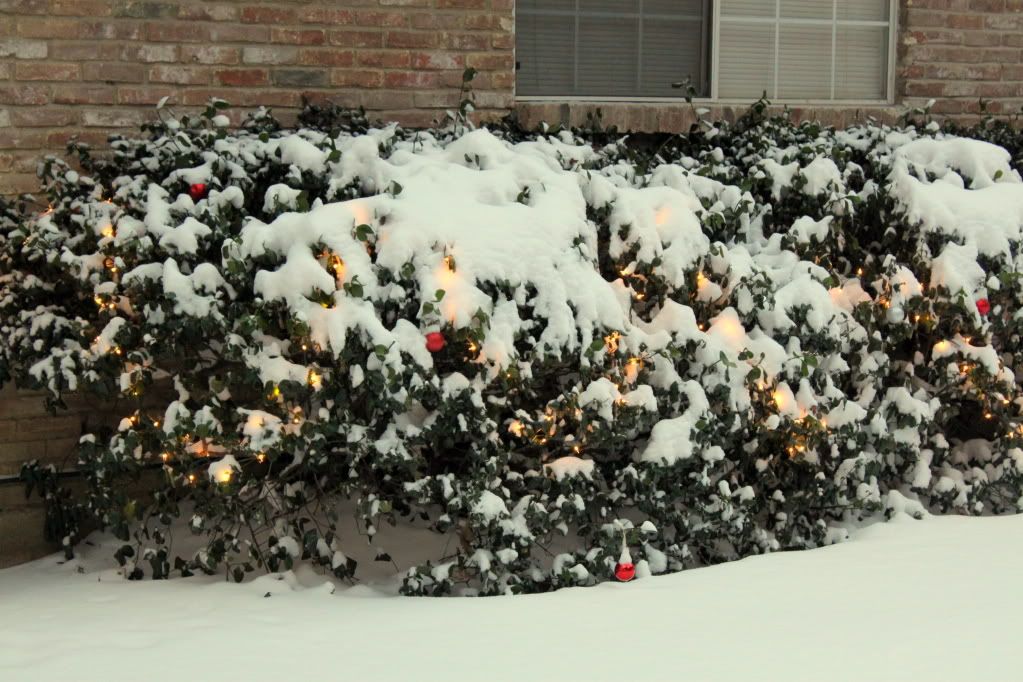
Y'ALL!!! It is snowing!

 I added that y'all in there to emphasis the fact that it is snowing in Texas and that it is extraordinary. Extraordinarily awesome!

I have a confession to make. I haven't finished taking down my Christmas decorations. But doesn't that make for lovely snow pictures. We are gonna go with, "I planned that."

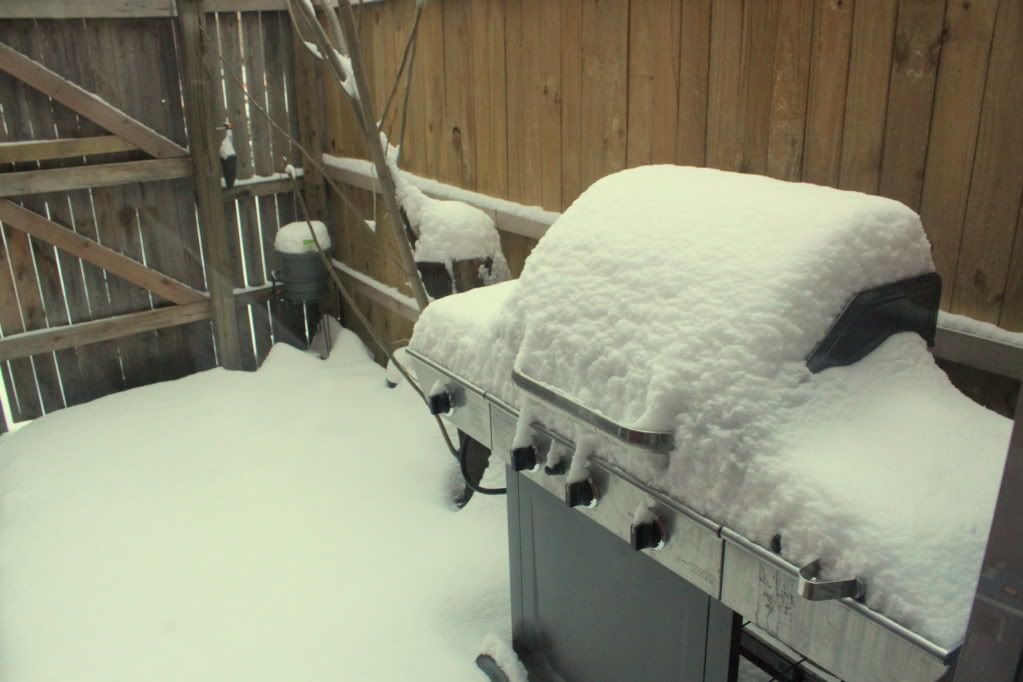
See this picture this next picture? It hides a terrible tragedy. I had left a pair of flats out on the patio a few days ago. Before the ice hit and before the snow. Somewhere under there is one of  my pairs of go to shoes. I hope shoes don't get hypothermia. :(
I am thoroughly enjoying my third ice/snow day at home. I have been trying to work on projects but I am at the spray-painting/sanding/sawing phase of several and this is not spray-painting/sanding/sawing weather.
But it sure is lovely. Going back to snuggle up with my honey and watch Fringe. The flacks are coming down thick now. Let is snow! Let it snow! Let it snow!