Thursday, January 27, 2011

How to Hide Your Surround Sound Cables for Ridiculously Cheap

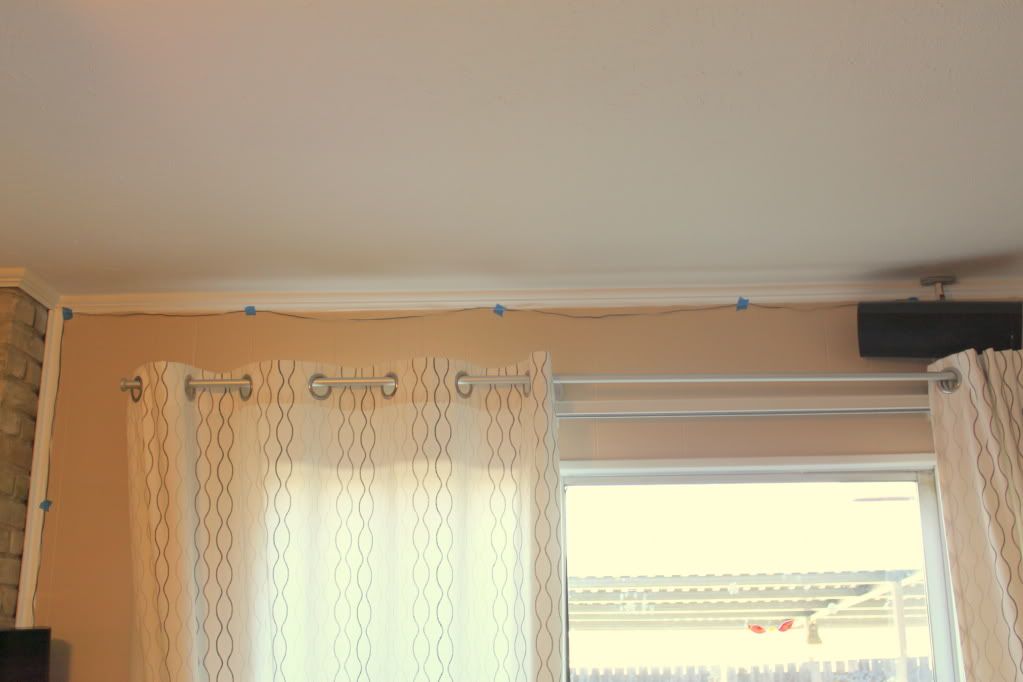
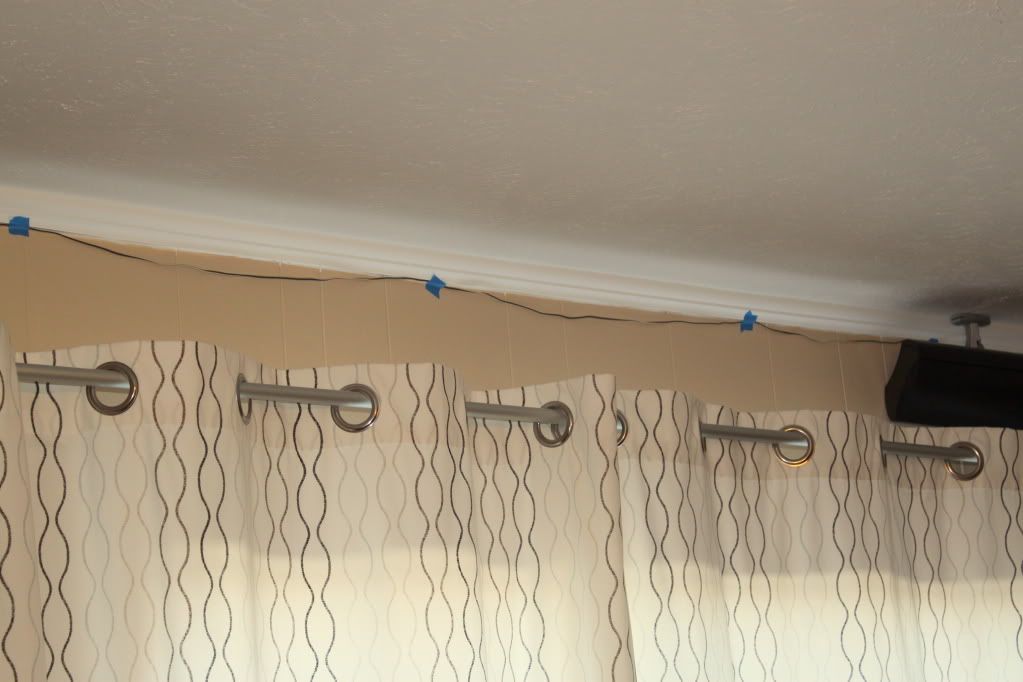
What is really ridiculous is not how cheap this was but how long it took us to do it. We moved here in July and the speakers were promptly put up and the wires had been an eyesore the whole time. We tried to keep them neat with a little bit of tape but I think that might have been worse than nothing.


See? Terrible! And the other side of the room was even worse. The tape wouldn't stick and the cables dangled diagonally on the wall. Occasionally, Desmond would get his tail caught on it and scare himself when it banged around. And usually, his reaction to scaring himself involves stepping on and hurting me. It was lovely.

Do you know what else is ridiculous? The price of the casing made for this sort of job. It is about $20 for 6 ft. Yeah that is not happening. Finally, my mom got tired of looking at this when they came to visit and we went to home depot and found the perfect solution.


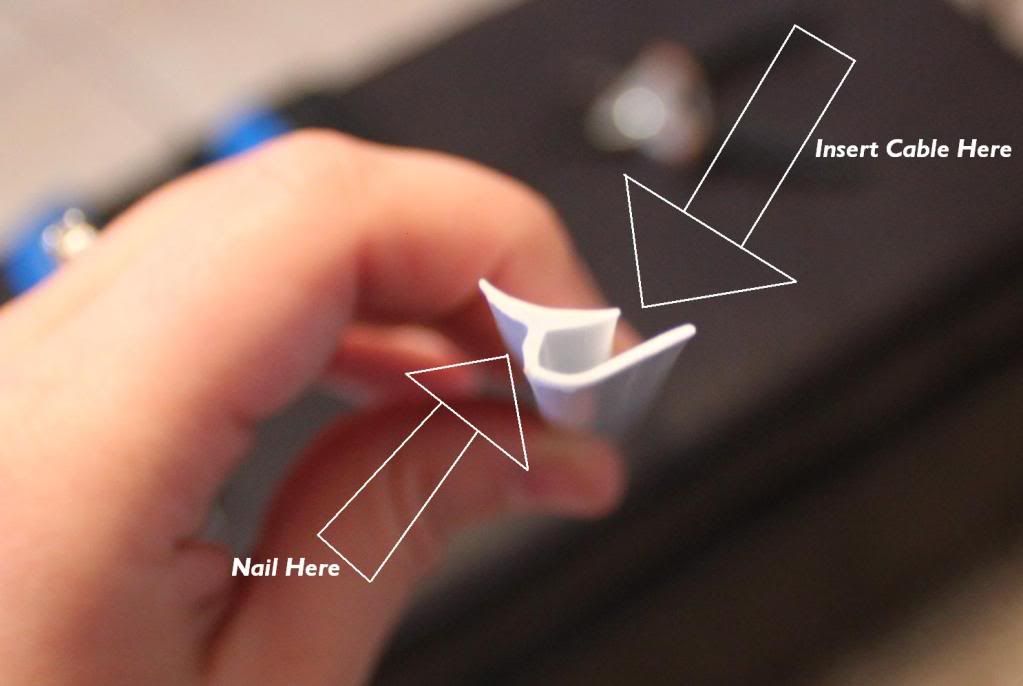
You can find it in the molding and paneling section of your Home Depot. I think it is made to slide a piece of wood paneling into the side but that area holds speaker cables perfectly.

There were barcodes printed on it so we used nail polish remover to soften the ink and then sanded it away with a fine grit sand paper. We used garden snipes to cut the pieces to size and then pre-drilled holes to nail into with a very small drill bit. We also got small nails that were already painted white for extremely easy install. No painting needed! All in all, the project took about an hour and $20. Amazing.

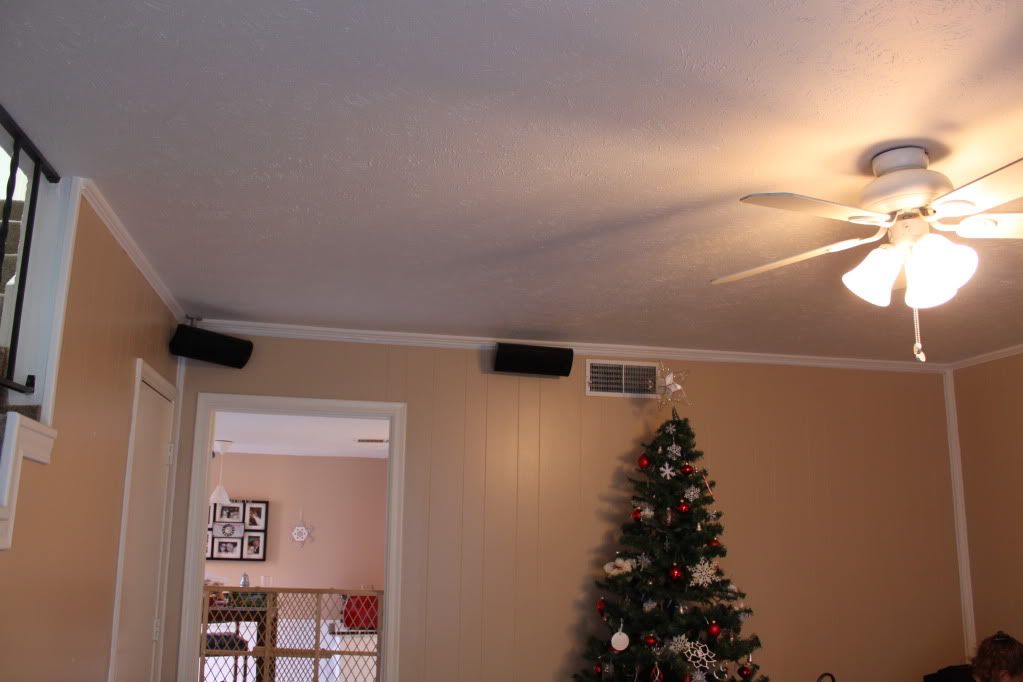
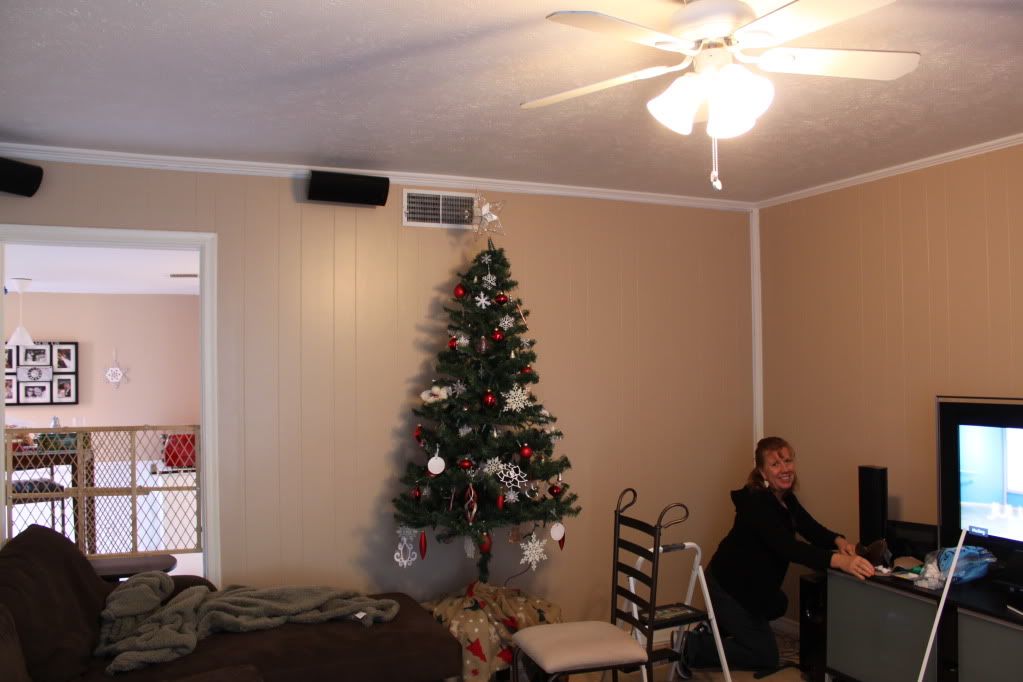
It looks so much better too. The material we put up just kind of blends into the molding that was already there. See? You also have to notice my hard working mom. Thanks Mom!

This post is linked to:


Sunday, January 23, 2011

Thrift Store Finds

I found many treasures at the thrift store earlier this week that I am excited to share with you. It was one of those times where I had to stop searching through the clutter and get out of their because I had all my trunk could hold.
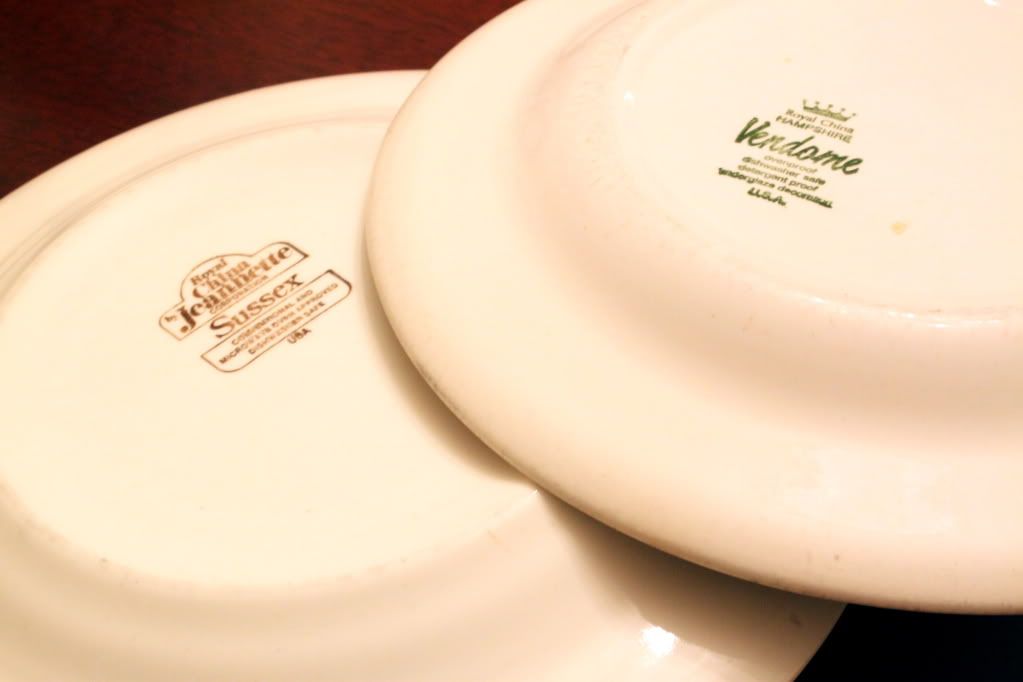
First, let me show you these plates I picked up. I think they are transfer-ware but I am not really sure what that is so I guess I need to do more research on what makes something transfer-ware or not.
 Can anyone educate me? This is the stamps on the back if anyone has any insight into them.
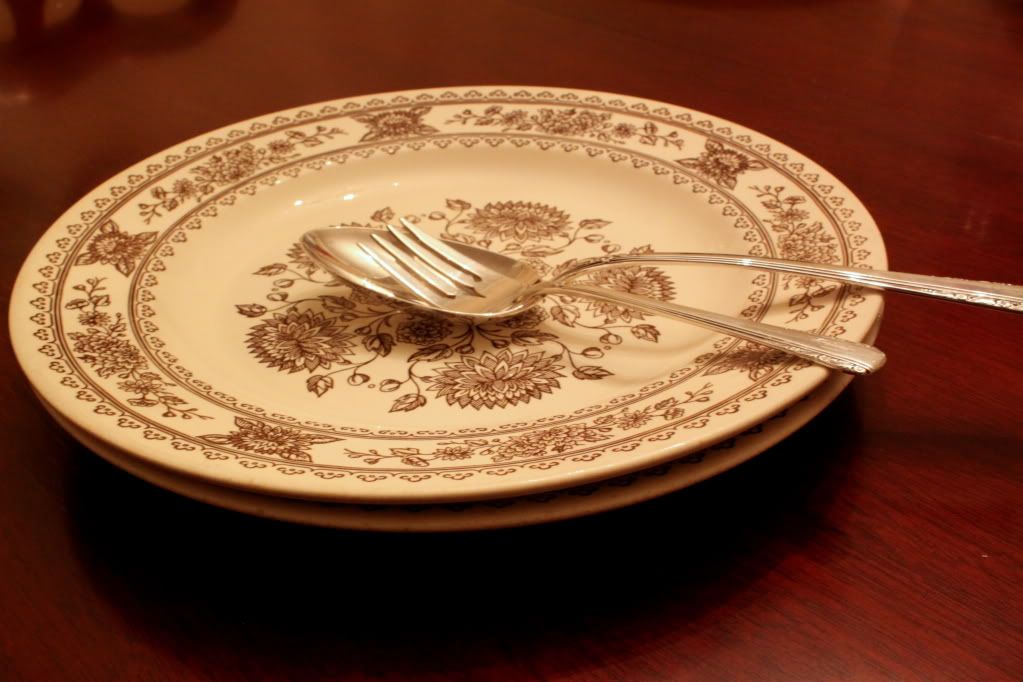
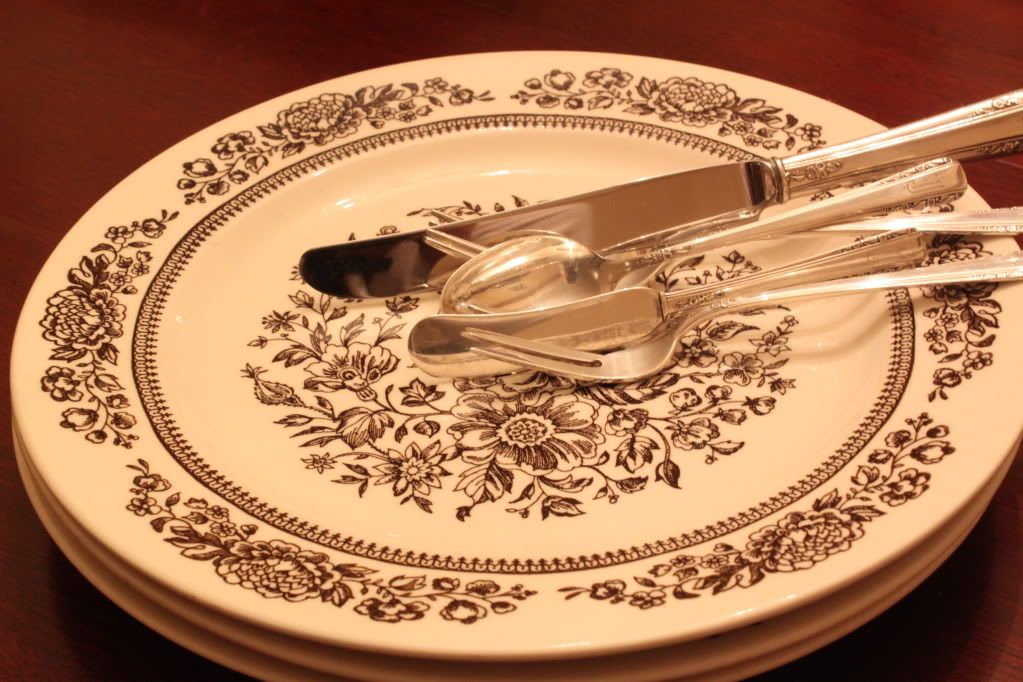
Aren't they pretty? I think I'll end up hanging them in a grouping in our dining room. I got two of these:
And three of these:
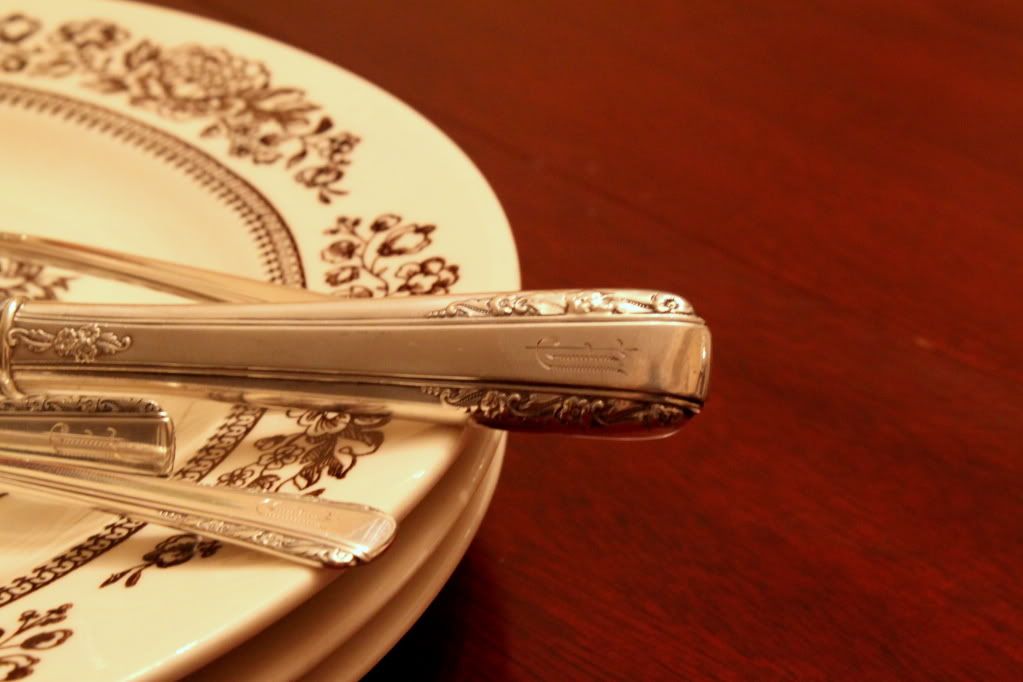
And all for $.50 a piece! The silverware that I included in the pictures is my grandma's wedding silverware that she gave my husband and me on our wedding. It is very special to me. They are monogrammed with a "J" for Jennison which is my middle name and where my parents got the "Jenni" I am called. Coincidentally, the scripted "J" looks like an "E". See?
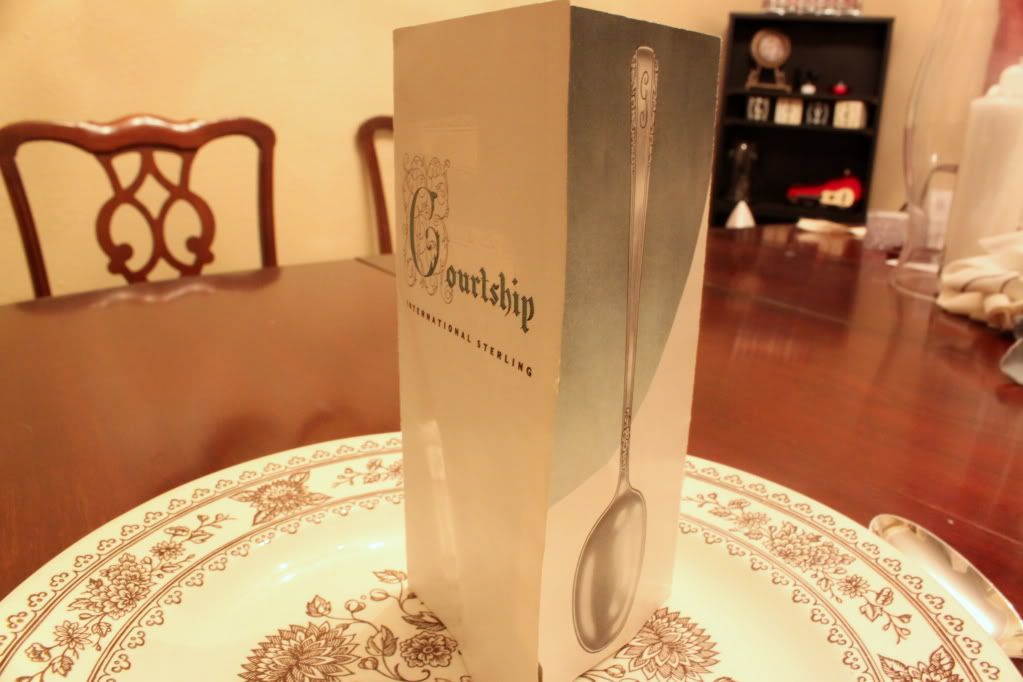
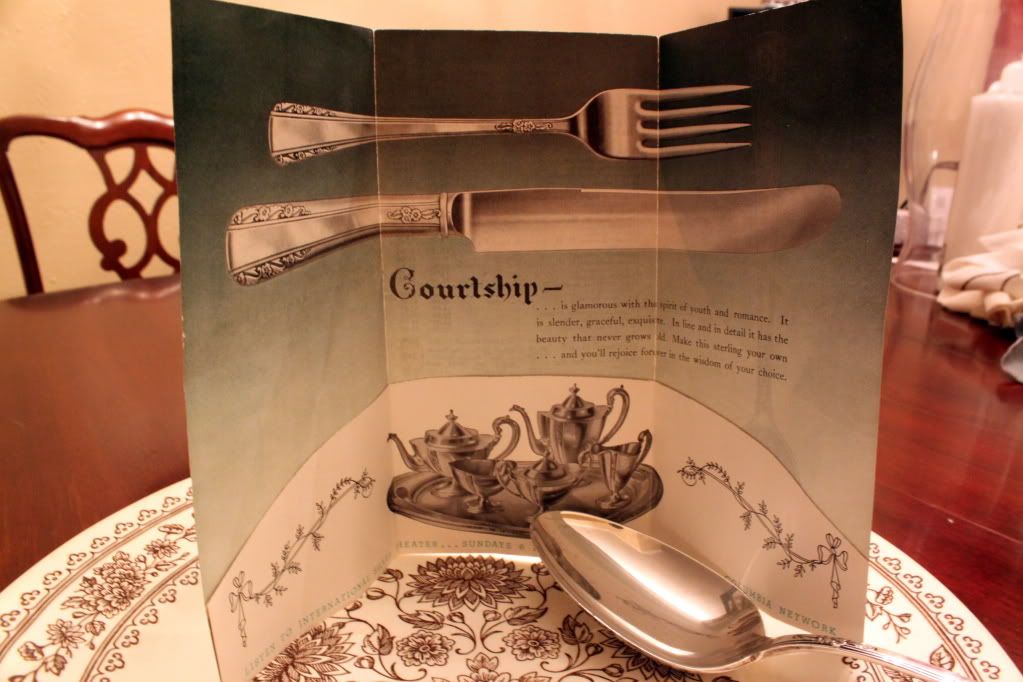
I even still have the brochure advertising the set with the prices in 1942. It is called "Courtship". Isn't that the sweetest?

Another great find was these hurricane glasses. I got the huge one in the middle for $5 and a medium and 3 smalls for $1 a piece. I am helping a friend with the flowers and decorations for her wedding in May and I think these may end up being centerpieces on some of the reception tables or used elsewhere. They were too good to pass up. I am excited about getting to help with this wedding and I will be sure to take you along with me as I do things for it.

One last thing to show you:

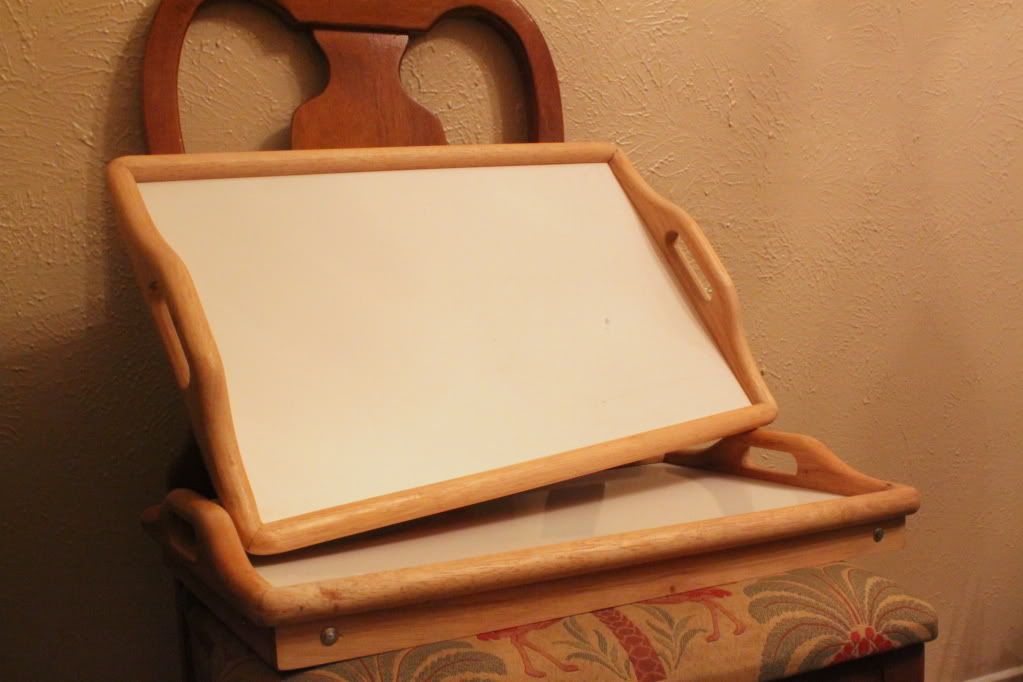
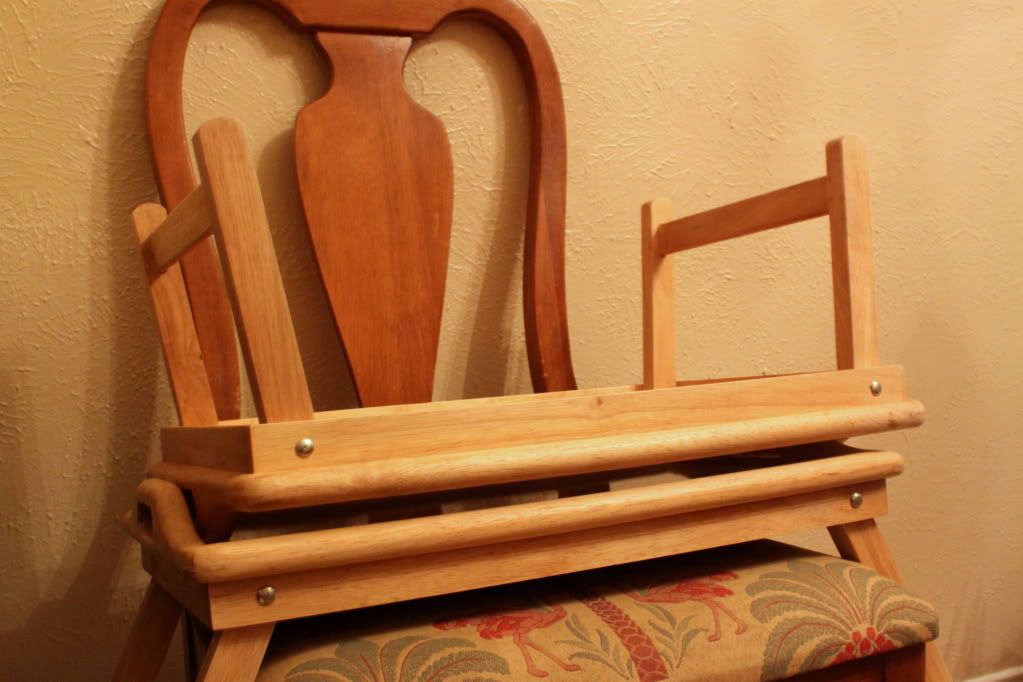
Aren't these trays great for $3 each? They even have legs to use when your sweetheart brings you breakfast in bed. *hint hint*
I am planning sprucing them up pretty and re-homing them. Are you excited to see what I will do?

Tuesday, January 18, 2011

I've Got Some Catching Up To Do

Sorry about the lack of posts. I've been busy but I promise I have been taking pictures along the way so there are many posts to come.
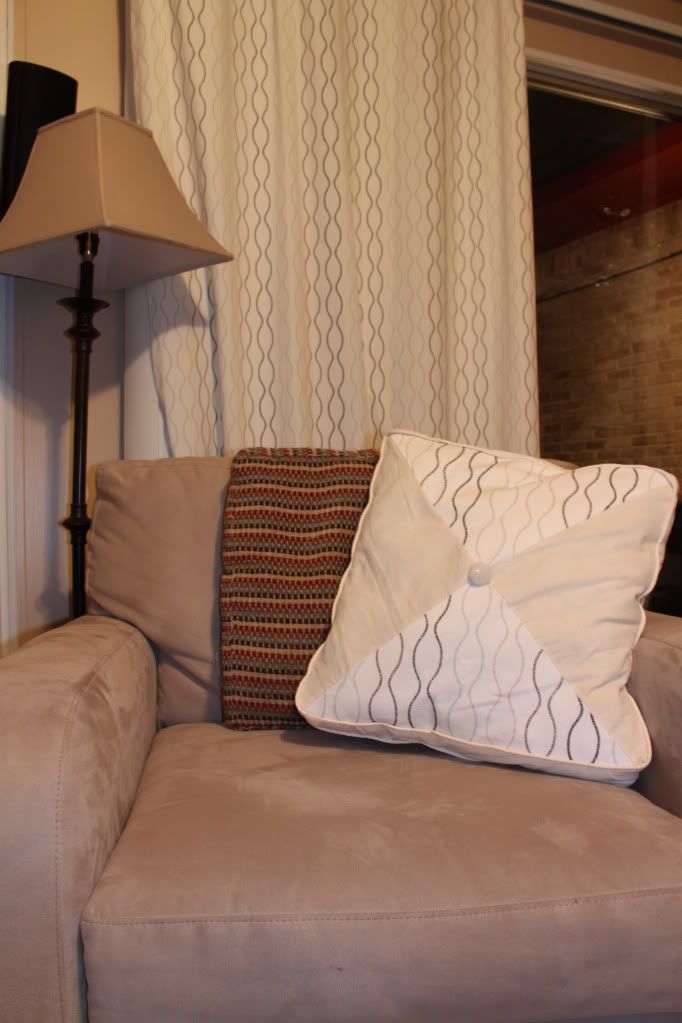
Like how to make a throw pillow with piping details. I happened to make mine out of the old striped one.
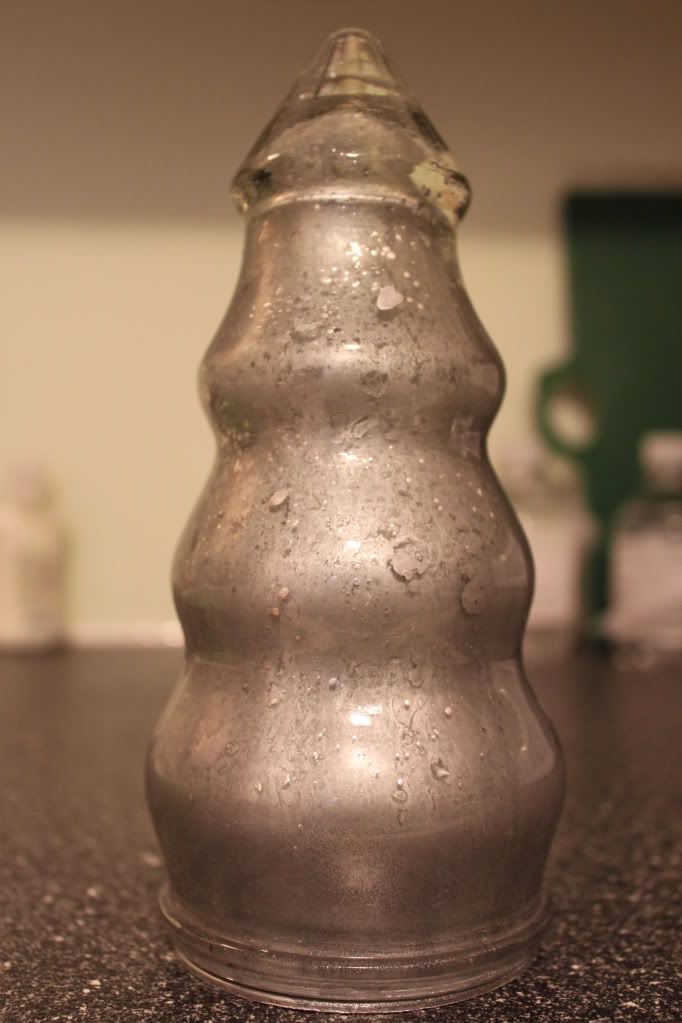
And my mercury glass technique:
I will even have a tutorial on how to make empanadas...as soon as I find where I hid the pictures. 

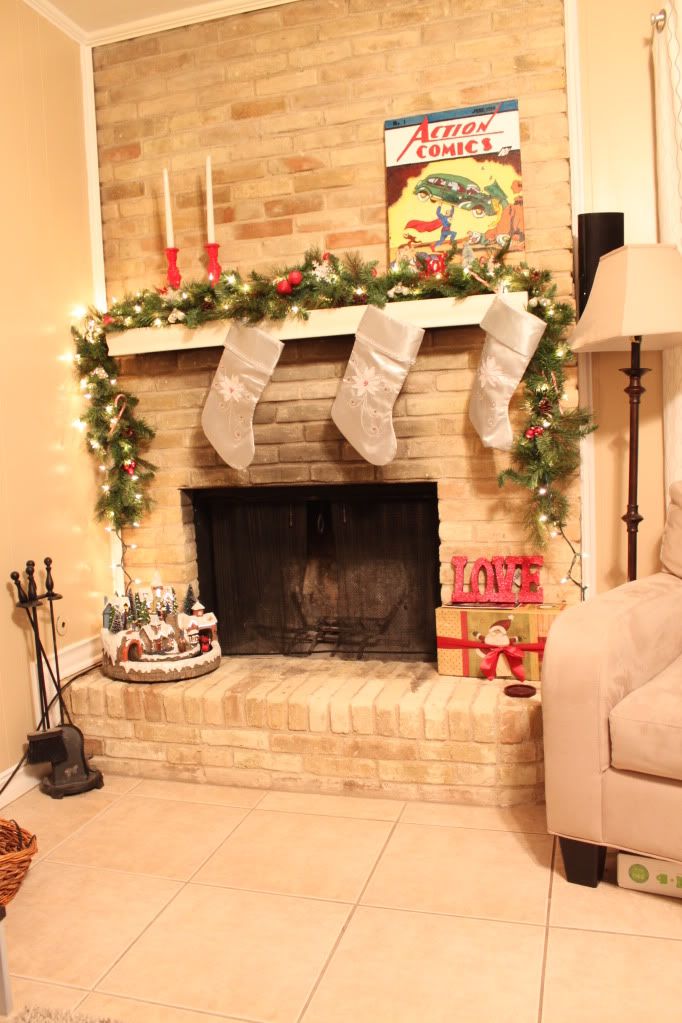
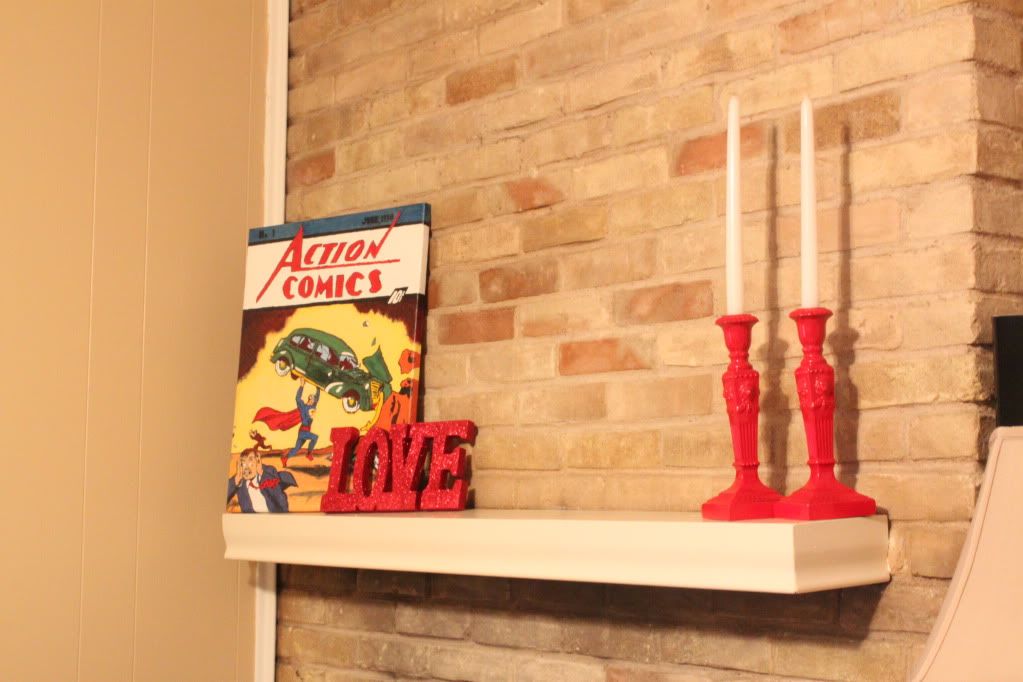
And for more "show and tell", I spent most of my weekend cleaning and taking down Christmas (yes, I know it is mid-January) Here is my Christmas mantle:
Which is now transformed into a Valentine's mantle. Sorry folks, that is about as Valentine-y as I get.

Today I wanted to show you how to make a round book sculpture. And I have to apologize. This is not my idea but I am not sure where I saw it. I've looked for the blog and can't seem to find it.
You will need a book, hot glue gun, and a bit of ribbon.
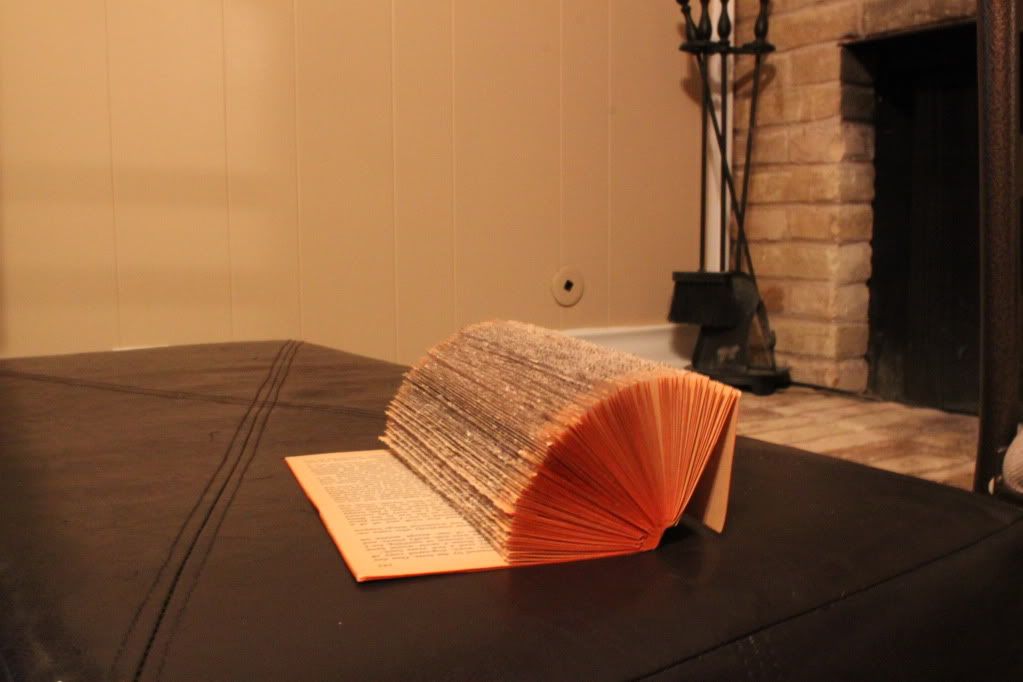
You will start by taking the cover of the book and as much of the binding off as possible.
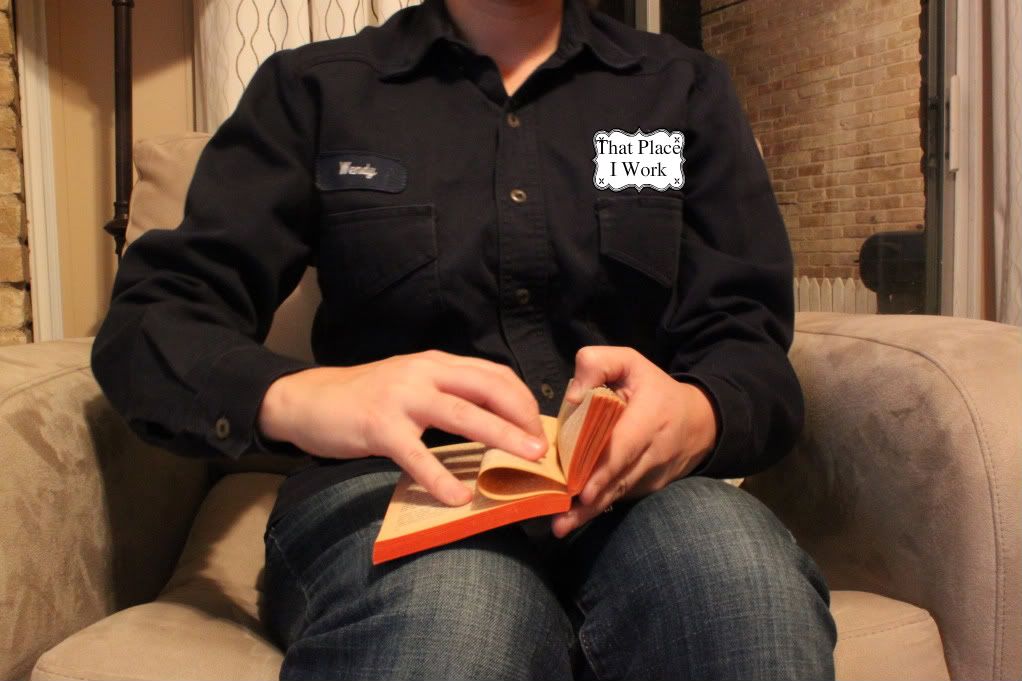
Then settle in front of a movie or tv show and start folding. You individually fold each page in half, working all the way through your book.
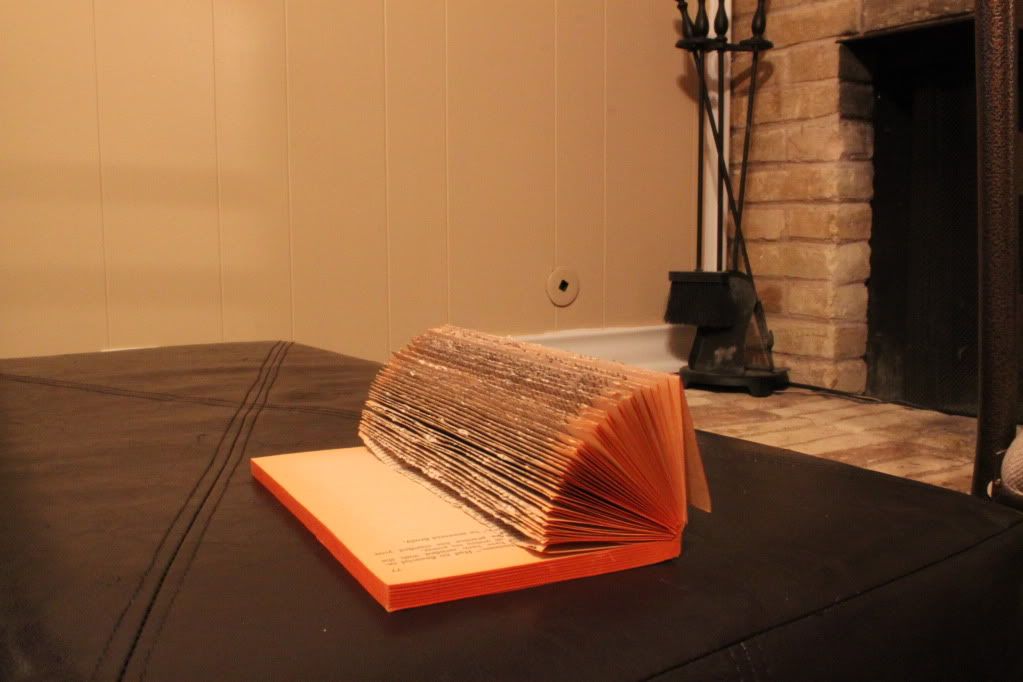
This will automatically start to make a round shape. See?
Keep folding....
Keep folding... You are almost there.

Yay! You did it!

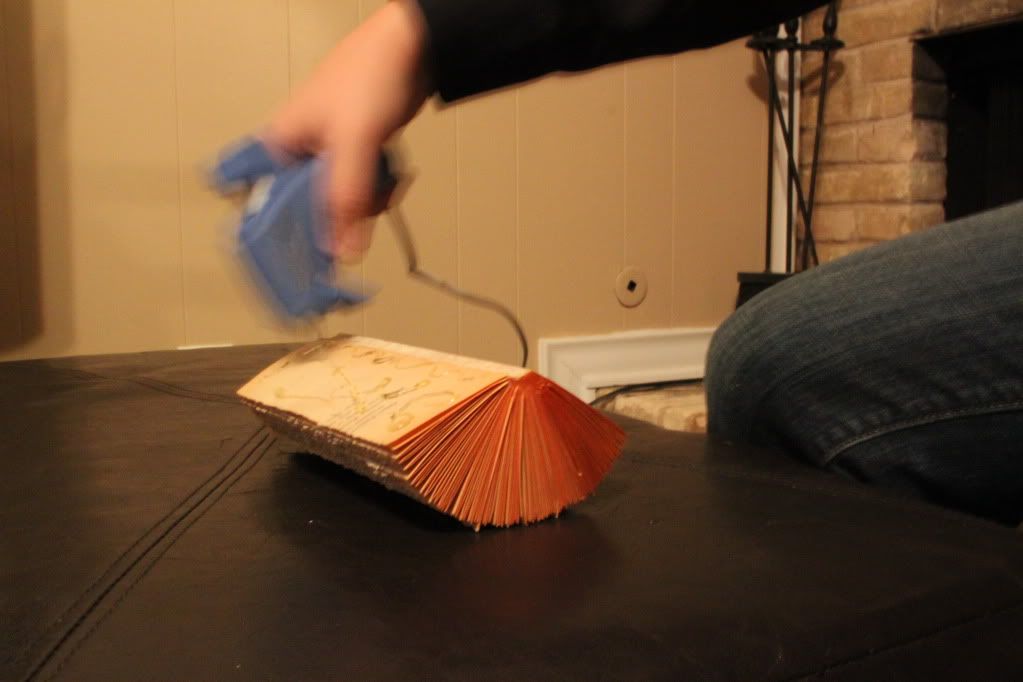
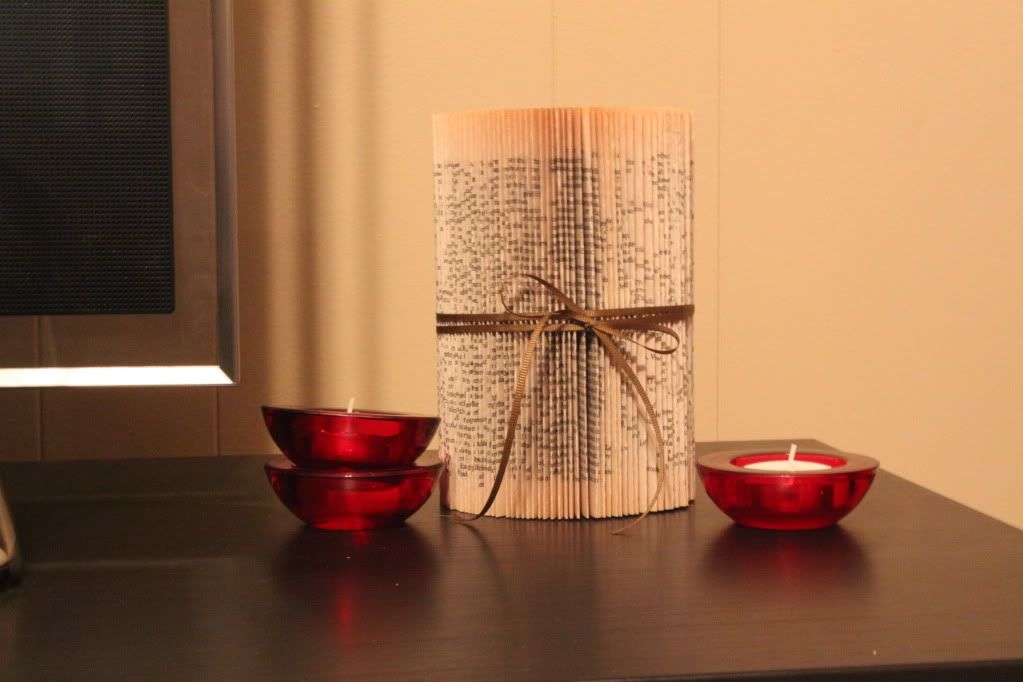
Now, hot glue the last few pages to the first few pages and tie a ribbon around it.
Taaa Daaa!
Okay, I have another confession to make. This is one I made a while ago and not the one I was making in the pictures. That book was really dried out and brittle and did not curve well. It just kind of fell apart as I moved it. Lesson learned. Use a book with a nice patina but that is still flexible.
This post is participating in the following link parties:

Photobucket

Friday, January 7, 2011

New Office Furniture!

Ya'll! I just found out I get to pick out new office furniture for the closet office I will be moving into at the end of the month. I am so stickin' excited I just had to share. You have to understand that I work at a steel mill. That means everything is dirty and most of it is way older than me and not in the "oh look at that sweet little end table with curvy legs" way. More of the abused and ugly since the 70's way.
I would love something like this:
But I think I mentioned it is dirty around here. Greasy steal toed boots would fight with the fresh whites for sure. May be something more like this?
The dark carpet would hide some of the dirt. I wonder how much fabric I would need to make those drapes...okay, may be not. This is going to take something thinking.

Oh the Magic of Glue!

This idea is no where near revolutionary but I wanted to share it anyways.  Those who have seen this before and don't need a tutorial should just scroll down to the end and see what I paired together.
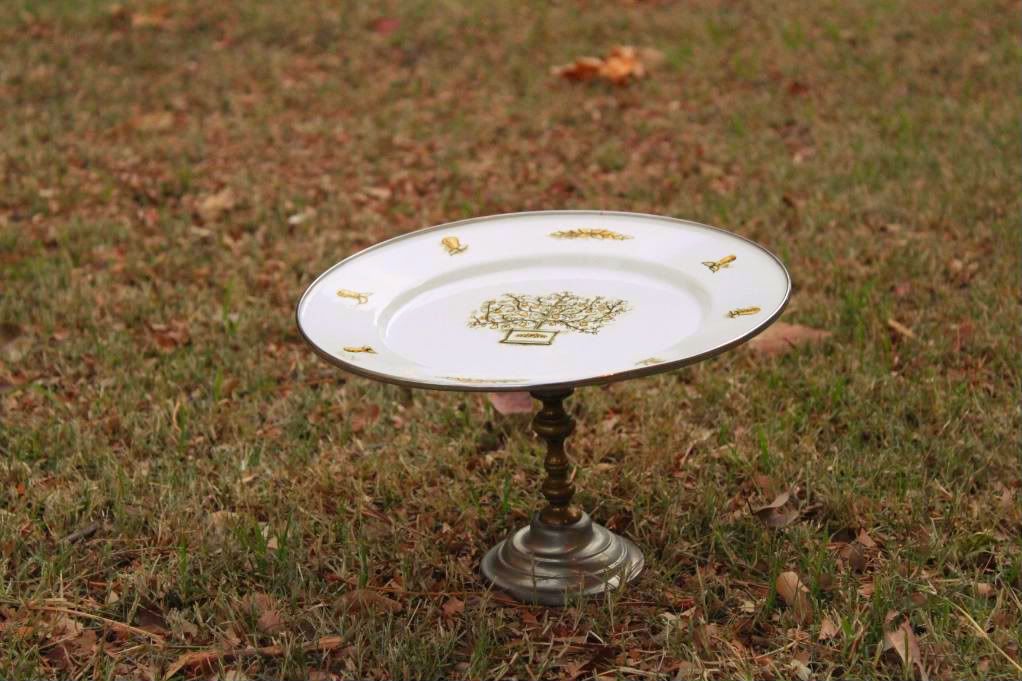
Calling this a tutorial is being generous. It is basically "Glue things together according to the instructions on the package." First gather your thrift store finds. I have started looking at candle sticks and plates every time I am thrifting.
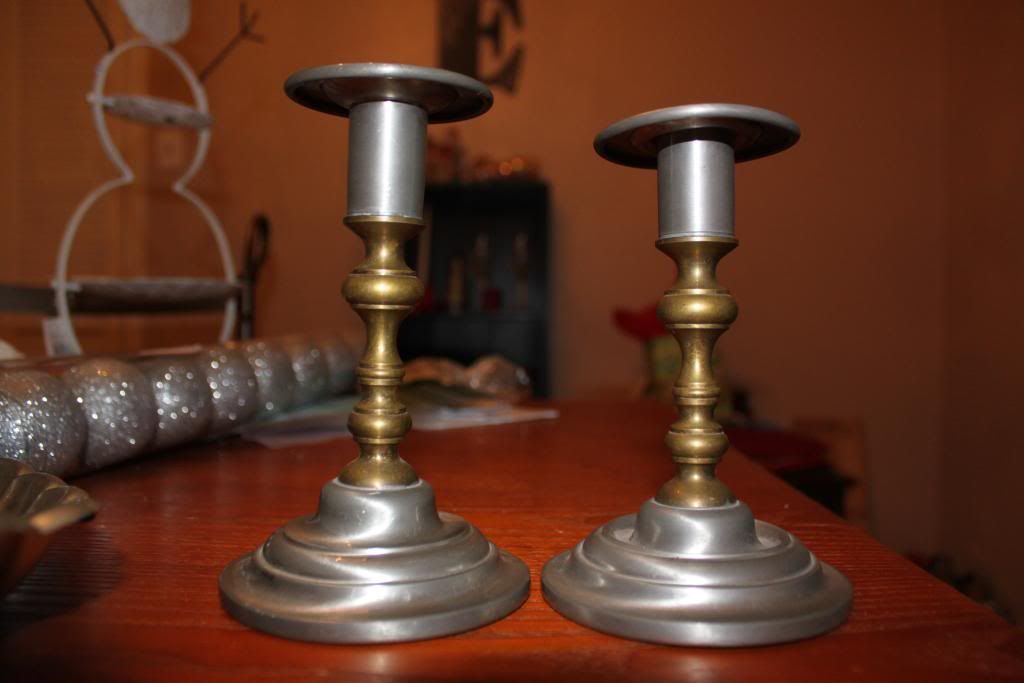
I got these for a $1 a piece. They are a little wonky but I was able to bend them back to fairly level.
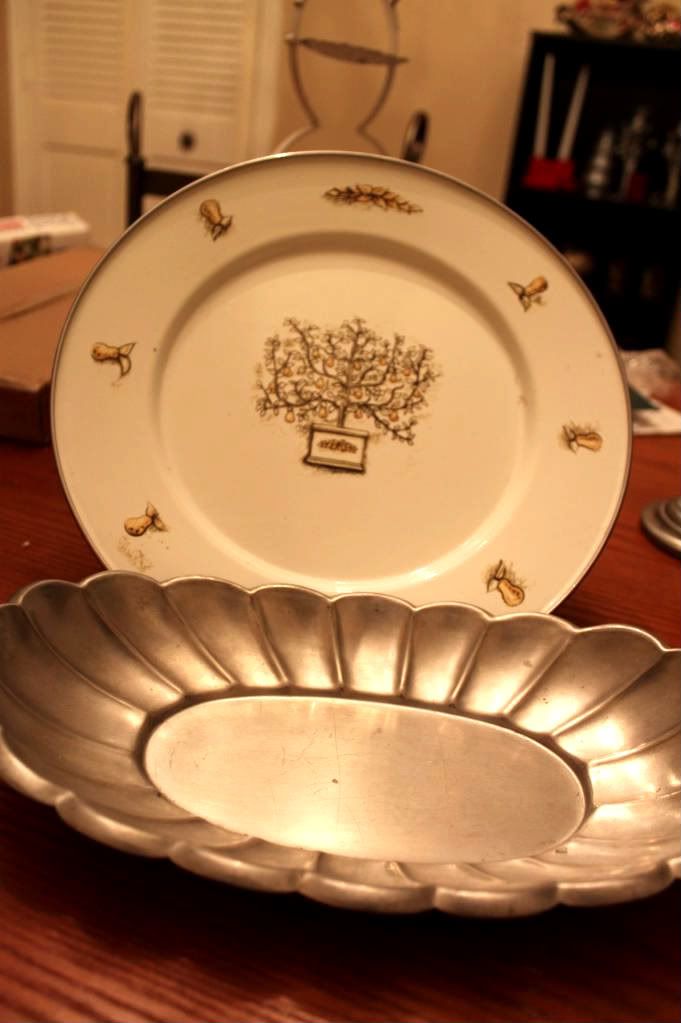
I think the plate was $1 and the pewter bowl $2.

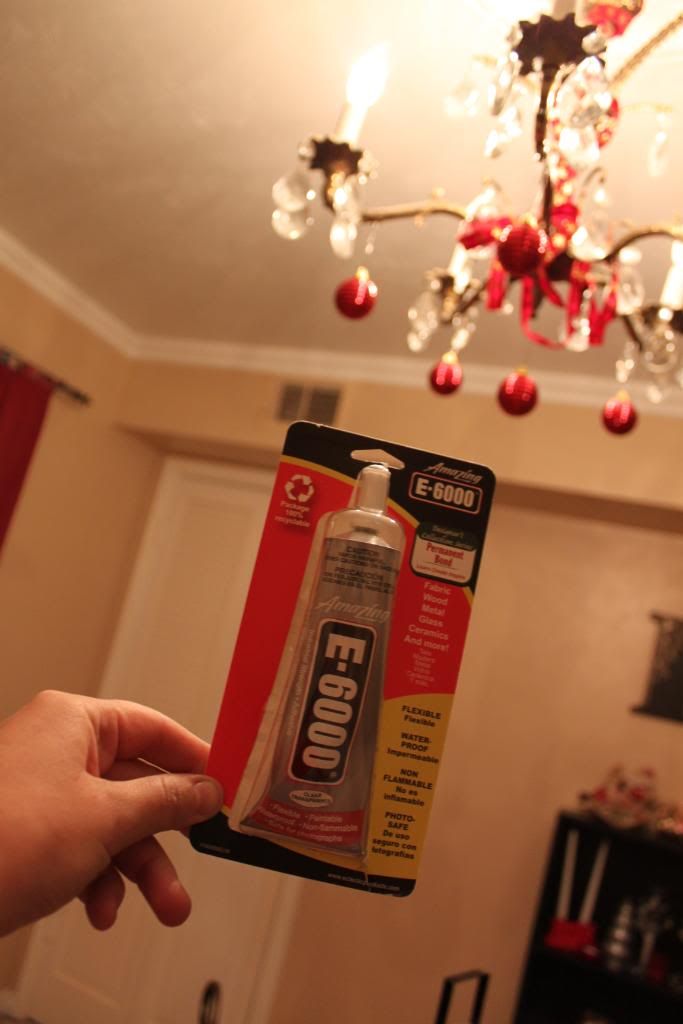
And pull out your E600 glue. Ohhh! Ahhhh!
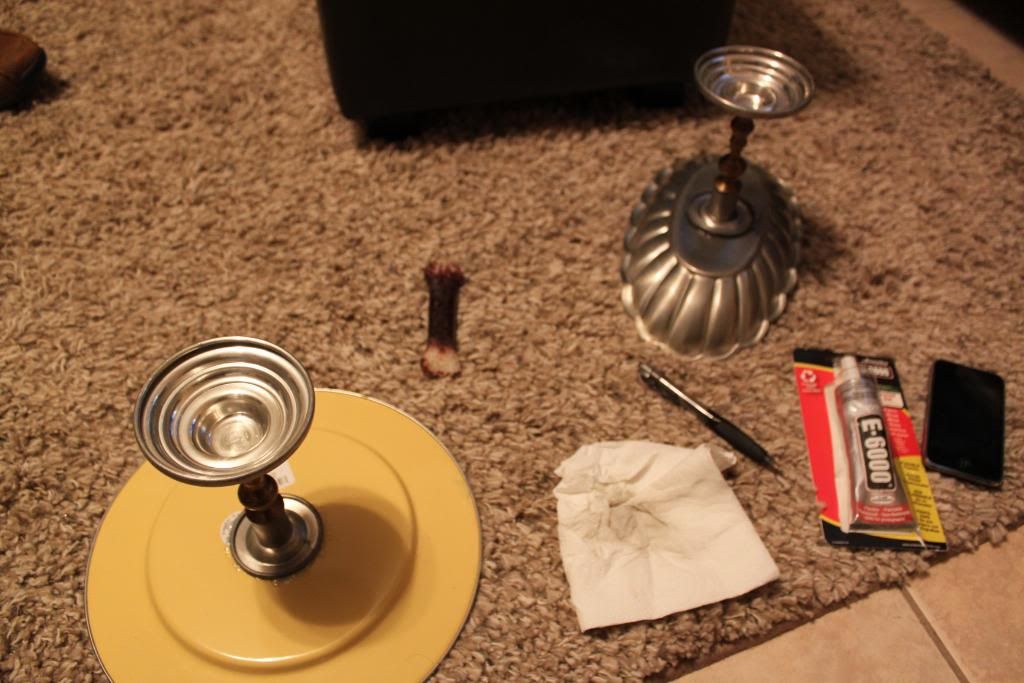
Settle in on your living room floor with the above supplies plus a wet paper towel, pen, and a dog bone.
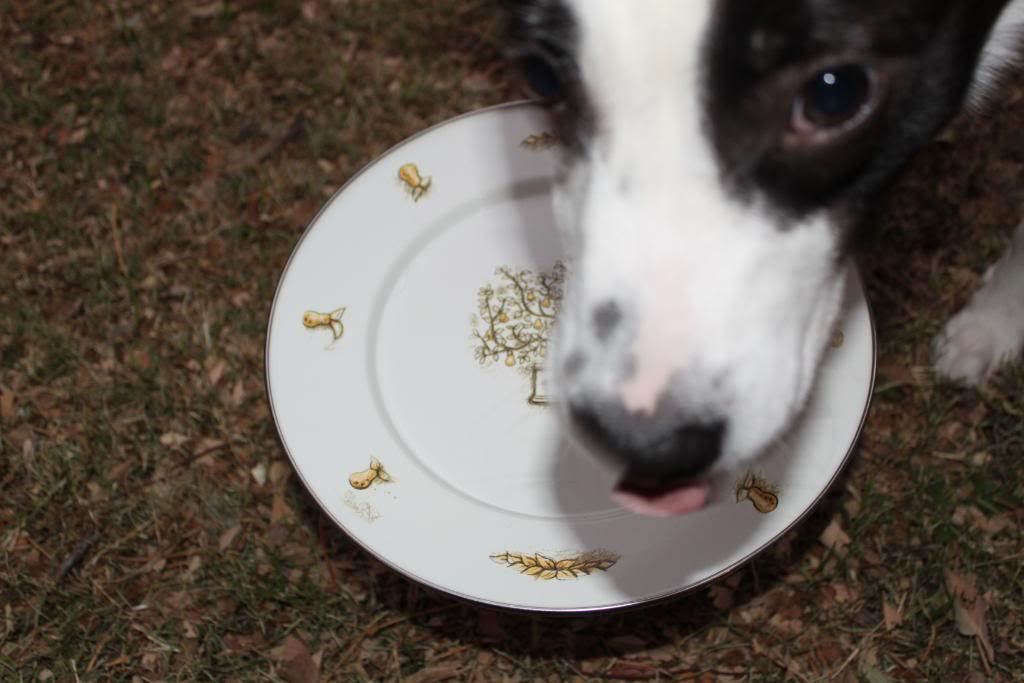
Clean any area that you will be applying glue to. Center your candlestick on the bottom of your plate/bowl/thingy-ma-bobber and trace around it. This helps you know where to put the glue. Lick-y pooches that think they have to be in your lap + super duper glue is not a good combo. So as needed, use your dog bone to poke away any curious pooches that really just want to do this all the freaking time. 
This was later but you get the idea.
Spread a thin layer of the E600 on both the top of candle stick and plate/bowl/thingy-ma-bobber. Do not put any glue outside of your traced circle. This helps you have a neater piece when you are done.

Do not put your pieces together yet. Let them sit for 5 to 10 minutes, then firmly press together and cure for 24 hrs. I usually leave them upside down like in the picture for a little while and then turn them over and sit a heavy book on top to make sure there is good contact between the pieces.

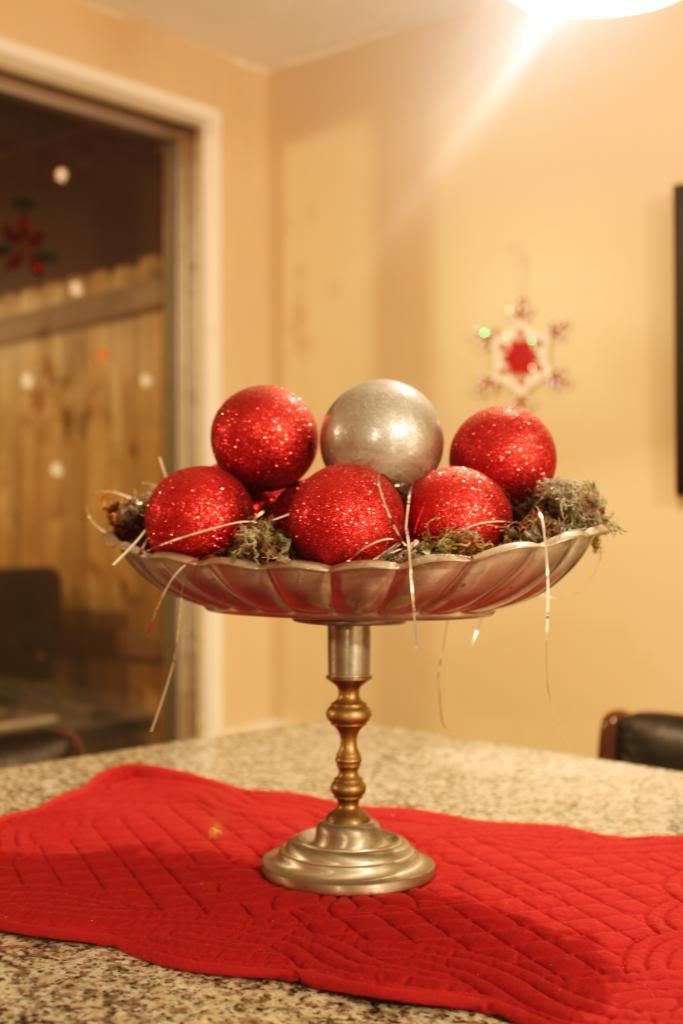
Once your 24hrs are up, you are ready to play! I added a bit of leftover moss from my wreath project, a dozen or so ornaments and a few strands of tinsel. I love all of the textures playing together.

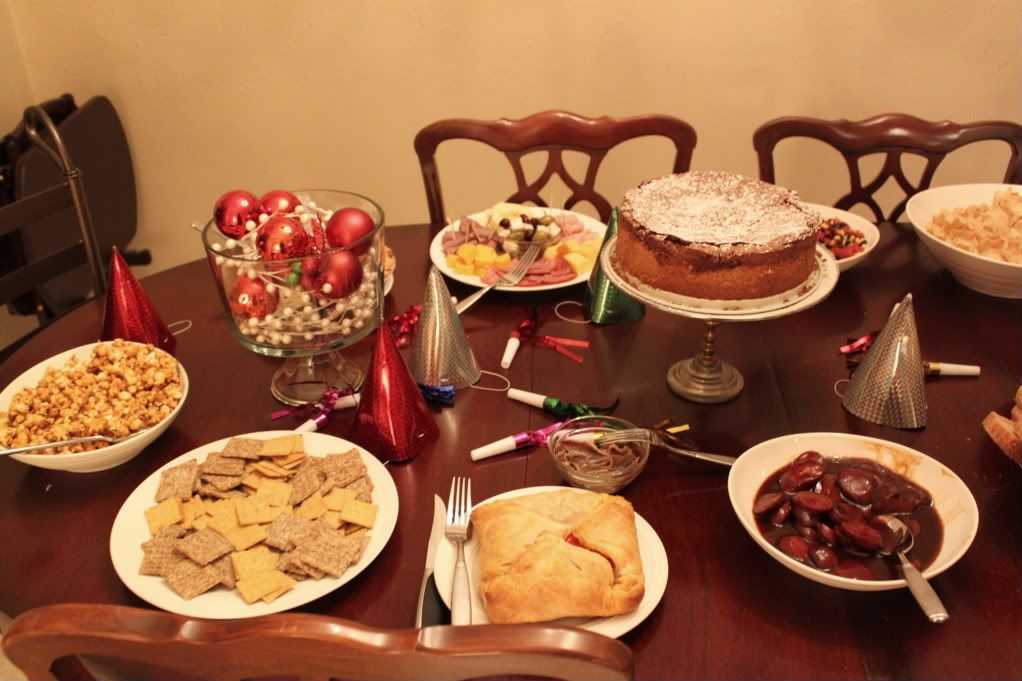
This cake stand is turned out great. The plate is so fun and is actually metal. Here it is holding a Chocolate Truffle cake that turned out sooooo very yummy.
Like my new dining set?
I made this one for my secret santa at work. I had trouble giving it away but I am glad I did because it was a hit.

These kind of projects are so much about the technique as they are about interesting pairings and inexpensive pieces. Do you have any fun projects done this way?

This post was entered in the following link parties:

Tuesday, January 4, 2011

Mod Podged Tiered Table

Apparently, I took a two week hiatus from this blog for the holidays. And I had a lovely time :) A wonderful mix of time off work and time with loved ones. Never fear, while I didn't make time to write posts, I took lots of pictures of the projects I worked on. You may end up reading about Christmas-y things long after Christmas but I hope you will bear with me.

Today, I have for you a project I hinted at months ago and finished weeks ago. It is the table I bought on craigslist and hope to sell not keep. It is a very light little table made out of particle board and a blah blond veneer. I was going to show you the picture from the ad but now I can't find it. It looked something like this but with detail between the tiers:
 Sorry. But I think you can imagine what it looked like. Not bad but boring. I didn't want boring. I wanted something fun. Something more fun than what I typically do. I wanted to do what I wanted without worrying where it would go and how it would coordinate. I wanted to Mod Podge on furniture.

Because it was a glossy veneer surface, I used an oil-based primer before painting that gave me a smooth painted surface that would stay. This is the brand I used but I think any oil-based primer would work especially if like this one, it says something like "Sticks to all surfaces without sanding. Use any topcoat."
I put down 2 layers of primer and probably 4 coats of paint with extremely minimal (ok, may be no) sanding in between. The paint was turned out a lighter shade than what I really wanted and that is why I put so many coats on.

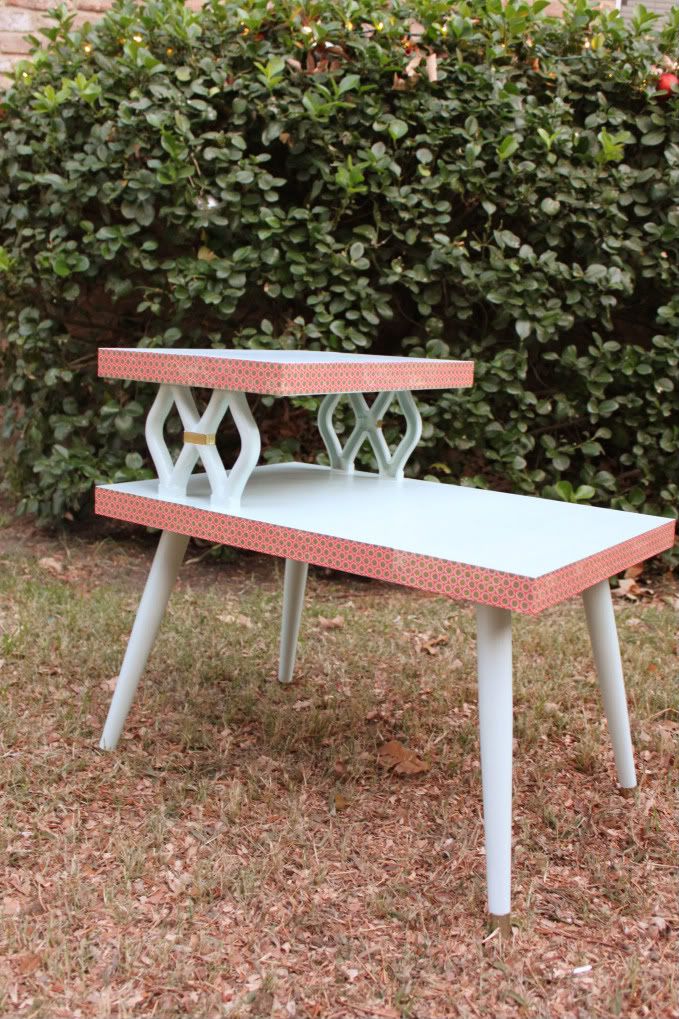
Once the paint was dry, I cut sheets of paper to the right dimensions and Mod Podged them on the sides of the tiers.A couple of coats of wipe on poly and she is ready to go. Ta da!
  And here is the back view:
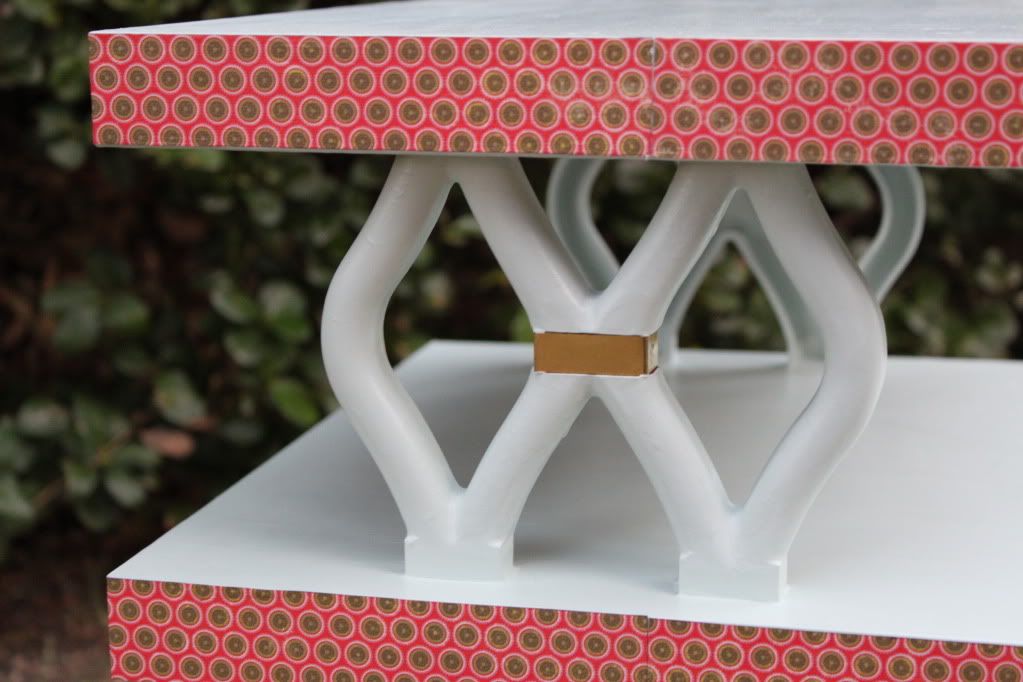
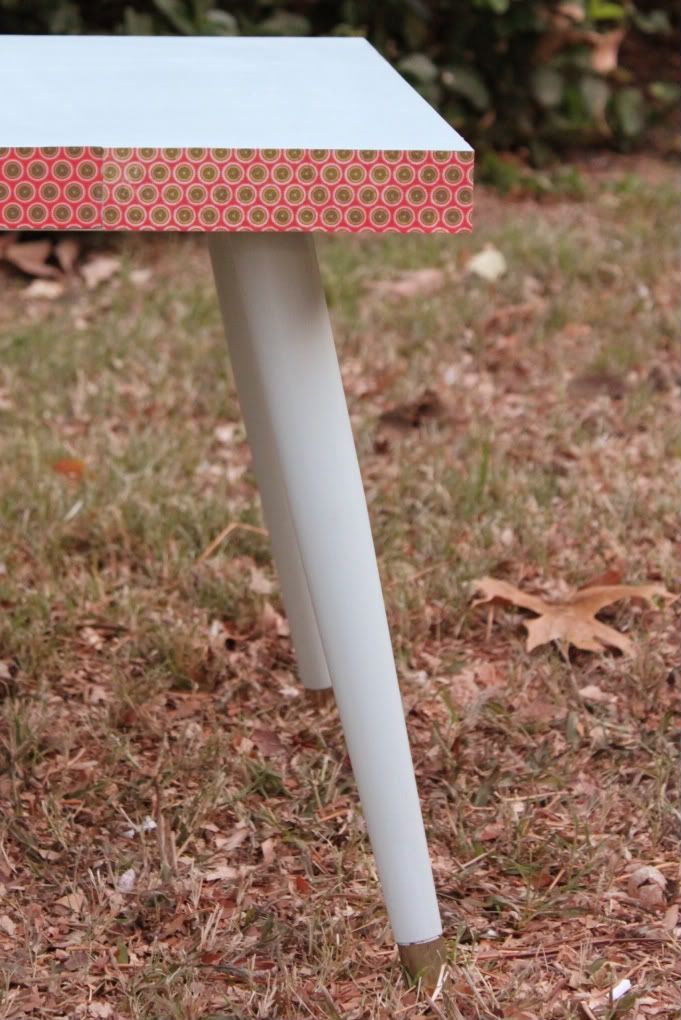
 I covered the brass bits on the end of each leg and in the middle of the shelf supports with Frog Tape. My first time to use it and I really like how it worked. See how nice and clean they turned out?


 I paid $15 for the table and I am not sure how much my supplies cost me. Especially since I have been wanting some it (like the primer, wipe on poly, and frog tape) to just have in my supplies. I am thinking of asking a $50 re-homing fee. What do you think? Too much or too little? The only place I know to sell re-home her is on Craigslist which I feel limits me some.

This post has been entered in the following parties:


Domestically Speaking