A very sweet friend of mine is getting married on May 15th and I get to play florist! I am so excited! Here is Krista and her finance Leslie. Aren't they cute? (I stole this pic off Facebook . hehe)
Her wedding style will be simple bold statements using her favorite flower, the stargazer lily.
The colors she is using are the dark pink in the center of the petal with black and ivory accents. It is going to be so pretty.
Last weekend, I had her over to discuss details and set up a few prototypes of reception table centerpieces to choose from. Here I am all set up and ready for my client.
And here are options for the tables. They were created using silk flowers and small tea lights. They will be replaced with real flowers and glass votive holders and votive candles.
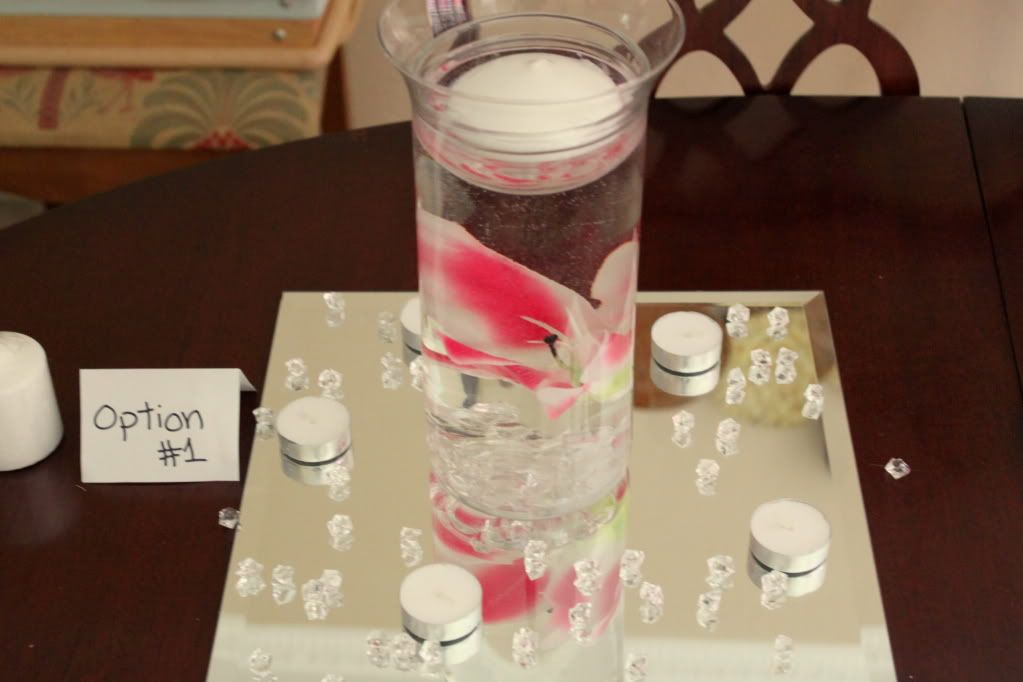
Option 1 uses a Dollar Tree vase, small bowl and candle with a single lily on top of a mirror with candles and sparkles. It will cost about $7 for each table.
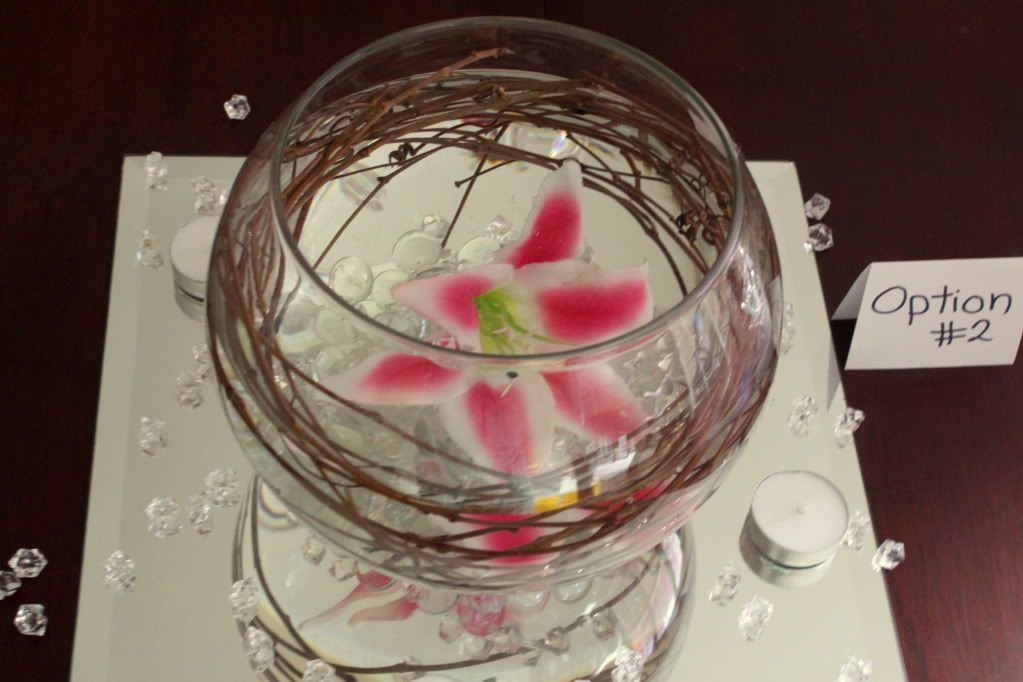
Option 2 uses a bubble bowl vase, grapevine (that I am going to spray paint black), and a single lily on top of a mirror with candles and sparkles. It will cost between $5 and $9 depending on whether we can borrow the vases.
Option 3 uses one of my thrifted hurricanes with a pillar candle on top of a mirror with candles and sparkles. It will cost about $6 for each table.
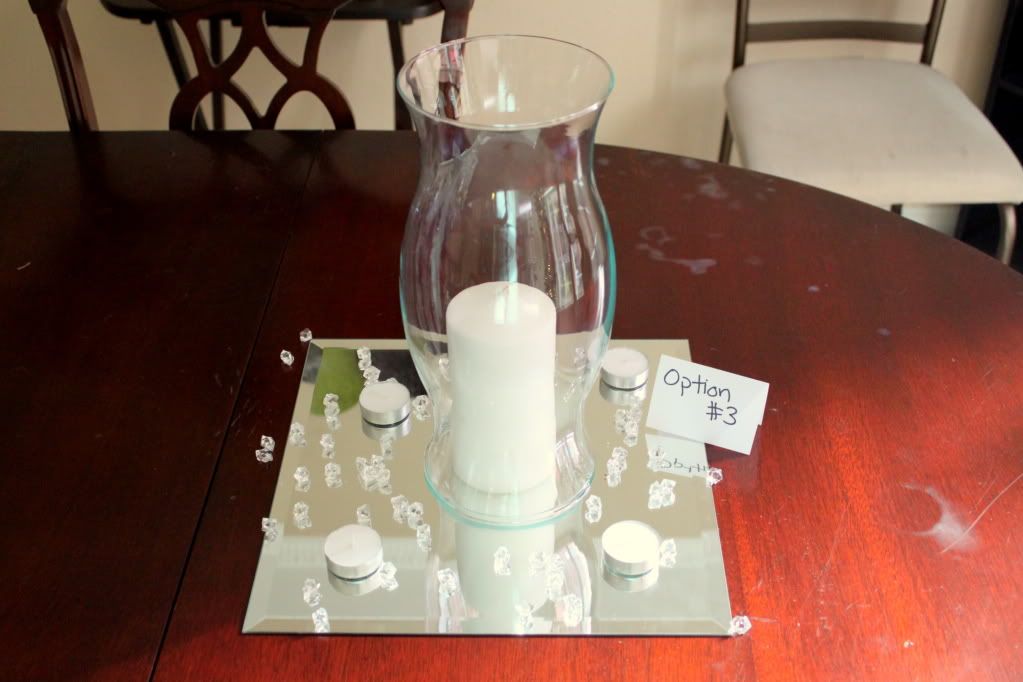
This option has several options to it also. Vines swirled inside? Some sort of filler? Ribbon?
My bride decided she liked option 2 the best and then option 1. We are going to do a mix between the two with a higher concentration of option 2. The hurricanes are going to have ribbon swirled around the outside and be used other places such as the food serving table.
We made so many decisions that day from boutonnieres to pew adornments to bouquets to you name it.

One thing I am excited about is a branch decoration I am going to make for guest to tie prayers, verses, and good wishes for the happy couple in the style of Japanese prayer trees.
It is going to be so fun working on all these projects and I am sure I will take you only the ride with me.
Showing posts with label Good Ideas. Show all posts
Sunday, February 13, 2011
Thursday, January 27, 2011
How to Hide Your Surround Sound Cables for Ridiculously Cheap
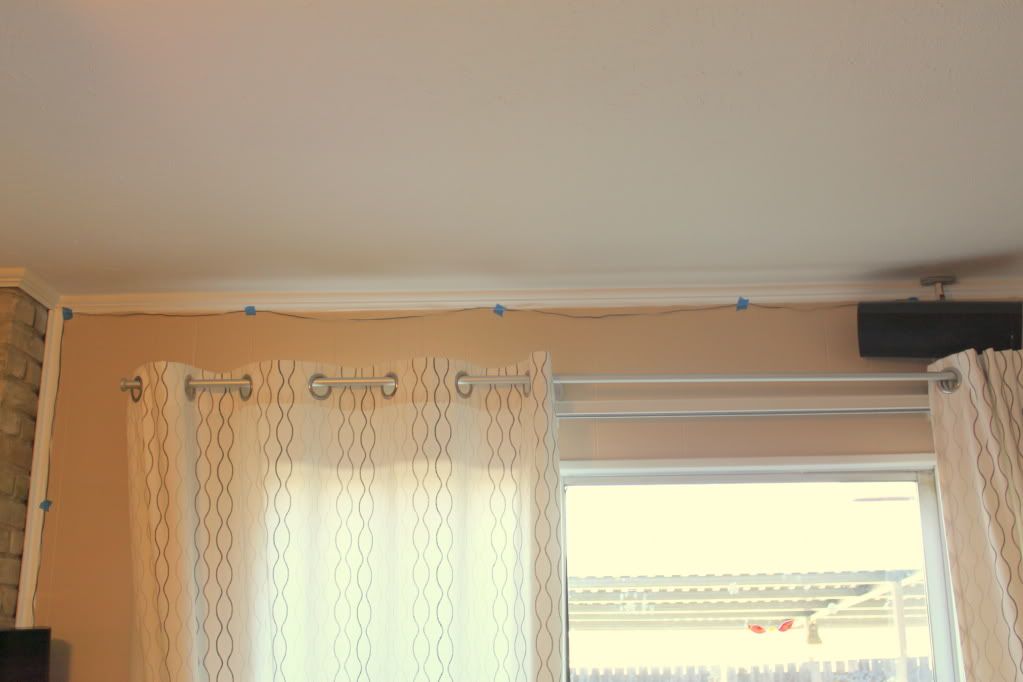
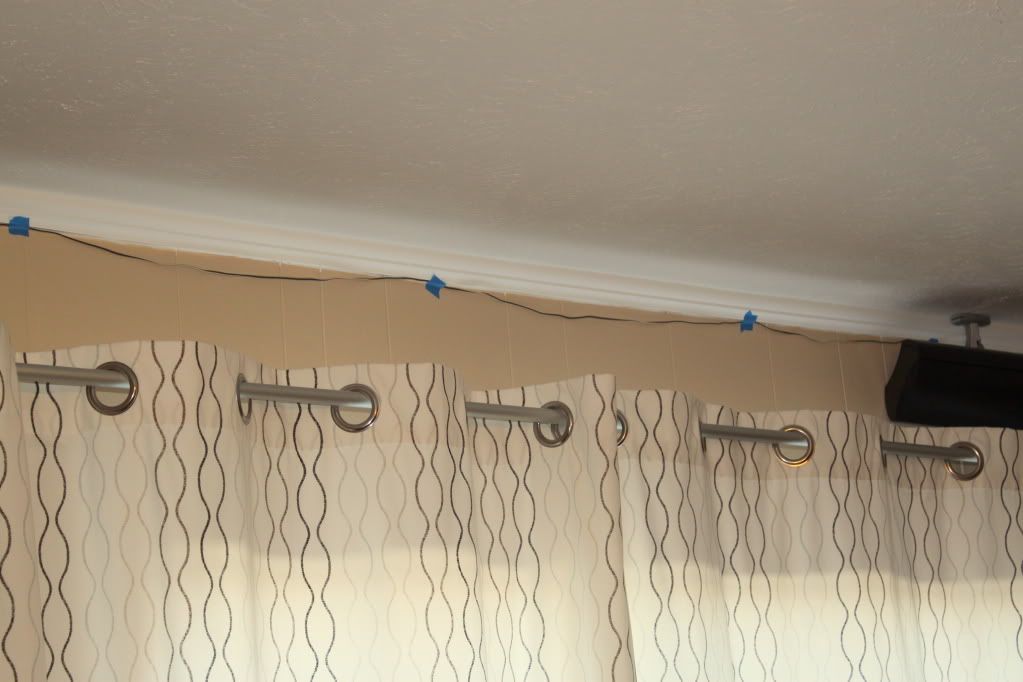
What is really ridiculous is not how cheap this was but how long it took us to do it. We moved here in July and the speakers were promptly put up and the wires had been an eyesore the whole time. We tried to keep them neat with a little bit of tape but I think that might have been worse than nothing.
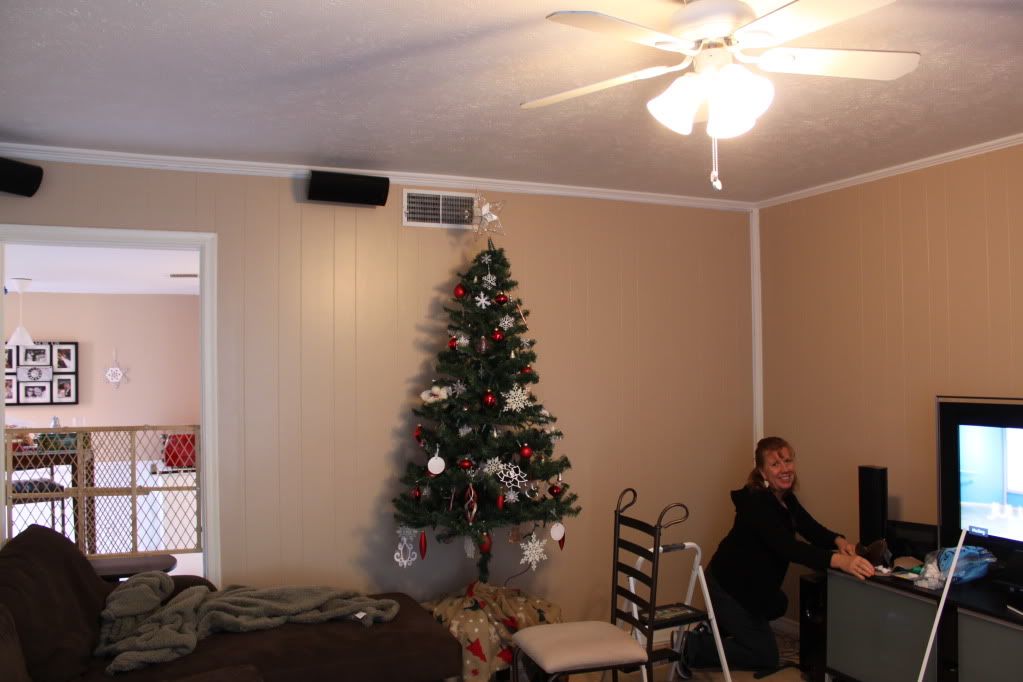
See? Terrible! And the other side of the room was even worse. The tape wouldn't stick and the cables dangled diagonally on the wall. Occasionally, Desmond would get his tail caught on it and scare himself when it banged around. And usually, his reaction to scaring himself involves stepping on and hurting me. It was lovely.
Do you know what else is ridiculous? The price of the casing made for this sort of job. It is about $20 for 6 ft. Yeah that is not happening. Finally, my mom got tired of looking at this when they came to visit and we went to home depot and found the perfect solution.
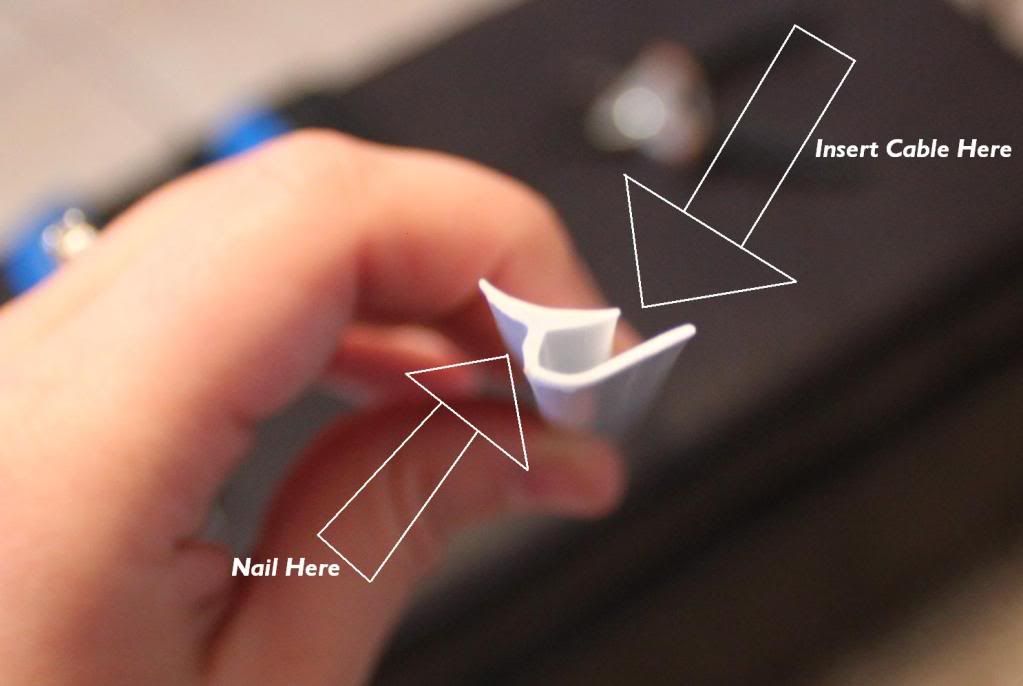
You can find it in the molding and paneling section of your Home Depot. I think it is made to slide a piece of wood paneling into the side but that area holds speaker cables perfectly.
There were barcodes printed on it so we used nail polish remover to soften the ink and then sanded it away with a fine grit sand paper. We used garden snipes to cut the pieces to size and then pre-drilled holes to nail into with a very small drill bit. We also got small nails that were already painted white for extremely easy install. No painting needed! All in all, the project took about an hour and $20. Amazing.
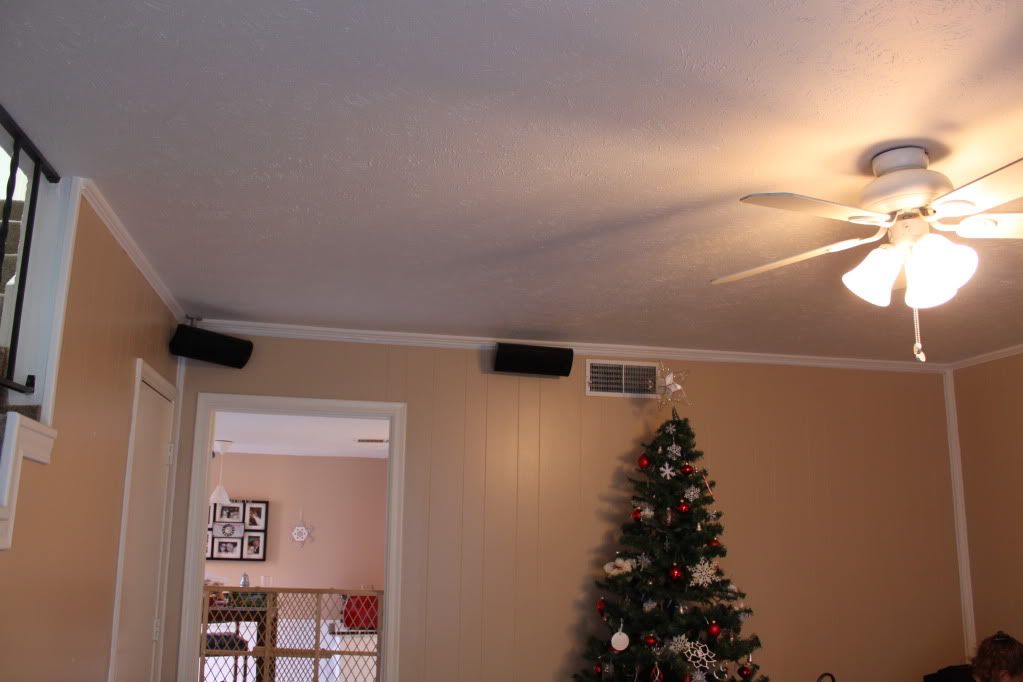
It looks so much better too. The material we put up just kind of blends into the molding that was already there. See? You also have to notice my hard working mom. Thanks Mom!
This post is linked to:

See? Terrible! And the other side of the room was even worse. The tape wouldn't stick and the cables dangled diagonally on the wall. Occasionally, Desmond would get his tail caught on it and scare himself when it banged around. And usually, his reaction to scaring himself involves stepping on and hurting me. It was lovely.
Do you know what else is ridiculous? The price of the casing made for this sort of job. It is about $20 for 6 ft. Yeah that is not happening. Finally, my mom got tired of looking at this when they came to visit and we went to home depot and found the perfect solution.
You can find it in the molding and paneling section of your Home Depot. I think it is made to slide a piece of wood paneling into the side but that area holds speaker cables perfectly.
There were barcodes printed on it so we used nail polish remover to soften the ink and then sanded it away with a fine grit sand paper. We used garden snipes to cut the pieces to size and then pre-drilled holes to nail into with a very small drill bit. We also got small nails that were already painted white for extremely easy install. No painting needed! All in all, the project took about an hour and $20. Amazing.
It looks so much better too. The material we put up just kind of blends into the molding that was already there. See? You also have to notice my hard working mom. Thanks Mom!
This post is linked to:
Subscribe to:
Posts (Atom)