Showing posts with label floral.. Show all posts

Thursday, May 19, 2011

Post Wedding Pictures

I am sorry for the long absence. I have been so busy with the wedding I was doing for a friend that I didn’t have time to post as I went or even take pictures most of the time. Now that the wedding is done, I should be back to blogging regularly (or at least semi-regularly :)
I want to do more detailed posts including tips on DIYing a wedding and working with flowers but for now I am just going to share some pictures taken by my hubby. Unfortunately, some aren’t the best since we were running around like crazy people and occasionally had to use the flash and auto settings (gasp!)
_MG_5645b_MG_5648


This is the groom grinning silly and two of the groomsmen. These also happens to be the only pictures I have of the boutonnieres. And no good pictures of the corsages :( hopefully I can get some from the photographers.

_MG_5602
Cute little buckets tied to the ends of the pews.
_MG_5558b_MG_5652bIMG_5611   I collected over 50 various glass containers for candles at the front of the chapel. It looked so pretty once they were all lit. _MG_5640  I had been planning on reselling them all but now I am kind of attached to my collection. It is silly really…now if only I can convince myself of that.
No good pictures of the bouquets yet either but here I am putting the finishing touches on the lace and heirloom handkerchief that wrapped the bride’s bouquet. You can see one of the bridesmaid’s bouquets behind me.
IMG_5618 
Here is the prayer tree at the reception waiting for people to write prayers and blessings for the couple on ribbon and tie them on. (Complete with crystals stolen borrowed from the chandelier in my dining room. Makes me giggle when I think about it.) _MG_5671 And here it is again after a few people had tied on their prayers (and all natural light was gone)
IMG_5721b
And lastly, here are the centerpieces:
IMG_5676 _MG_5681
Proofreading this post, I found myself thinking "Wow! It looks like a real wedding."  Umm...It was a real wedding. And better than just looking like one, I think the bride and groom and their families felt like it was too. Can't wait to get more pictures to share and get started on non-wedding projects. Until then, it is good to be back sharing these creative notions.

The Shabby Nest

Monday, March 28, 2011

A Winner and Some Flowers

First things first. The winner for my first giveaway is:
Lucky #7:
random
winner


Congratulations Darcy! I will be emailing you shortly.
A very heartfelt thanks goes out to all of you lovely ladies for entering and to all my followers for following.
The second part is just a quick little post for you. I am doing the flowers for a friend’s wedding in May. You can see my centerpieces ideas here. I took a flower arranging class at The Connection Wholesale Florist & The Flower Market in Fort Worth, Texas last weekend to help me prepare. My hands were a little busy so I wasn’t able to take pictures and I don’t think it would be very helpful to do a tutorial without them so I will just share the results.
Here is the hand tied bouquet featuring green roses, wax flower for filler and a “collar” of bear grass and lemon leaf.
IMG_5096 
I learned how to add the tied and buttoned look which is actually super easy. You just twist and wrap it back and forth and then use corsage pins stuck in the stems.

IMG_5093
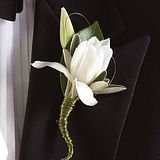
I had the chance to make a boutonniere as well. (I can never spell that word right without spell check). The dark base leaf is called lemon leaf or salal and the pink accents again are wax flower which actually comes in several colors.

IMG_5071

And a corsage.
 IMG_5086 IMG_5088

And finally an arrangement. Sadly it got thrown across my car when somebody decided they didn’t care if I was in that lane, they were going to join me. So it is a little kerflumpled.

IMG_5090

Did you know that Design Master Floral Spray Paint exists? I didn’t. It come in all the colors of the rainbow and really opens up possibilities. The instructor demonstrated with one of my roses which is how I got the blue one.
The class was really great. It was good to get some hands on experience with instruction and gave me just the refresher I need to be confident going into this wedding. If anyone in the Dallas / Fort Worth area is looking for a floral design class they can learn more about this one here.

Bonus! I just found out that Cassie from Primitive & Proper highlighted Mrs. T. from her Piece of Work Wednesday link party last week. Check out the 62 other great projects linked up here.  

Where this post is partying:

http://www.thethriftyhome.com

Sunday, February 13, 2011

Glitter, Glam, and Stargazer Lilies

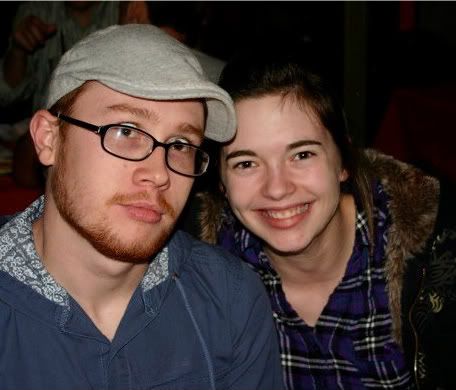
A very sweet friend of mine is getting married on May 15th and I get to play florist! I am so excited! Here is Krista and her finance Leslie. Aren't they cute? (I stole this pic off Facebook . hehe)
Her wedding style will be simple bold statements using her favorite flower, the stargazer lily.
The colors she is using are the dark pink in the center of the petal with black and ivory accents. It is going to be so pretty.
Last weekend, I had her over to discuss details and set up a few prototypes of reception table centerpieces to choose from. Here I am all set up and ready for my client.
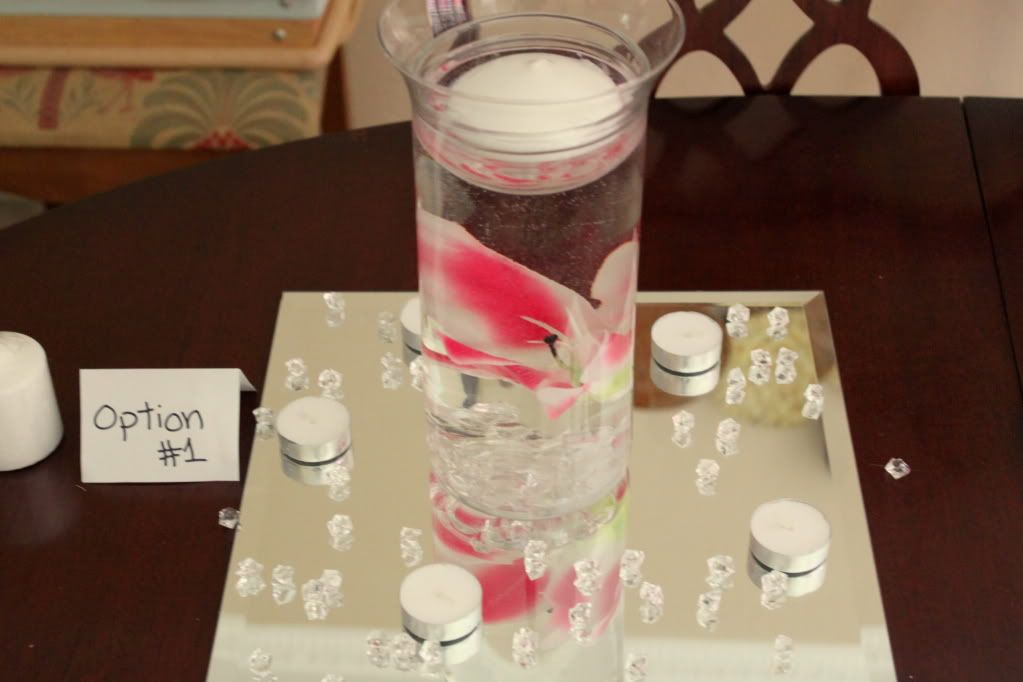
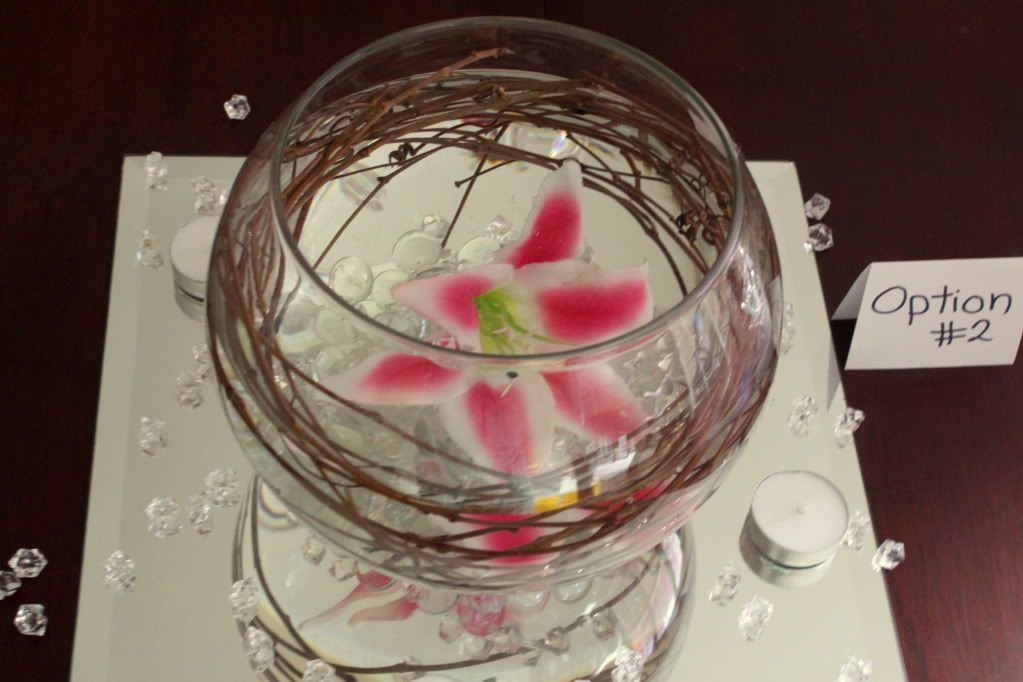
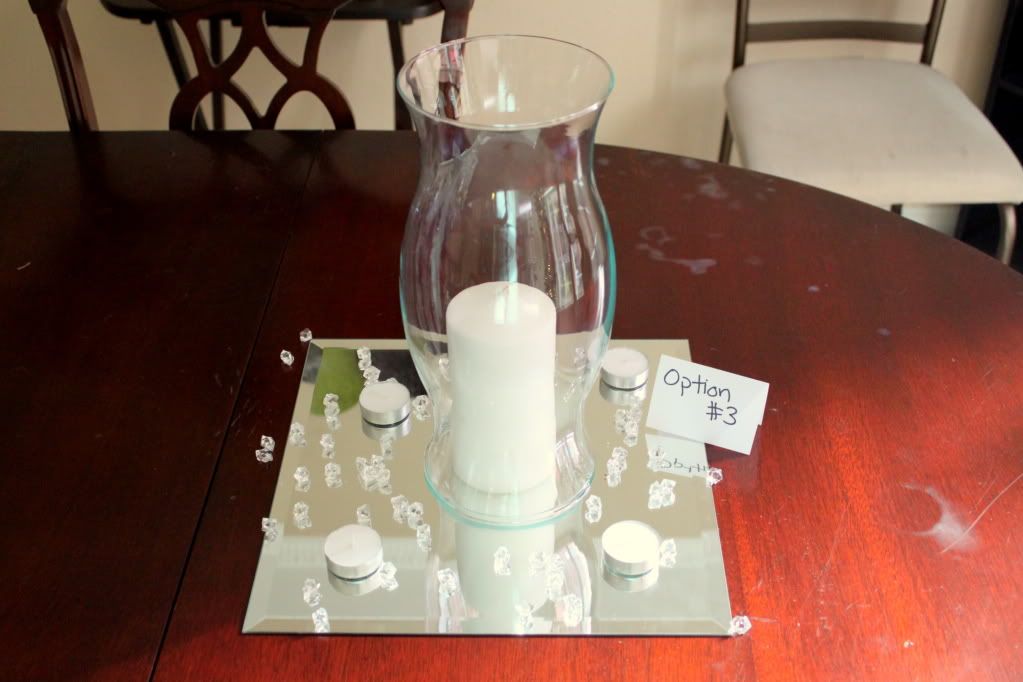
And here are options for the tables. They were created using silk flowers and small tea lights. They will be replaced with real flowers and glass votive holders and votive candles.

Option 1 uses a Dollar Tree vase, small bowl and candle with a single lily on top of a mirror with candles and sparkles. It will cost about $7 for each table.


Option 2 uses a bubble bowl vase, grapevine (that I am going to spray paint black), and a single lily on top of a mirror with candles and sparkles. It will cost between $5 and $9 depending on whether we can borrow the vases.


Option 3 uses one of my thrifted hurricanes with a pillar candle on top of a mirror with candles and sparkles. It will cost about $6 for each table.
This option has several options to it also. Vines swirled inside? Some sort of filler? Ribbon?

My bride decided she liked option 2 the best and then option 1. We are going to do a mix between the two with a higher concentration of option 2. The hurricanes are going to have ribbon swirled around the outside and be used other places such as the food serving table.

We made so many decisions that day from boutonnieres to pew adornments to bouquets to you name it.
 One thing I am excited about is a branch decoration I am going to make for guest to tie prayers, verses, and good wishes for the happy couple in the style of Japanese prayer trees.

It is going to be so fun working on all these projects and I am sure I will take you only the ride with me.