This idea is no where near revolutionary but I wanted to share it anyways. Those who have seen this before and don't need a tutorial should just scroll down to the end and see what I paired together.
Calling this a tutorial is being generous. It is basically "Glue things together according to the instructions on the package." First gather your thrift store finds. I have started looking at candle sticks and plates every time I am thrifting.
Calling this a tutorial is being generous. It is basically "Glue things together according to the instructions on the package." First gather your thrift store finds. I have started looking at candle sticks and plates every time I am thrifting.
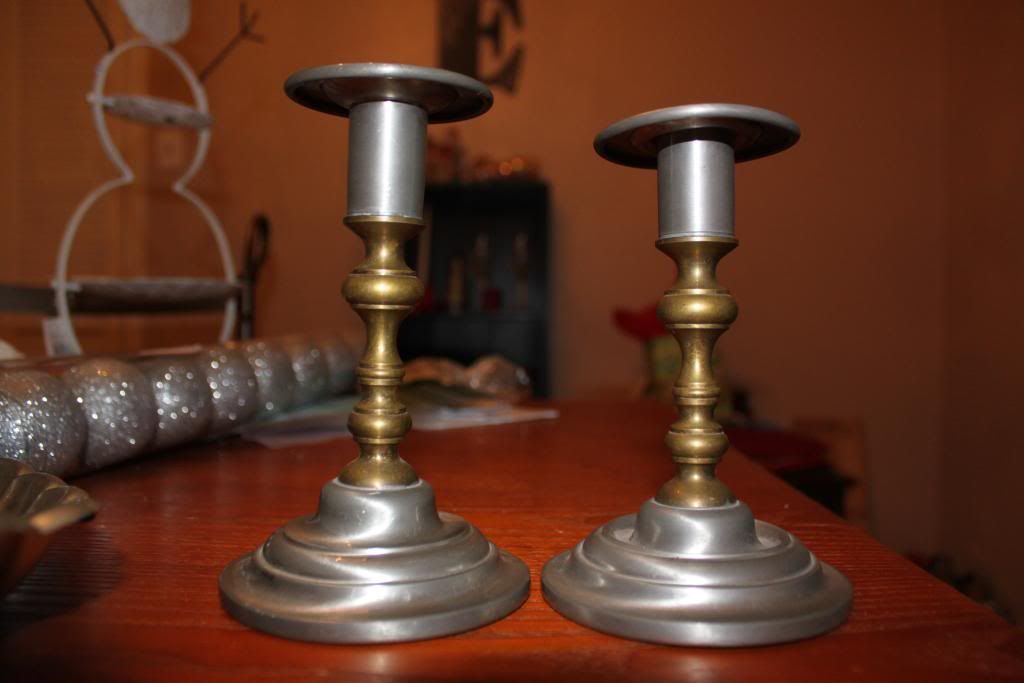 |
| I got these for a $1 a piece. They are a little wonky but I was able to bend them back to fairly level. |
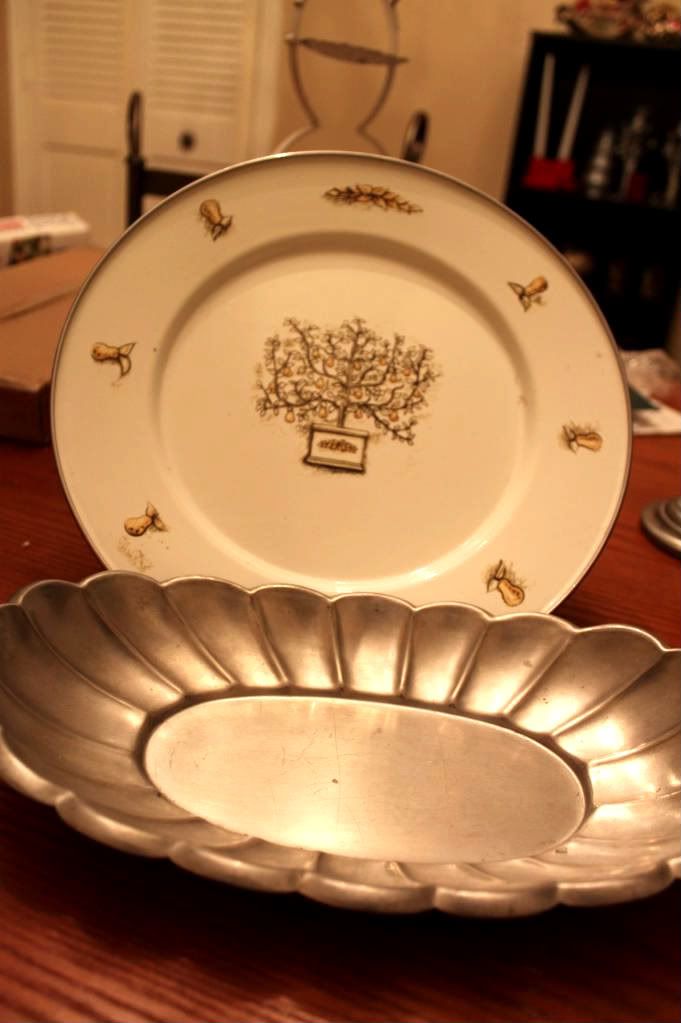 | ||
| I think the plate was $1 and the pewter bowl $2. |
And pull out your E600 glue. Ohhh! Ahhhh!
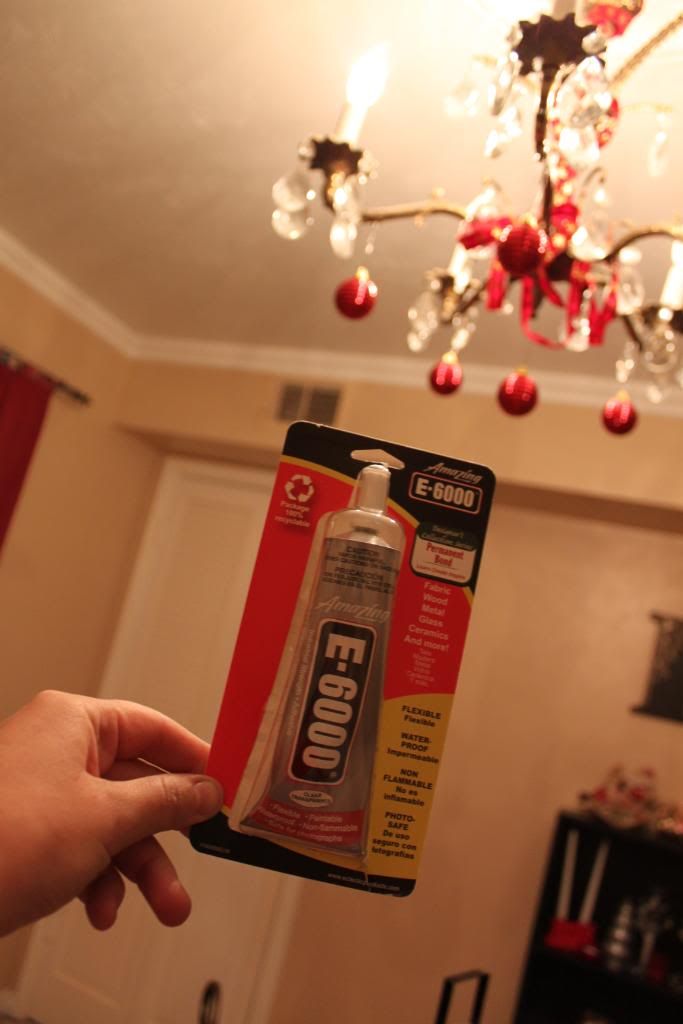
Settle in on your living room floor with the above supplies plus a wet paper towel, pen, and a dog bone.
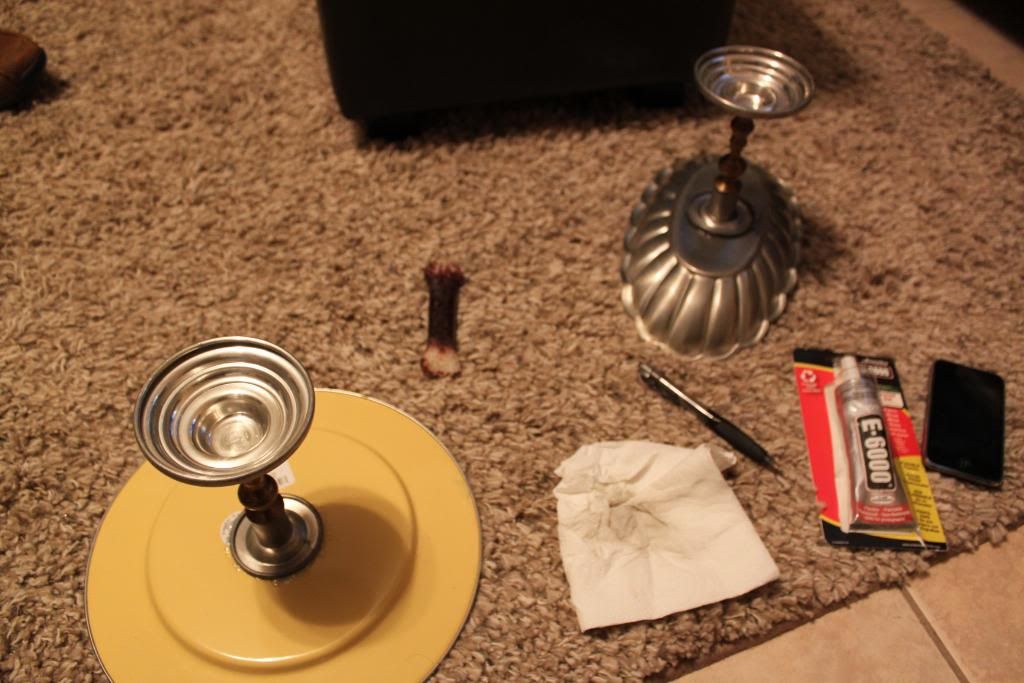
Clean any area that you will be applying glue to. Center your candlestick on the bottom of your plate/bowl/thingy-ma-bobber and trace around it. This helps you know where to put the glue. Lick-y pooches that think they have to be in your lap + super duper glue is not a good combo. So as needed, use your dog bone to poke away any curious pooches that really just want to do this all the freaking time.
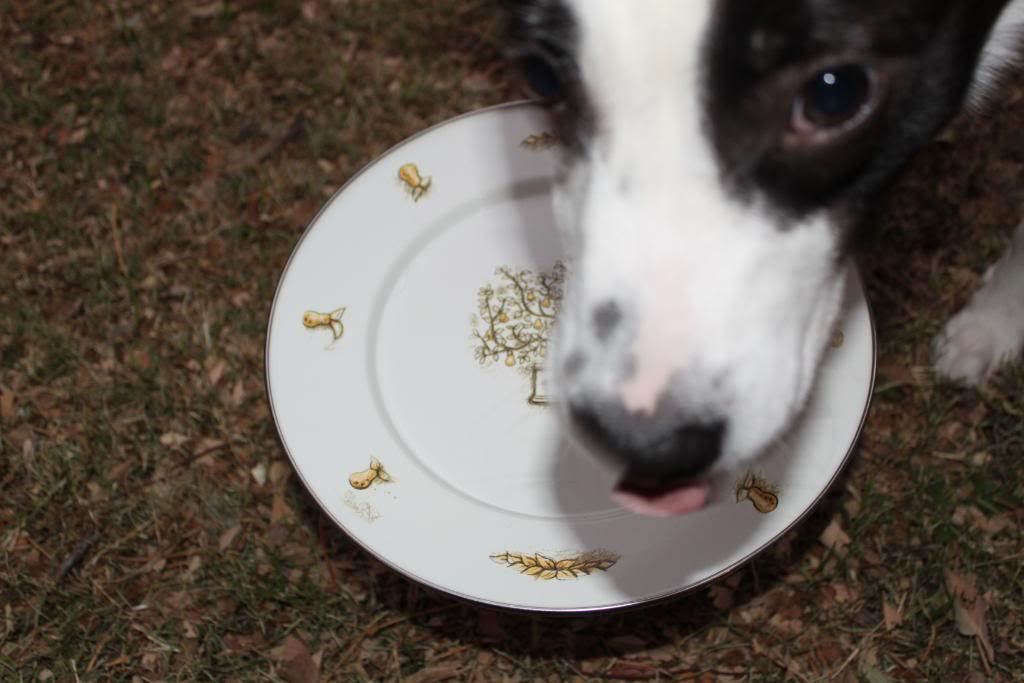 |
| This was later but you get the idea. |
Spread a thin layer of the E600 on both the top of candle stick and plate/bowl/thingy-ma-bobber. Do not put any glue outside of your traced circle. This helps you have a neater piece when you are done.
Do not put your pieces together yet. Let them sit for 5 to 10 minutes, then firmly press together and cure for 24 hrs. I usually leave them upside down like in the picture for a little while and then turn them over and sit a heavy book on top to make sure there is good contact between the pieces.
Do not put your pieces together yet. Let them sit for 5 to 10 minutes, then firmly press together and cure for 24 hrs. I usually leave them upside down like in the picture for a little while and then turn them over and sit a heavy book on top to make sure there is good contact between the pieces.
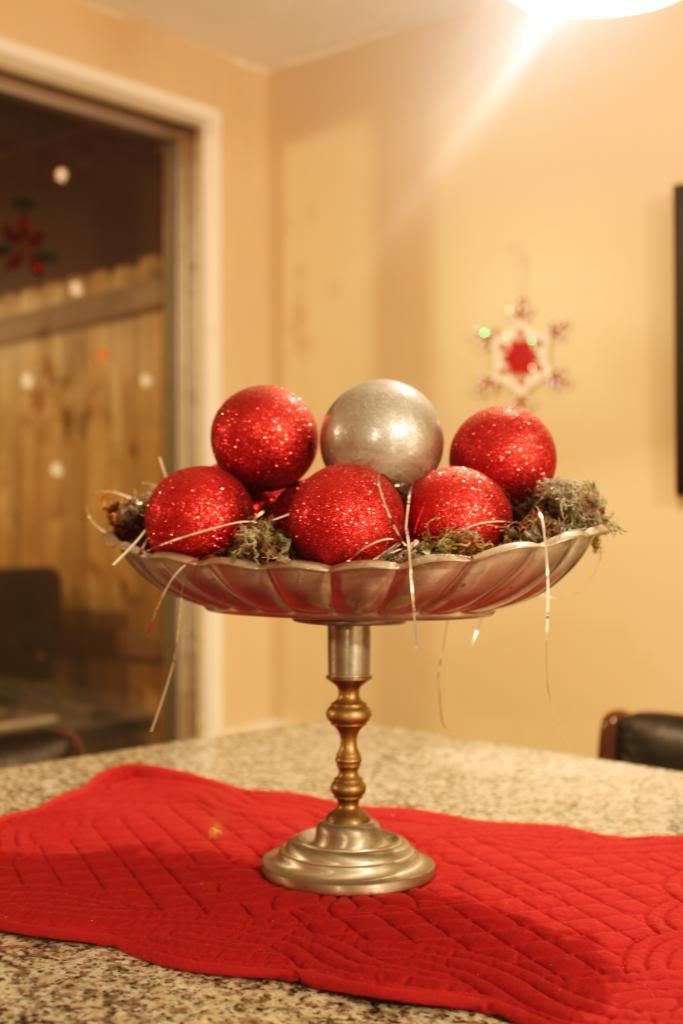
Once your 24hrs are up, you are ready to play! I added a bit of leftover moss from my wreath project, a dozen or so ornaments and a few strands of tinsel. I love all of the textures playing together.
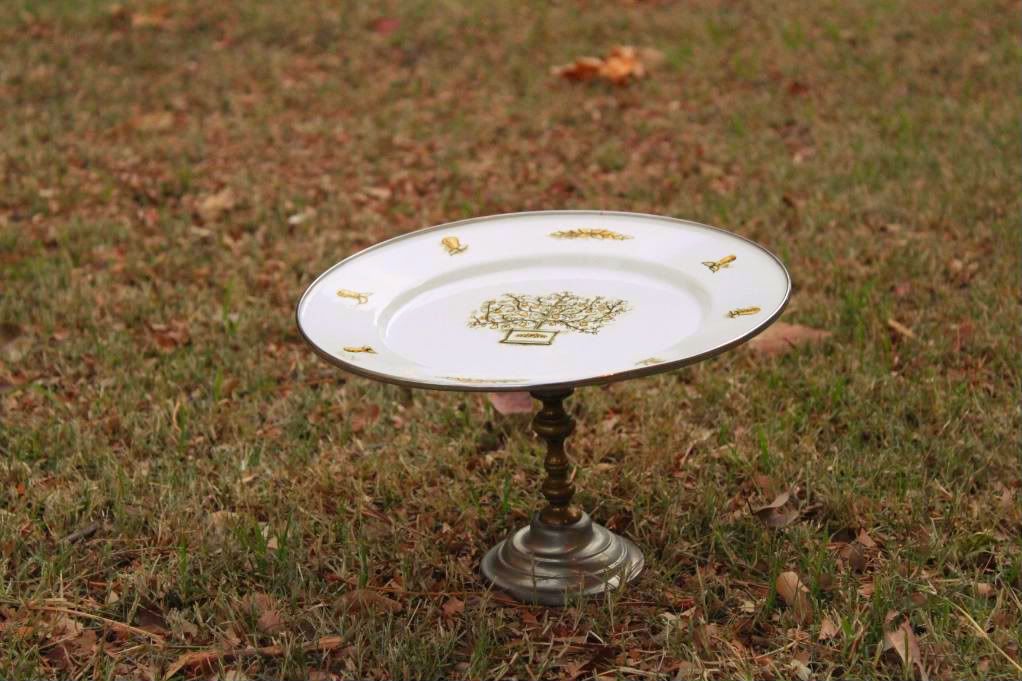
This cake stand is turned out great. The plate is so fun and is actually metal. Here it is holding a Chocolate Truffle cake that turned out sooooo very yummy.
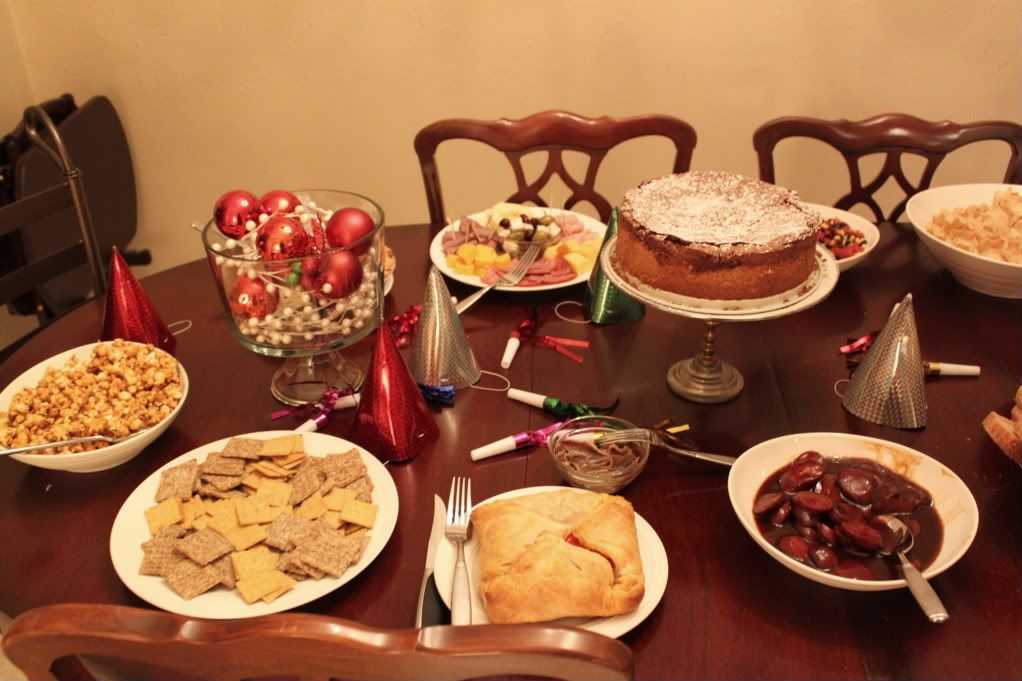 |
| Like my new dining set? |
I made this one for my secret santa at work. I had trouble giving it away but I am glad I did because it was a hit.


These kind of projects are so much about the technique as they are about interesting pairings and inexpensive pieces. Do you have any fun projects done this way?
This post was entered in the following link parties: