Showing posts with label decor. Show all posts

Thursday, September 22, 2011

It is Getting Leaf-E Around Here

Terrible title I know but I love it. I haven’t done a whole lot of decorating for fall yet but I did make a wreath for our front door. I started with this tutorial for a leaf covered monogram that I had pinned on Pinterest but used mod podge instead of spray glue.
 _MG_5978-1
I have a small collection of Letter Es around the house, so for this project, I used one that had gotten broken and glued back together. The grapevine wreath and the lace are leftovers from the wedding I did this spring, so all I needed were the leaves. I got my leaves from Michael’s and they are dried oak leaves that have been dyed. I think the fact that they once hung on a tree shows in the paper-y perfect textures and veins.
_MG_5957-1 
The letter I used is pretty heavy and much heavier on the left side due to the nature of the letter E. This makes it tilt and spin when hung from the grapevine wreath. I would recommend using a letter that is made of paper mache or something light so that the difference between sides isn’t so much. I would also recommend using a letter that is flat like in the tutorial rather than 3 dimensional and thick like mine. It was difficult getting the leaves to wrap around the edges and cover all the corners sometimes.
 _MG_5981-1
My front door area can kind of be a tunnel of red. I was afraid fall colors would just make it worse so I tried to use more of the yellow leaves than the red and orange. I think it  balances out alright.
_MG_5951-1

Friday, May 27, 2011

Pin-up #2

I just wanted to share a few pins with you that are on the top of my to do list.
This shower curtain is made with 5 dollar store shower curtains liners. Right now both of our bathrooms have just a single liner because I have a thing about shower curtains and the light they block. But they are definitely lacking style so this ruffled adaptation would be a perfect, prettier look. And cheap!

I’ve been saving wine corks for a while now with nothing in particular in mind. I also acquired a large piece of foam board that was used to pad a recent Craigslist transaction. That means I could make this for free! Yippee! Except I think I don't have nearly that many corks :(…but it is free :)


My biggest post-wedding project has been helping my mother-in-law with her bedroom (which is slightly complicated by the fact she lives 4 hours away in Houston.) This is the quilt she bought for her new king sized bed.
image
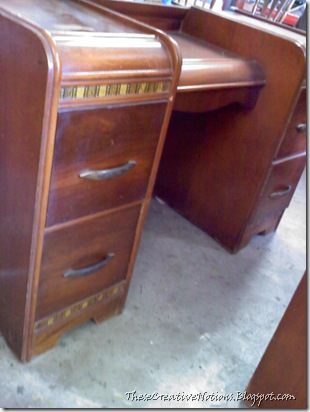
She has new nightstands that we got her off Craigslist for $50 for the pair but I don’t have a picture. We also got her a vanity, mirror, and chest of drawers for $115. They are art deco waterfall style with their original hardware and I love, love, love them. As rude as it might be to say, DIBS!imageimage (2)
They need a little work. I have researched how to shellac and should be able to return them to really good condition. I cleaned the dresser with mineral spirits and was surprised how much better it looked even after just that. Oh, and apparently once you shellac you don’t go back (teehee) Has anyone used shellac before? Any tips? One more picture to drool over. See that gouge on the 3rd drawer? I am fairly confident you wont even see it when I get done.
image (1)  
These aren’t pins so why am I showing you them? Because I have a board devoted to her room and because really this project is the top of my list. I hope to make my lovely MIL a large upholstered headboard for her bed. Something along these lines:

I really like the shape of this one. Simple but not quite a plain rectangle. I trying to decide between button tufts (which I think would be too busy with the quilt) or nail head trim (which I think would be too flashy and western with the quilt) or nothing (which I think will be too boring). Any other ideas? I am planning on using drop cloths for it and probably some curtains too. I like the trim and folded over edge of these.

She wanted the wall behind the bed painted a warm color but again with the quilt, I am scared to make things too busy and orange-y. May be pull out one of the blues or greens of her quilt? It’s not exactly warm tones but her quilt and all of the furniture pieces are.
One more pin for you, I think this antique specimen art would be a nice touch. I think the Graphics Fairy has several and I’d like to frame a few and hang them on either side of the vanity mirror.

Alright, that is my plan. Now I just need a little bit of actually making it happen!

Thursday, March 3, 2011

I Finally Finished a Project!

That is right. I did it! I finally did it! It has been several weeks since I have finished anything to post. Not for lack of trying. It just seems every project takes way longer than it should and has terrible "oh no! It is ruined!" moments. And I am not just talking about the ugly stage. That is normal. My projects lately have hit a way more than normal quota of ugly. If you are one of those that enjoys it when a blogger shows you the mishaps along the way instead of just the perfect endings, you are going to LOVE me.
Lets get started on the project I finished. This is the front entrance to my home. Yep, in that yard. In between those two buildings. Needless to say, first time visitors struggle to find us.
IMG_4520 
There is a sign hanging from the eaves with our house number but it easily gets lost in the shadows so I thought I would make another one that would be easier to see.
I had this old shelf that I made for my college dorm.
IMG_4599-1
It has was never very sturdy and since we moved here, it has been sitting outside forlornly. So I scavenged a few boards off of it and sanded them to clean up the water stained areas and distress the paint a little bit. (the bottom one is sanded and the top to aren’t yet)
IMG_4601
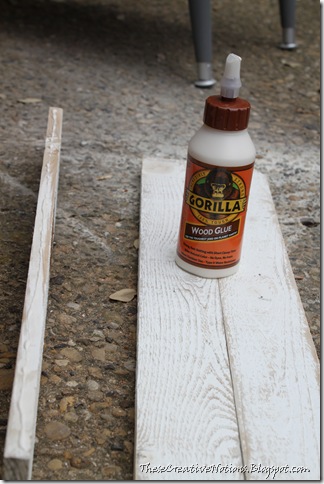
I used Gorilla wood glue to glue them together. Worked like a charm!
IMG_4604
And then clamped them together. They tended to roll up when I had them clamped as tight as they needed to be so I put a weight on top. The drawer from the project that won’t end did the trick.
IMG_4605
Proper assistance is key during all steps of this project. Hiya pup!
IMG_4602
Next I broke out my beautiful Silhouette that I got for Christmas. This thing is a dream. You should see how excited I get just being able to quickly cut multiply PERFECT circles at exact dimensions. I may be a nerd for that, but circles are really hard to do by hand. A tip if you have a vinyl cutter too, you can use contact paper instead of transfer paper to take the vinyl off the backing and smoothly put it on your project. It is sooooo much cheaper.
SDC14632
I am showing you what it looks like because I had difficulty finding contact paper the first time but eventually found it in the drawer liner section at Wal-Mart. I first looked at craft stores and no one even knew what I was talking about.
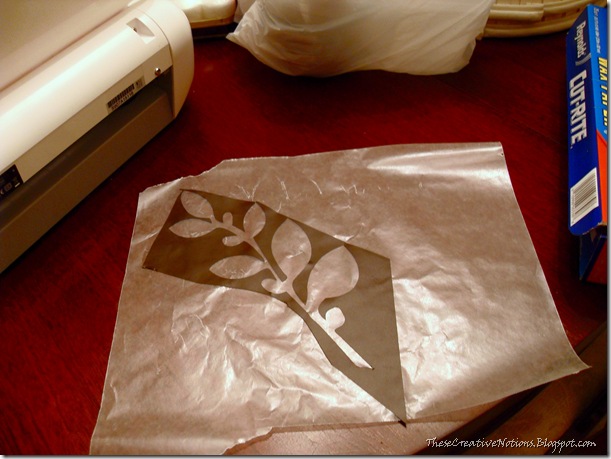
http://myrepurposedlife.blogspot.com/2011/03/silhouette-sd-how-to-cut-and-apply.html isn’t the only one who makes a decal and sees a stencil. I put the outline of the leaf I used on wax paper to save for another time. She also has great tutorials and videos on how to apply your Silhouette-d vinyl.
SDC14646
Okay, here is where things started to go wrong and I stopped taking pictures because I thought I would have to scrap the whole thing anyways. I decided it would be a great idea to use my dark walnut stain to further distress my sign. For whatever reason, the white paint turned purple. A dark violet purple. It was awful. I freaked out and threw it in the kitchen sink and through some bleaching and sanding and white washing, got it un-purpled enough to move on.
I tried to clean it up well and wait patiently for it to be thoroughly dry before I applied my vinyl but apparently, I wasn’t patient enough. As soon as I got the vinyl near it, it lost its stickiness. I freaked out again and ran upstairs and grabbed some spray adhesive and clear spray paint. And then I stood there with them in my hands and stared at the sign willing it to be thoroughly dry and pouting.
When my pout the drying was done and with the front of the vinyl decal attached to the contact paper and the back-should-be-sticky-side out, I sprayed it thoroughly with the spray adhesive. I pressed it down on my boards and rubbed it firmly with a used gift card and then peeled back the contact paper. The contact paper removes more easily if you pull it back on itself as close to horizontal as possible (if you are working in a horizontal position). I rubbed it down some more with the gift card and smeared some Mod Podge under any parts that still were not sticking. After that, I gave it several good coats of the clear spray paint in hopes that it would create a bond around the edges. It seems to have worked!
I had trouble deciding where to hang it. I wanted it on the gate but there is a monster spring there. I thought maybe under the mailbox.
IMG_4535
But that didn’t seem to really “pop” to me. So I tried it on the right side.
IMG_4536
No. That’s not it either… I guess spring or no spring, I want it on the gate.
IMG_4541-1
House Numbers
It isn’t as reflective as these pictures seem. I was running out of perfect daylight.
To hang my new house numbers, I simply screwed two screws into the top and tied hemp twine between them. See?
House Number Close Up
It may not make my home perfectly easy to find but I definitely think it will help people at least know if they are in the right yard. And it only cost me about $2 for the vinyl and a few tears.
If you like the leaf I used, you could swap me for your own on whoopDwhoop.
This post will be participating in the following parties.


Photobucket


Photobucket

Funky Junk's Sat Nite Special

Friday, February 18, 2011

My New Office: Take 1

You may remember I got the opportunity to pick out new furniture for my office. I posted about my excitement here.
Well. it has arrived and I got to move in this week. I am still working to decorate. I am making custom office supplies and want to have pretty magazine files and coordinating bits on the book shelves. But for some reason I can not seem to finish projects right now so those are not ready yet.
Let's take a look. I apologize for the iphone pictures. I promise to bring in my camera and take good pictures when I am done decorating.
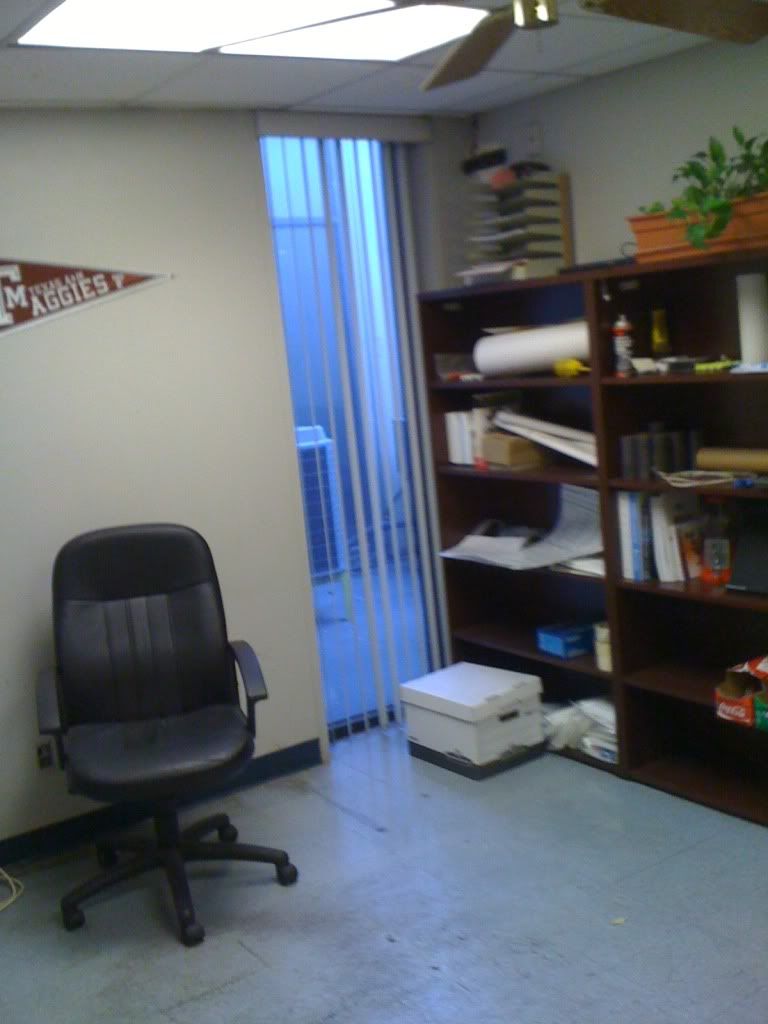
This is the before. It was full of someone else's junk (and a little bit of mine) The chair is covering most of it up but the wall were smudge from years of greasy boots  and hands bumping up against it. Ick.
I painted the walls using paint we had leftover from painting our current place and the color looks better there than it does here. Something about the florescent lights brings out a pink and orange tone that isn't great. Oh, well. It only cost me a Saturday and it looks SO much better and brighter.

Huh? Whats that? You wouldn't know because I am rambling instead of showing pictures? oh sorry. Here you go.
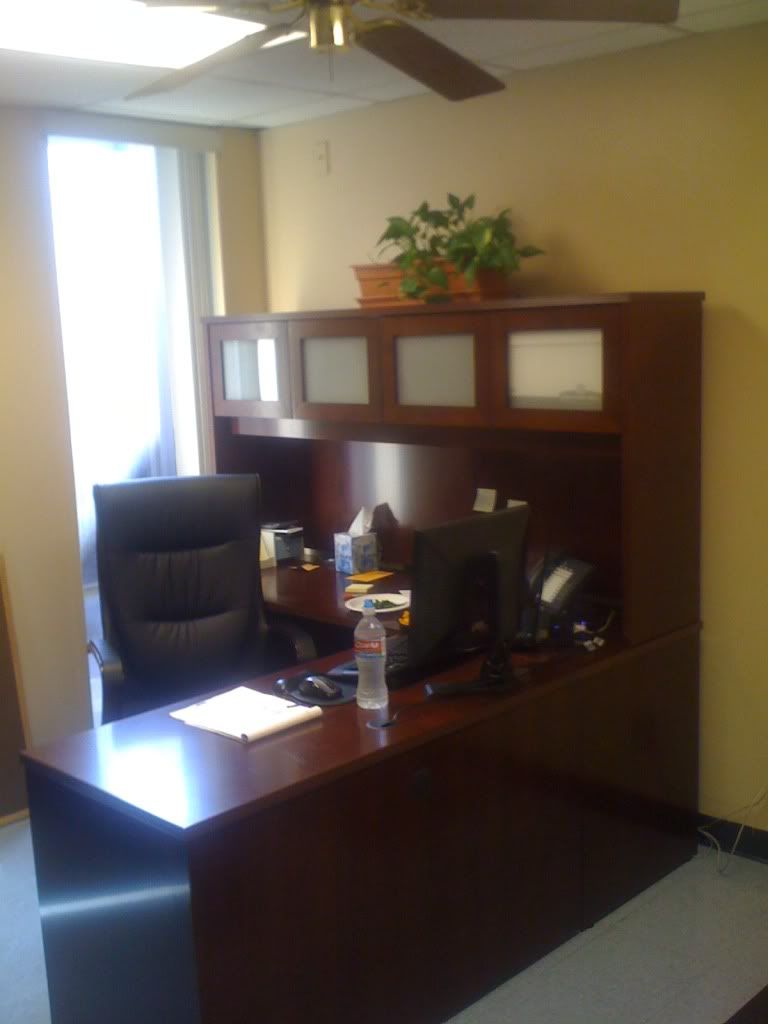
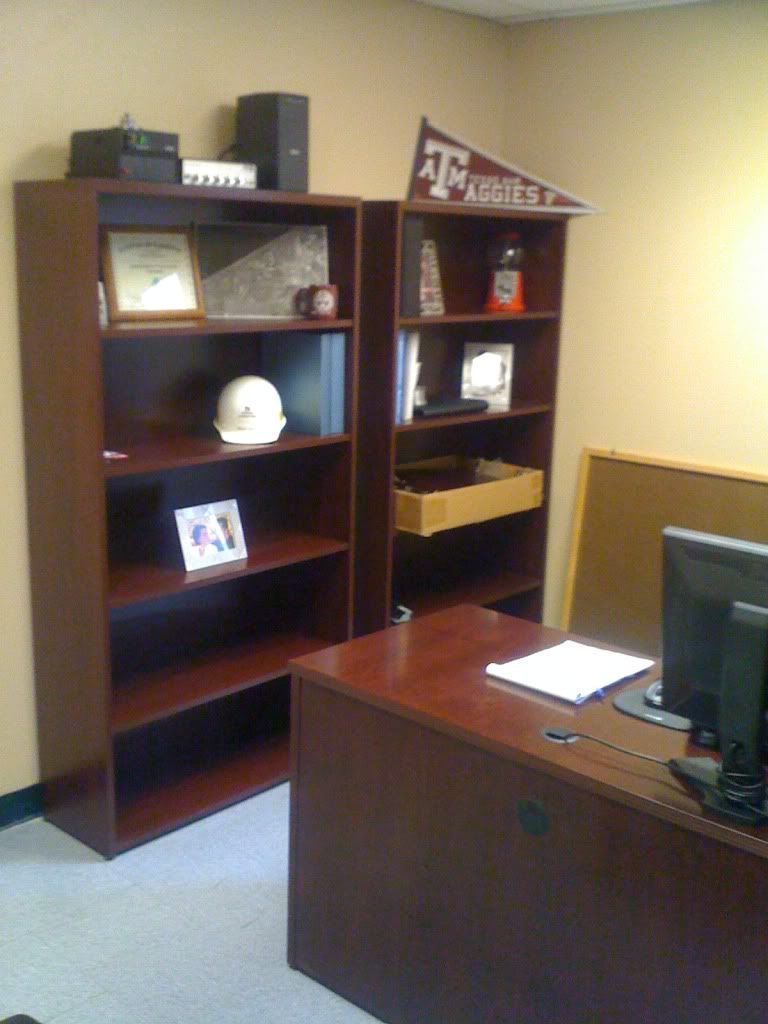
They delivered the wrong chairs and I had to be persistent to get the right ones ordered in the first place but I really like my desk chair and the guest chairs. I need to move my desk forward so the chairs aren't so awkwardly in a large gap and to cover some outlets and wires but I am too embarrassed to go ask some guys who aren't busy making steel to move furniture around for me. oh well.. I am going to have to bite the bullet soon. It is driving me crazy.
Also, you might have noticed a cardboard box on one of the shelves. It is holding the solid wood doors that came off the hutch when they put the glass ones on. I asked the installers if I could keep them and they let me (I just had to put up with a few strange looks)

I am going to make some sort of art to put above the guest chairs. I want to mount different pieces of found industrial bits.
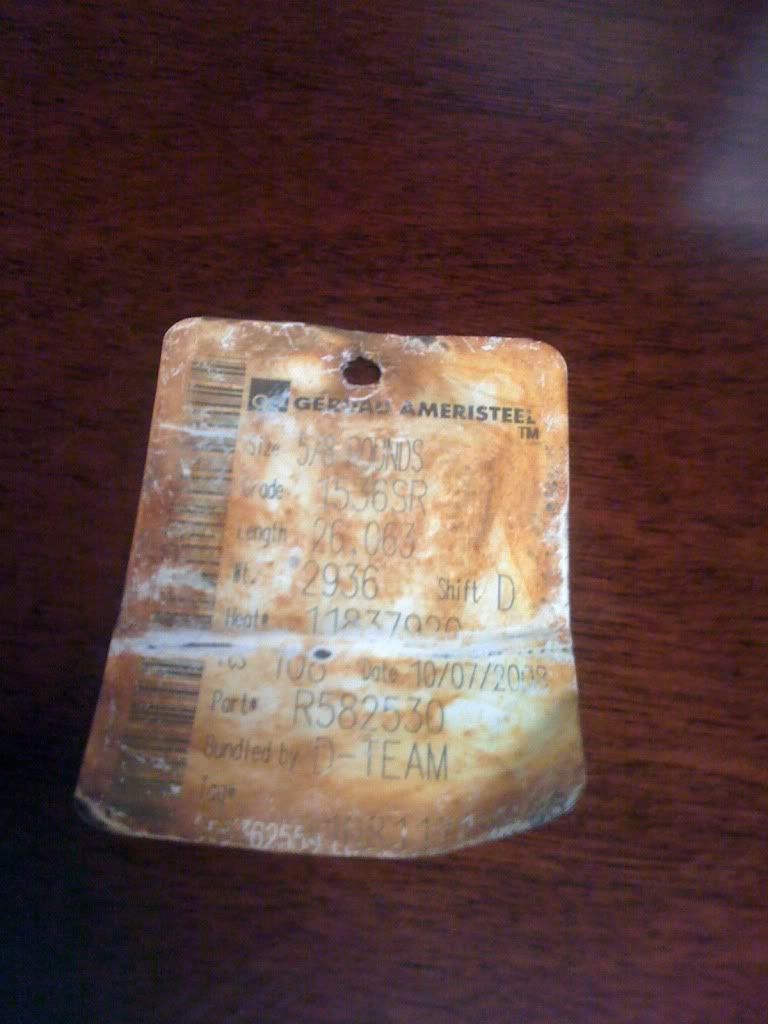
Like this tag off of a bundle of rebar. I keep it at my desk to remind me that there is beauty already even in steel mill.You just have to look for it.
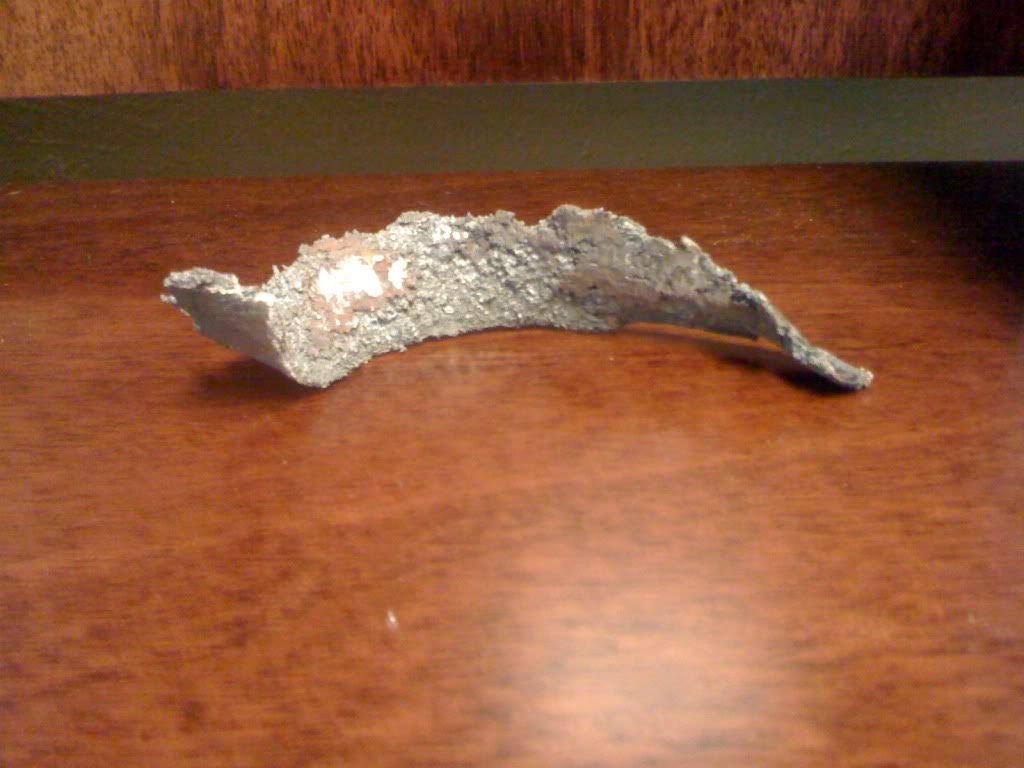
or this bit of dross that was the first bit removed by the first piece of equipment I designed.
I've got 4 doors so I need some more bits. The difficulty is that most bits of metal around here go back to the shredder and get re-melted so picking up metal off the ground is like picking up a dollar someone dropped. And I don't want to steal from the company to do my art.

Friday, January 28, 2011

My Mercury Glass Look

I am loving the fresh white winter look with splashes of sparkle from silver, crystal, and mercury glass. I have seen several techniques for that imperfectly perfect look of mercury glass and choose to use one for myself. If you want to try it, all you need is silver spray paint, spray bottle with water, and your glass pieces.
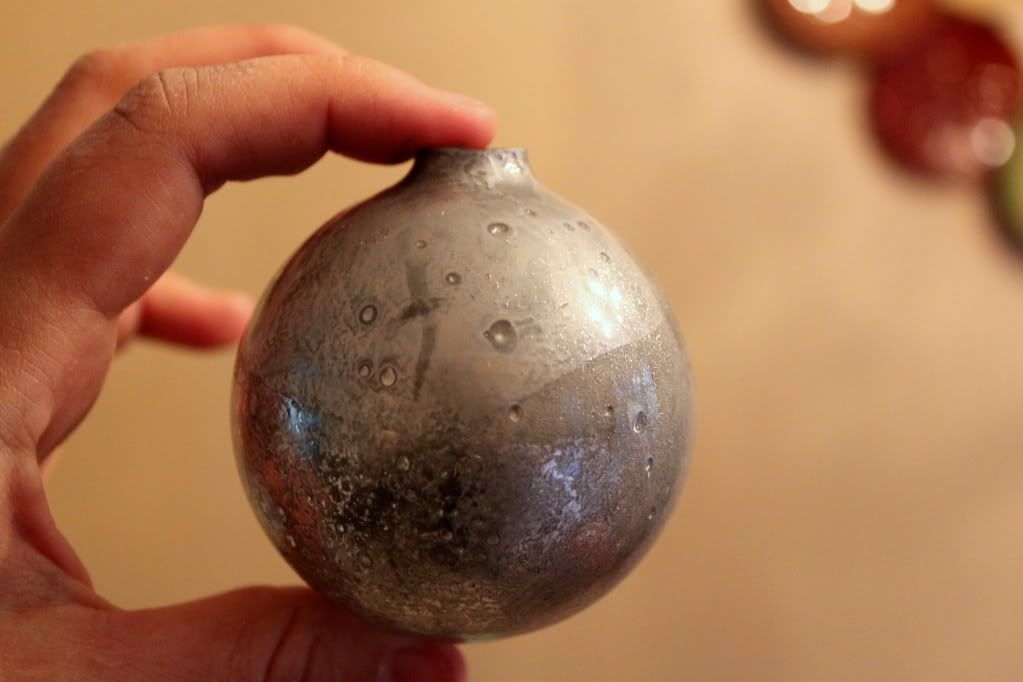
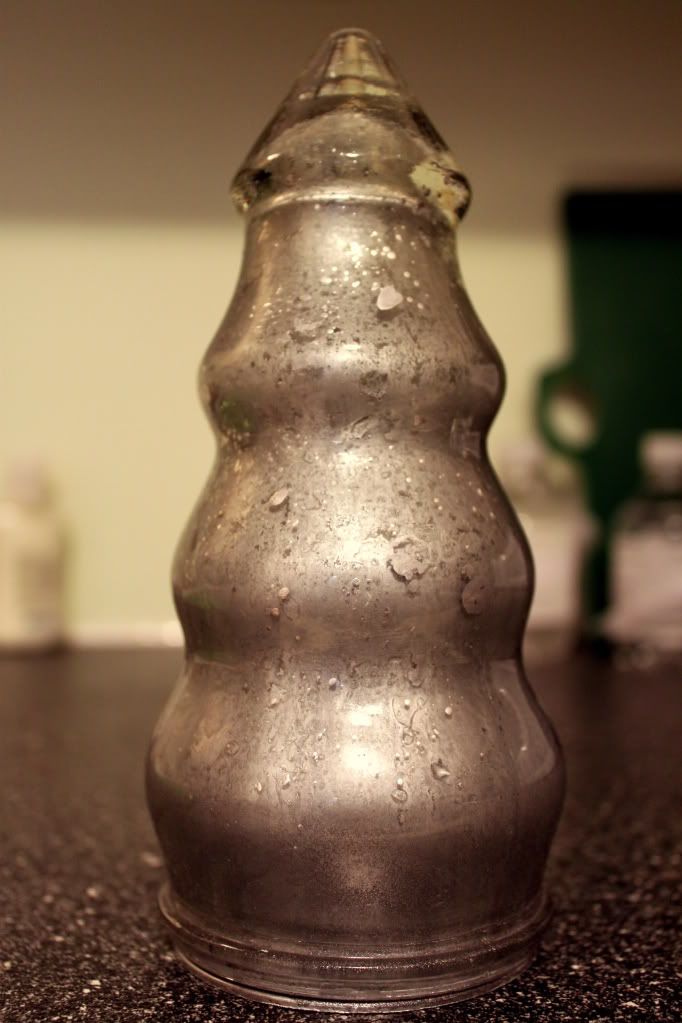
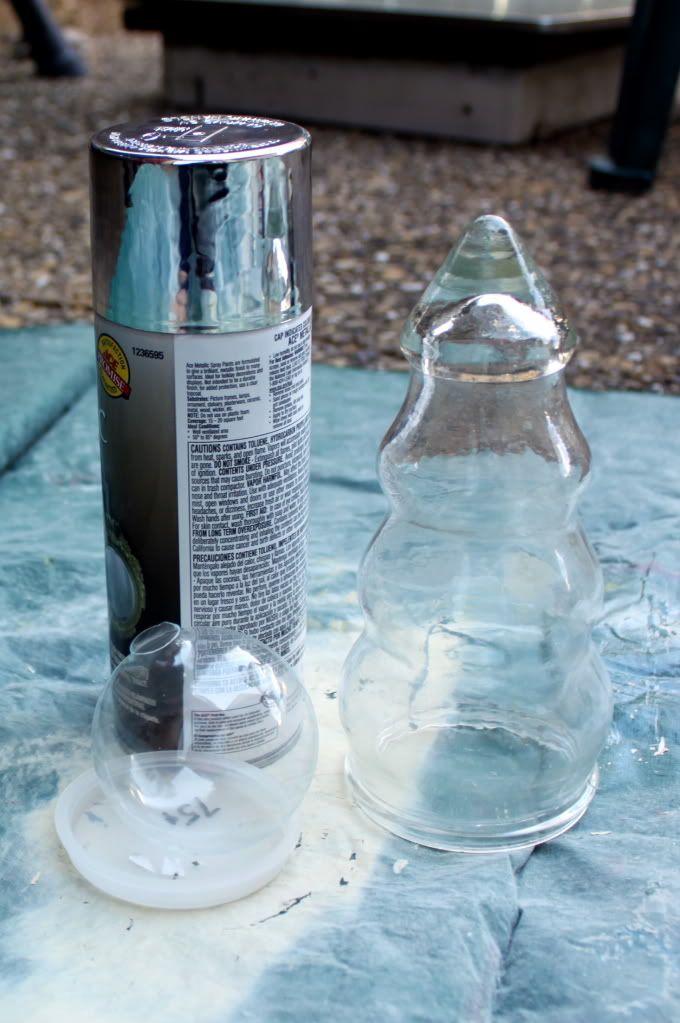
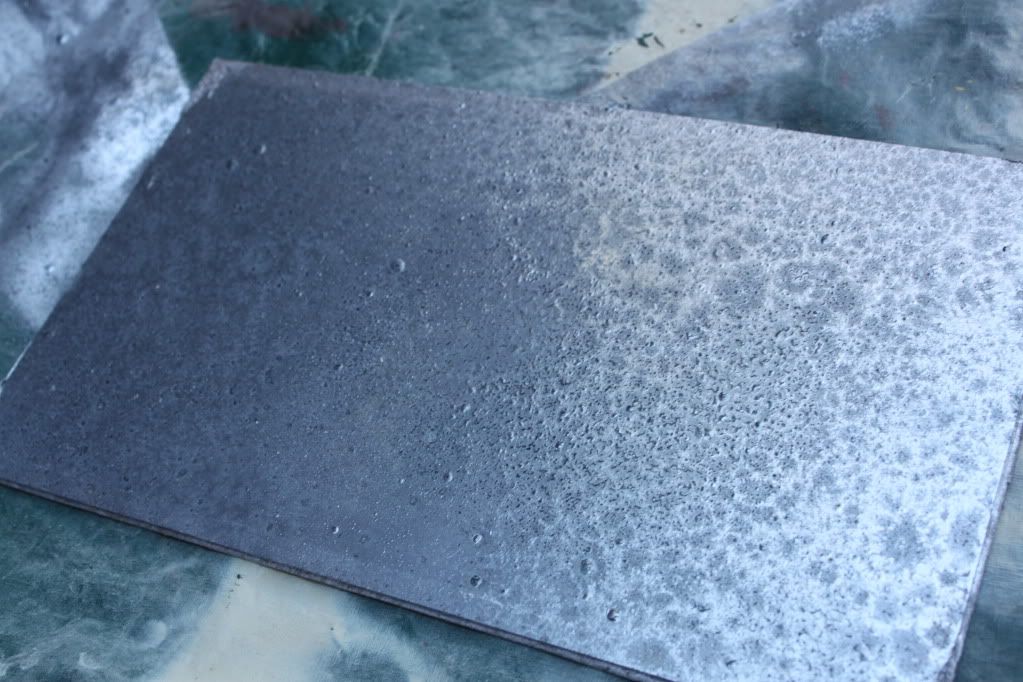
I had picked up this glass Christmas tree from a thrift store for $.75 and had a clear glass ornament leftover from previous projects. I also had a clear glass window pane I took out of a patio door to make it into my headboard. That is a project I keep meaning to take pictures of to show you. One of these days… Anyways, here is the window pane freshly sprayed. All you do is sprits the glass with water and then spray on the silver spray paint. It makes the paint stick differently depending on the concentration of water giving you nice textures.
I was really just using the window pane to test out the technique but now I like to use it to put other display pieces on top off. Basically what I found was that flat open piece like this works easier than anything else. Trying to spray into anything makes a mess on your hands. (Gloves aren’t a bad idea).
I also found that I like the look on the side you actually spray on rather than the other side. Looking through the glass to the spray paint really flattens the color and texture which was a problem on the tree and ornament. I tried to spray some of the paint in a bowl and then use a small paint brush to flick some paint onto the outside but that didn’t really work so don’t bother to try that.

So what am I going to do different next time?
  • I am not going to bother to try to spray into the ornament but just do the outside. But I do like seeing the thickness of the glass on the tree so I think I would do a light layer inside and out.
  • Use acetone or something else that will take some of the paint off just after it is dry to give a better texture and splotchy look. This is supposed to give you a more antiqued look.
  • Krylon’s mirror finish spray paint is supposed to work well for this so I want to try that.
But really, I like the pieces I made and enjoyed using them through out Christmas. The window pane is still out and probably will be for a while. I might even make a few more of those. You will notice it still has the putty from the windows stuck on it. I think it adds to the texture quite nicely. Or at least that is what I am going with for now.

This post is linked to:

Sumo Sweet Stuff

Friday, January 7, 2011

Oh the Magic of Glue!

This idea is no where near revolutionary but I wanted to share it anyways.  Those who have seen this before and don't need a tutorial should just scroll down to the end and see what I paired together.
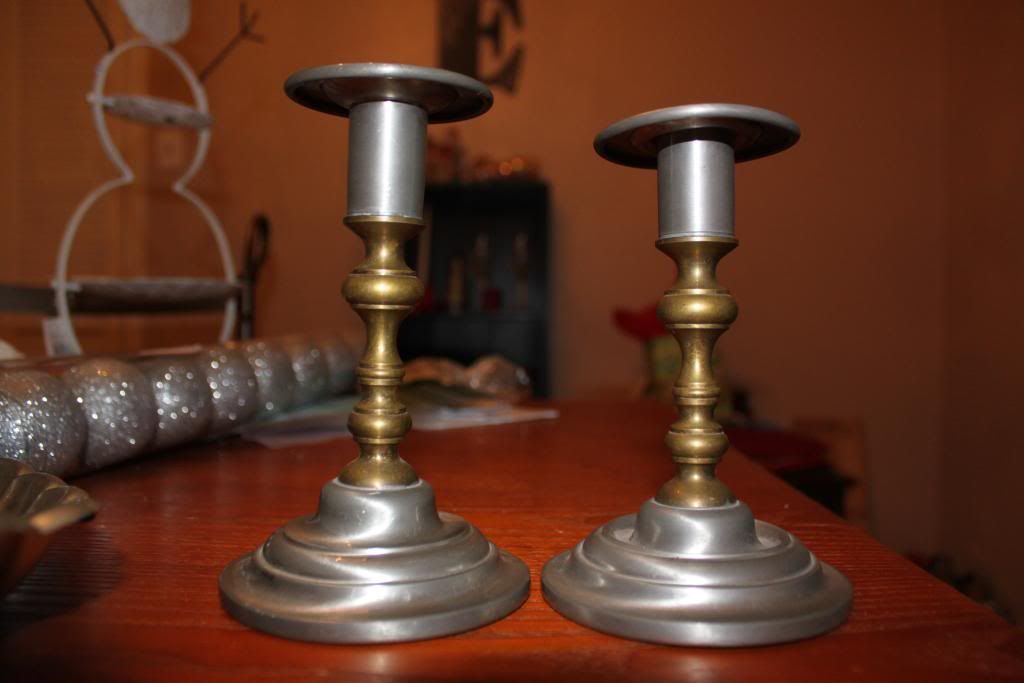
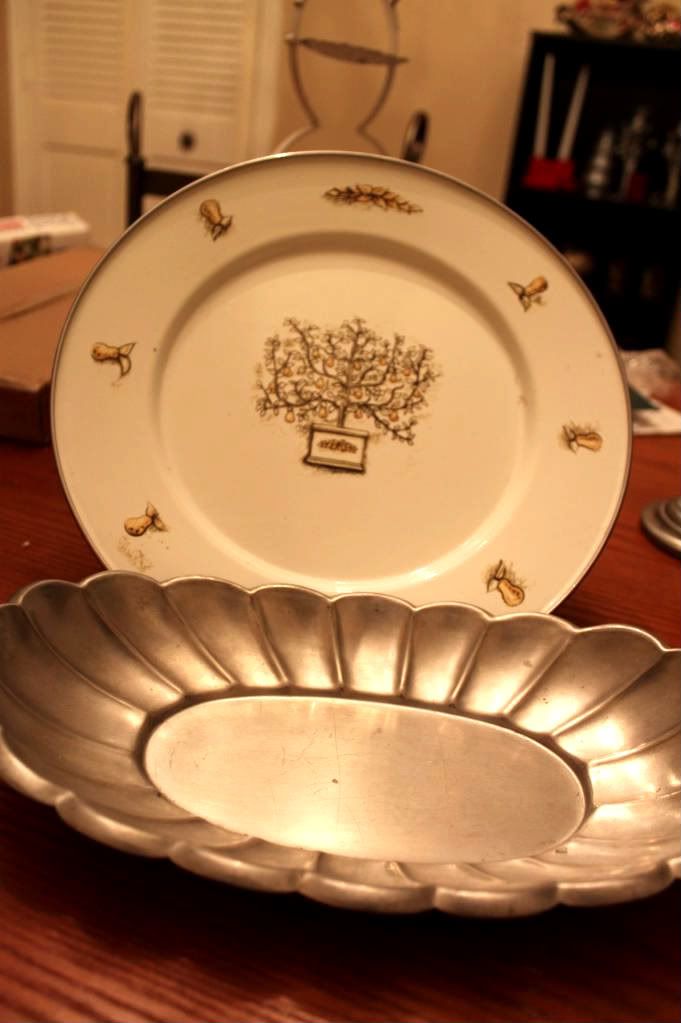
Calling this a tutorial is being generous. It is basically "Glue things together according to the instructions on the package." First gather your thrift store finds. I have started looking at candle sticks and plates every time I am thrifting.
I got these for a $1 a piece. They are a little wonky but I was able to bend them back to fairly level.
I think the plate was $1 and the pewter bowl $2.

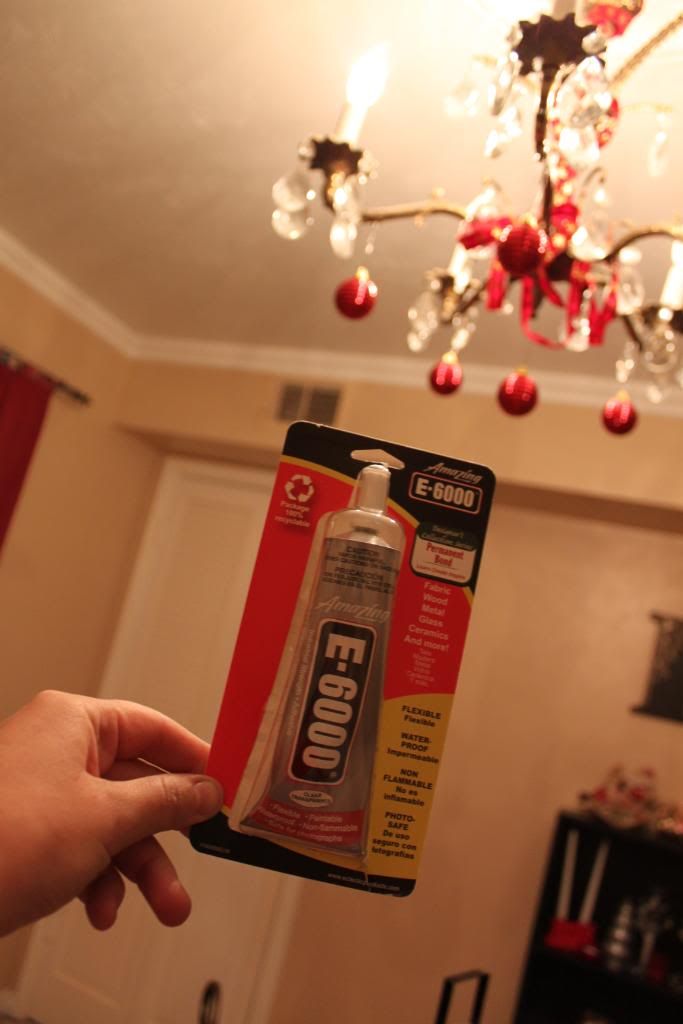
And pull out your E600 glue. Ohhh! Ahhhh!
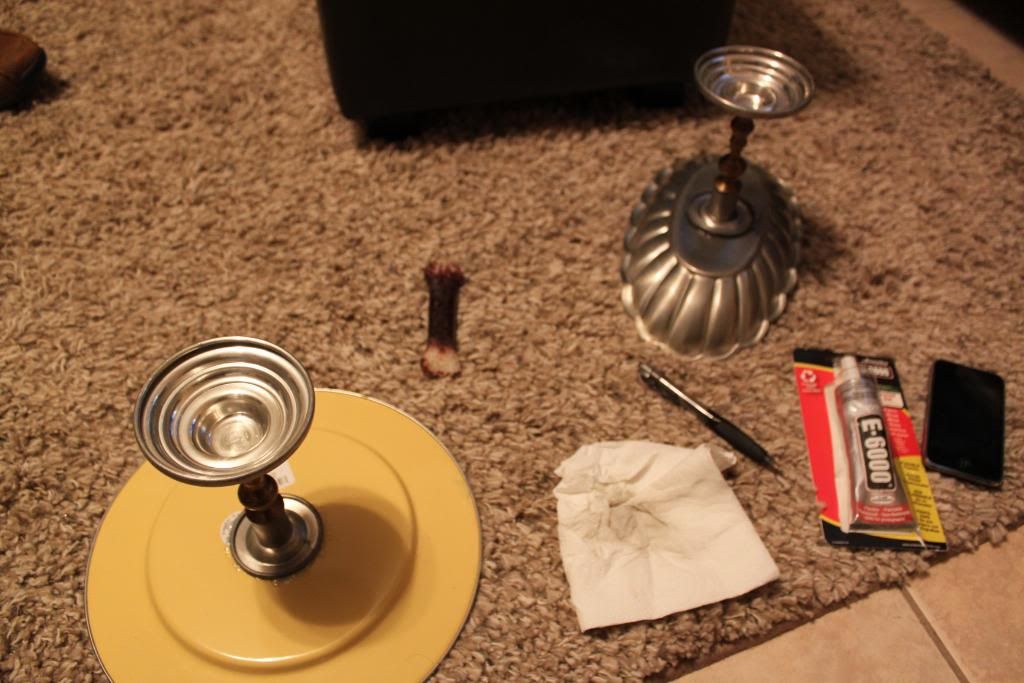
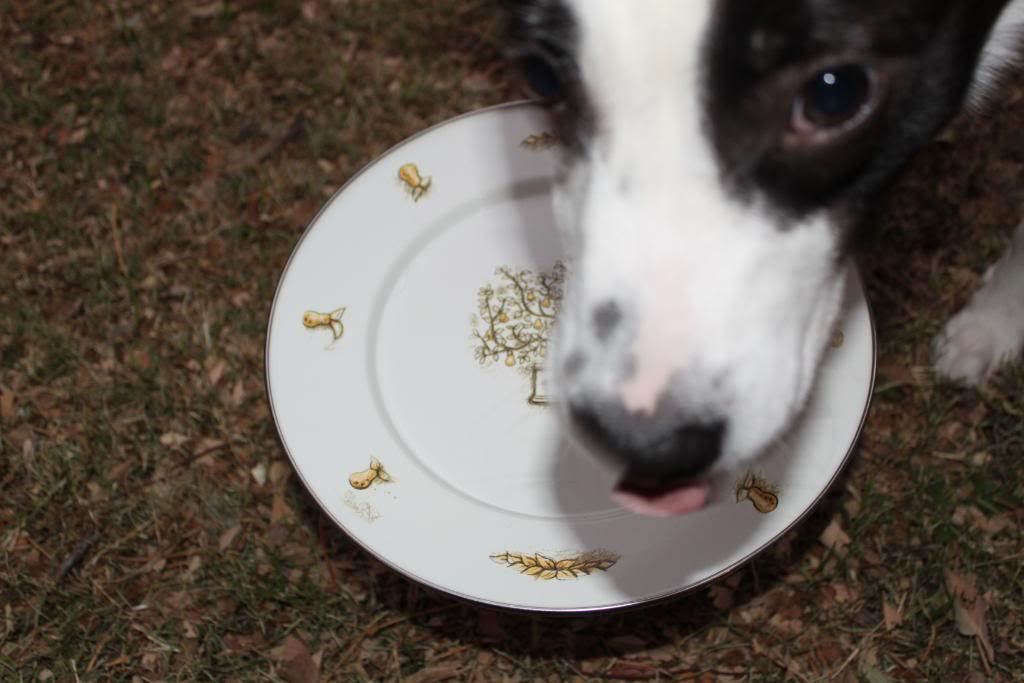
Settle in on your living room floor with the above supplies plus a wet paper towel, pen, and a dog bone.
Clean any area that you will be applying glue to. Center your candlestick on the bottom of your plate/bowl/thingy-ma-bobber and trace around it. This helps you know where to put the glue. Lick-y pooches that think they have to be in your lap + super duper glue is not a good combo. So as needed, use your dog bone to poke away any curious pooches that really just want to do this all the freaking time. 
This was later but you get the idea.
Spread a thin layer of the E600 on both the top of candle stick and plate/bowl/thingy-ma-bobber. Do not put any glue outside of your traced circle. This helps you have a neater piece when you are done.

Do not put your pieces together yet. Let them sit for 5 to 10 minutes, then firmly press together and cure for 24 hrs. I usually leave them upside down like in the picture for a little while and then turn them over and sit a heavy book on top to make sure there is good contact between the pieces.

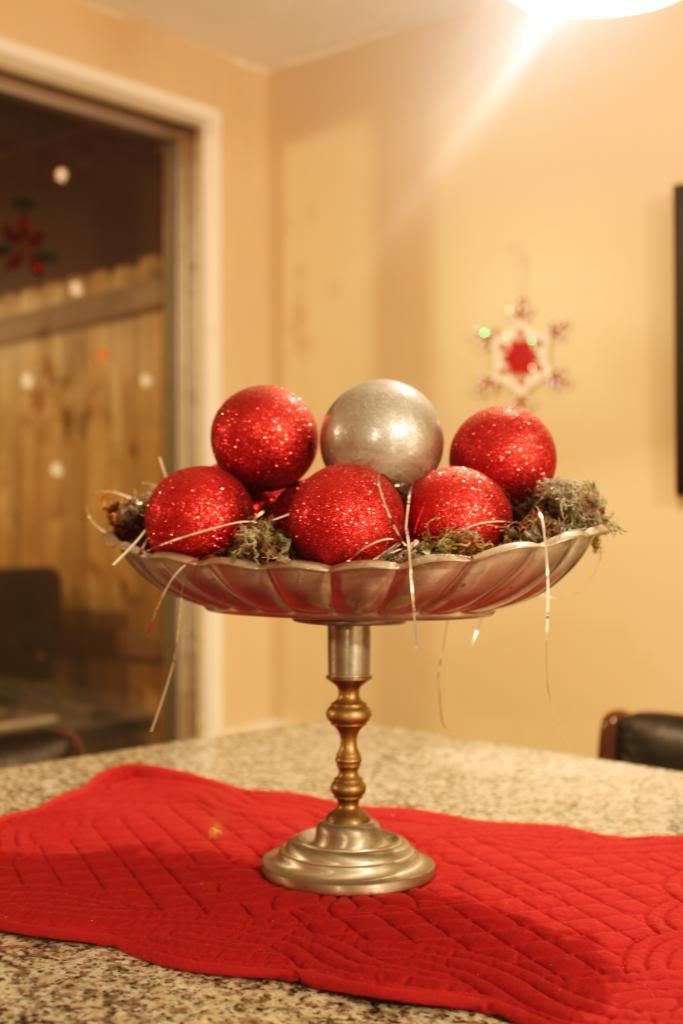
Once your 24hrs are up, you are ready to play! I added a bit of leftover moss from my wreath project, a dozen or so ornaments and a few strands of tinsel. I love all of the textures playing together.

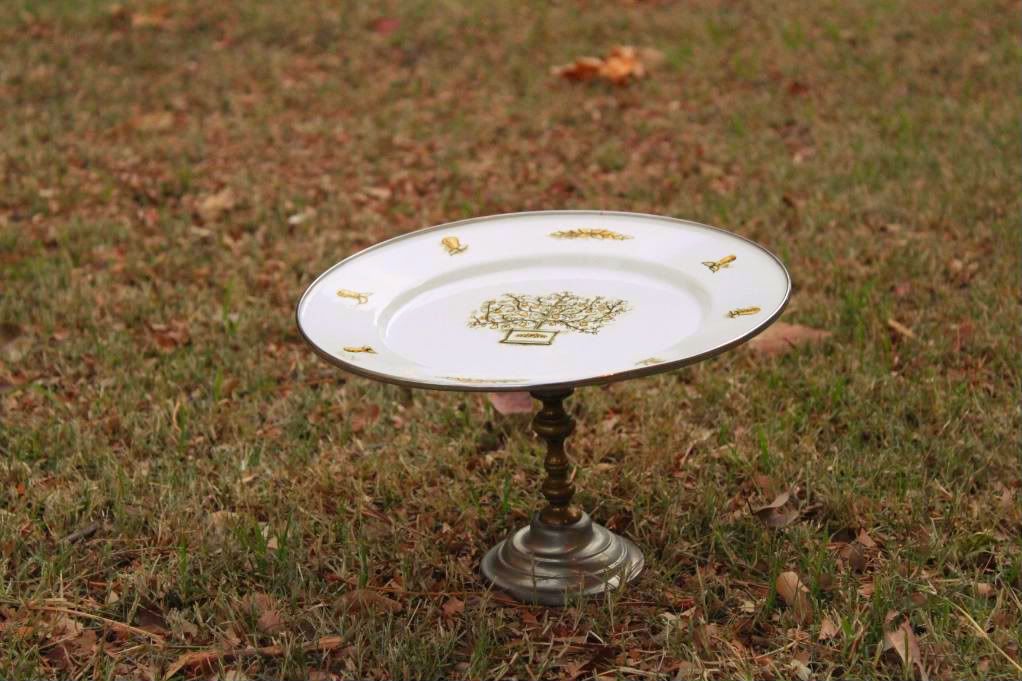
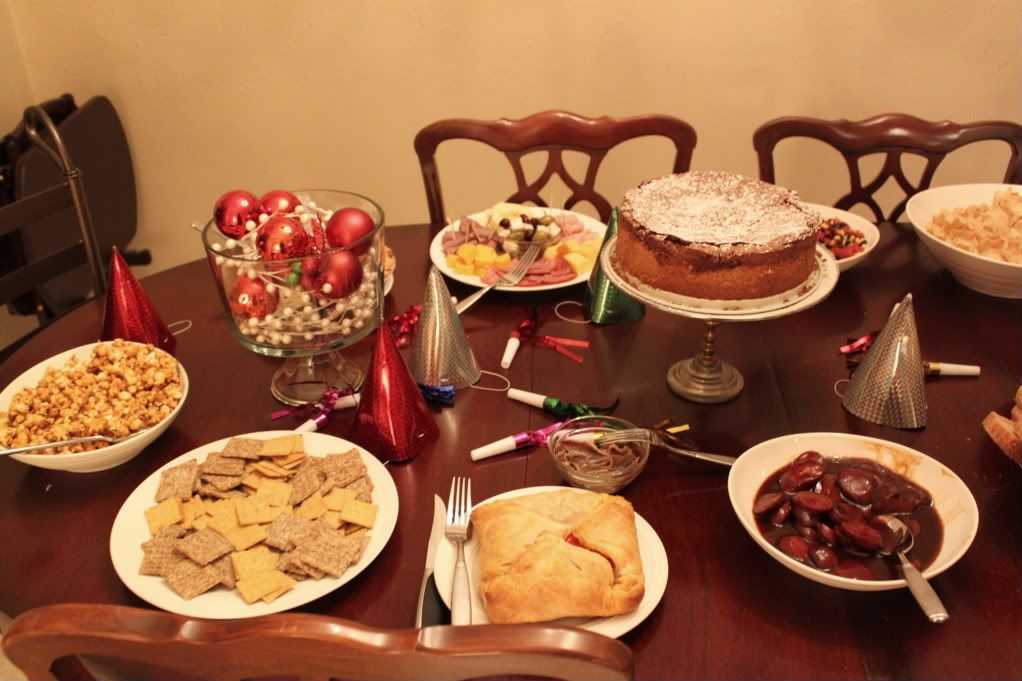
This cake stand is turned out great. The plate is so fun and is actually metal. Here it is holding a Chocolate Truffle cake that turned out sooooo very yummy.
Like my new dining set?
I made this one for my secret santa at work. I had trouble giving it away but I am glad I did because it was a hit.

These kind of projects are so much about the technique as they are about interesting pairings and inexpensive pieces. Do you have any fun projects done this way?

This post was entered in the following link parties: